An integrator-designed placement plan beats guesswork every time you're buying, installing, and commissioning a real CCTV system. Before you sign a contract, insist on five deliverables: a site survey, a camera schedule with coverage cones, a PoE and network spec, storage sizing, and a commissioning checklist with as-built documentation. Anything less leaves you with gaps in coverage and no paper trail if you ever need the footage. JupiterAV builds every project around these deliverables from day one.
TL;DR:
- Ensure your CCTV system includes a site survey, camera schedule, PoE and network specifications, storage sizing, and a commissioning checklist with as-built documentation.
- Position cameras at recommended heights based on their purpose, and match lens and resolution to the specific detection, observation, recognition, or identification tasks.
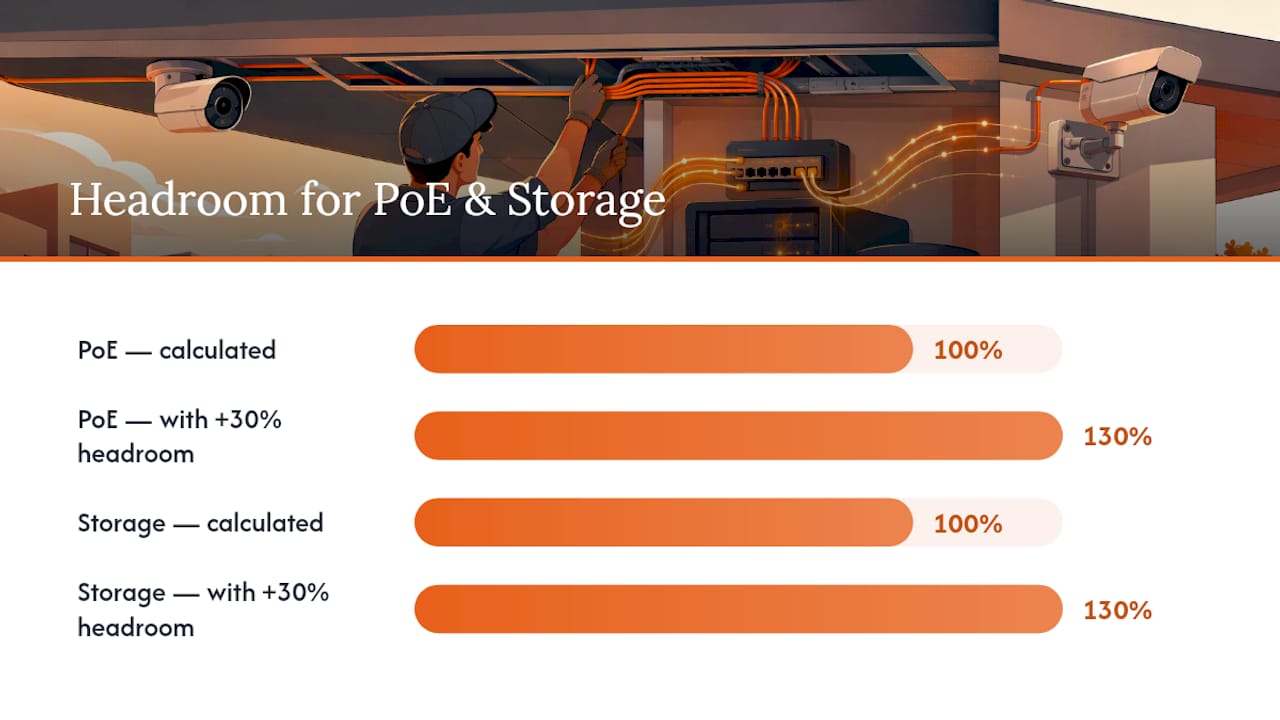
- Budget for sufficient PoE power and storage capacity by adding 20-30% headroom to account for future upgrades, updates, and additional cameras.
- Use Cat6A cabling, run conduit, and employ outdoor-rated elements to future-proof installation and prevent costly upgrades or failures over time.
- Demand comprehensive documentation and perform rigorous acceptance testing before sign-off to ensure long-term system reliability and compliance.
Table of Contents
- Scoping the project: site survey and coverage objectives
- Where should cameras go? Mounting height and field of view
- Network, PoE budgeting, and storage sizing
- Cabling and installation practices that hold up for years
- Procurement rules and the documentation you should demand
- What acceptance testing should confirm before sign-off
- Service contracts and planning for five years, not five months
- JupiterAV: what we see on site and the mistakes worth avoiding
- How JupiterAV designs and documents your placement plan
- Sources
Scoping the project: site survey and coverage objectives
Every camera on a job needs a defined job to do. Security professionals sort camera purpose into four tiers: detect (something entered the frame), observe (general activity), recognise (a familiar face or vehicle), and identify (evidence-grade detail for a stranger or a licence plate). Each tier drives a different retention period and a different image-quality target, so mixing them up wastes budget on cameras that can't do what you actually need them to do.
A proper site survey turns those goals into a priority list before anyone touches a mounting bracket.
- Entrances and points of entry, where face capture matters most
- Cash points, tills, and safes in commercial spaces
- Loading docks, parking areas, and vehicle gates
- High-value assets: server rooms, tool cribs, inventory zones
- Known blind spots from prior incidents or site walk-throughs
Procurement constraints matter just as much as coverage. Multi-site operators need standardized gear across locations, government or institutional buyers may require compliant equipment, and every project needs a realistic install timeline. Integrator-designed deployments typically break even against DIY on five-year total cost once a site passes roughly 8 to 16 cameras, with standardization paying back inside 18 months for anyone running multiple locations.
Where should cameras go? Mounting height and field of view
Placement comes down to two variables: how high you mount the camera and how many pixels land on your subject at the distance that matters. Get those two numbers right and the rest of the design falls into place.
Mounting height follows fairly consistent rules across the industry:
-
Entrances and doorways: 2.2 to 2.5 metres, angled to capture faces without pointing straight down at the top of someone's head.
-
Interior corridors and retail floors: 2.5 to 3.0 metres, high enough to avoid tampering but low enough to hold useful detail.
-
Outdoor perimeters and parking areas: 3.5 to 5.0 metres, balancing wide coverage against resolution loss over distance.
-
PTZ cameras covering large yards or lots: 5 to 8 metres, since these units trade fixed detail for zoom reach.
The other half of the equation is pixel density. EN 62676-style guidance sets four thresholds integrators design against:
Pro Tip: Before choosing a camera model, decide which PPM tier each location needs. Working backward from a resolution spec almost always leaves you short at the one spot where quality actually mattered.
| Purpose | Pixels per metre | Typical use |
|---|---|---|
| Detect | 25 PPM | Wide perimeter, general activity |
| Observe | 62 PPM | Parking lots, hallways |
| Recognise | 125 PPM | Entrances, points of sale |
| Identify | 250 PPM | Cash counters, licence plates |
A front door aimed at identifying visitors needs a narrow field of view and a longer lens than a parking lot camera trying to simply detect motion across a wide area. Design the use case first, then pick the lens and sensor to match it, rather than buying a camera and hoping the coverage works out.
Network, PoE budgeting, and storage sizing
Camera placement is only half the design problem. The network and the recorder decide whether that placement actually delivers usable footage five years from now.
Start with the power budget. PoE calculations need to sum every camera's rated draw and add at least 20% headroom for firmware updates, heaters in outdoor housings, and future add-ons. Skimping here is the single most common reason a system underperforms after installation.
- Choose managed PoE switches, not unmanaged ones, so you get VLAN separation, QoS, and port-level monitoring.
- Isolate camera traffic on its own VLAN, away from guest Wi-Fi and office devices.
- Size uplinks (edge switch to core) at 1GbE or 10GbE based on the aggregated bitrate of every stream running through that switch, not just today's camera count.
- Budget storage using real codec assumptions, retention days required for your use case, and drives rated for continuous recording.
On storage, surveillance-grade drives like WD Purple or Seagate SkyHawk exist for a reason: they're built for round-the-clock write cycles that consumer drives fail under. Undersized NVRs and consumer-grade drives are a leading cause of silent recording gaps that nobody discovers until they need footage that isn't there.
Pro Tip: Add 20 to 30% to your calculated PoE budget and to your storage estimate before you finalize hardware. Analytics, firmware updates, and one extra camera down the road eat that headroom fast.
Cabling and installation practices that hold up for years
The cable in the wall matters as much as the camera on it. Cat6A is the current standard for new installs because it supports 10Gbps to 100 metres and handles PoE loads with less voltage drop than Cat6.
- Run conduit wherever possible, even where it isn't strictly required today.
- Pull spare conduit alongside active runs. The incremental cost during construction is small compared to opening walls later for an upgrade.
- Use plenum-rated cable in air-handling spaces and UV-resistant, outdoor-rated jackets with weatherproof connectors outside.
- Fire-stop every penetration through rated walls and label every run at both ends.
Custom home builders benefit most from this discipline. Oversizing pathways during framing costs almost nothing next to the disruption of retrofitting a finished wall two years later.
Procurement rules and the documentation you should demand
Some projects carry compliance triggers that consumer-grade cameras simply can't meet. Government contracts, certain commercial leases, and insurance-driven installs often require NDAA or TAA-compliant equipment, and installing the wrong hardware can void a contract or trigger a procurement audit after the fact.
Regardless of compliance status, every professional install should hand over a documented package:
- A camera schedule listing model, location, and purpose for every unit
- Floor plans with coverage cones drawn to scale
- A network single-line diagram and IP address map
- A PoE worksheet showing power budget per switch
- A firmware and patch policy, in writing
Privacy compliance runs alongside this paperwork: signage where required, a written retention policy, and documentation that stands up if footage ever becomes evidence in an insurance claim or legal matter.
What acceptance testing should confirm before sign-off
A system isn't finished when the cameras power on. Commissioning is the step that catches the failures nobody notices until 2 AM when the footage actually matters.
- Verify image quality under both daylight and night/infrared conditions at every camera.
- Validate motion zones and pull sample evidence frames to confirm resolution meets the PPM target set for that location.
- Check PoE delivery per port, confirm VLAN separation, and run throughput and packet-loss tests on uplinks.
- Train the operator, set up user accounts, plan password rotation, and get signed test results on file.
Skipping this checklist is how a system passes a quick glance but fails the one time someone actually needs the recording.
Service contracts and planning for five years, not five months
A camera system is a five-year asset, not a one-time purchase, and the service contract behind it determines whether it still works properly in year four.
- A real service plan includes scheduled firmware patching, remote health monitoring, a defined response SLA, and spare parts on hand for common failures.
- Manufacturer warranty covers the hardware; integrator labour warranty covers the install itself, including cabling, mounting, and configuration. Ask for both in writing.
- Budget for a five-year lifecycle: expect at least one round of camera or NVR refresh as resolution standards and analytics demands shift.
Undersized PoE budgets and unpatched firmware are the two most common reasons a system that worked fine on day one starts failing or becomes a security liability within a couple of years.
JupiterAV: what we see on site and the mistakes worth avoiding
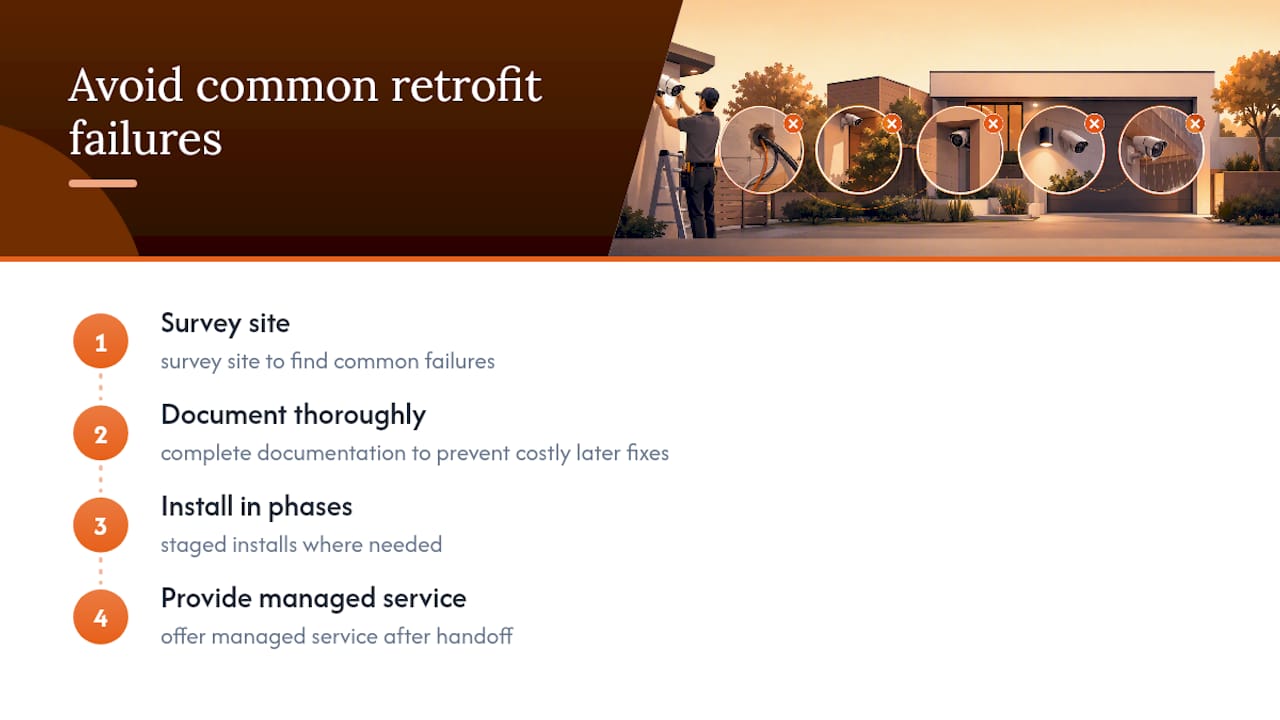
We see the same three failures on almost every retrofit call: undersized PoE budgets, Cat5e run through a plenum space where it was never rated to go, and cameras that looked fine on a spec sheet but go dark the moment the sun sets. Missing documentation is the fourth, and it's the one that costs the most later.
A design-first, staged approach avoids all of it. We survey, document, install in phases where needed, and offer managed service after handoff so nobody's stuck guessing why a camera stopped recording eighteen months in.
— JupiterAV
How JupiterAV designs and documents your placement plan
Booking a site survey with JupiterAV gets you the full package described throughout this guide: a camera schedule with coverage cones, a PoE and network spec sized to your site, and commissioning documentation you actually keep. It's the same design-first approach covered above, applied to your address instead of a hypothetical one.

Compare that against buying cameras off a shelf and hoping the angles work out. There's no coverage-cone drawing, no PoE worksheet, and no one to call when the footage from your one bad-actor incident turns out to be unusable because the camera was aimed 15 degrees too high. JupiterAV designs the system before anyone mounts a bracket, so the layout matches what you actually need to detect, observe, or identify, not what happened to be in stock. Before your survey, walk the property and note where past incidents or blind spots concern you most. That single list speeds up the design conversation more than anything else you could prepare. Reach out to schedule a site visit and get a documented, fixed-price plan for your home, business, or build.
Sources
The pixel-density figures throughout this guide follow EN 62676-style PPM guidance: 25 PPM to detect, 62 to observe, 125 to recognise, 250 to identify. For deeper technical reading on camera selection and network design, JupiterAV's AI camera guide and Alberta installation cost breakdown cover related ground in more detail. For general home-network context, see this overview of networks supporting camera systems.
- Integrator vs DIY security: when does each path actually win? | Tec-Tel
- CCTV system design for buildings — step-by-step guide with calculations | BuildingInfra
- Hans