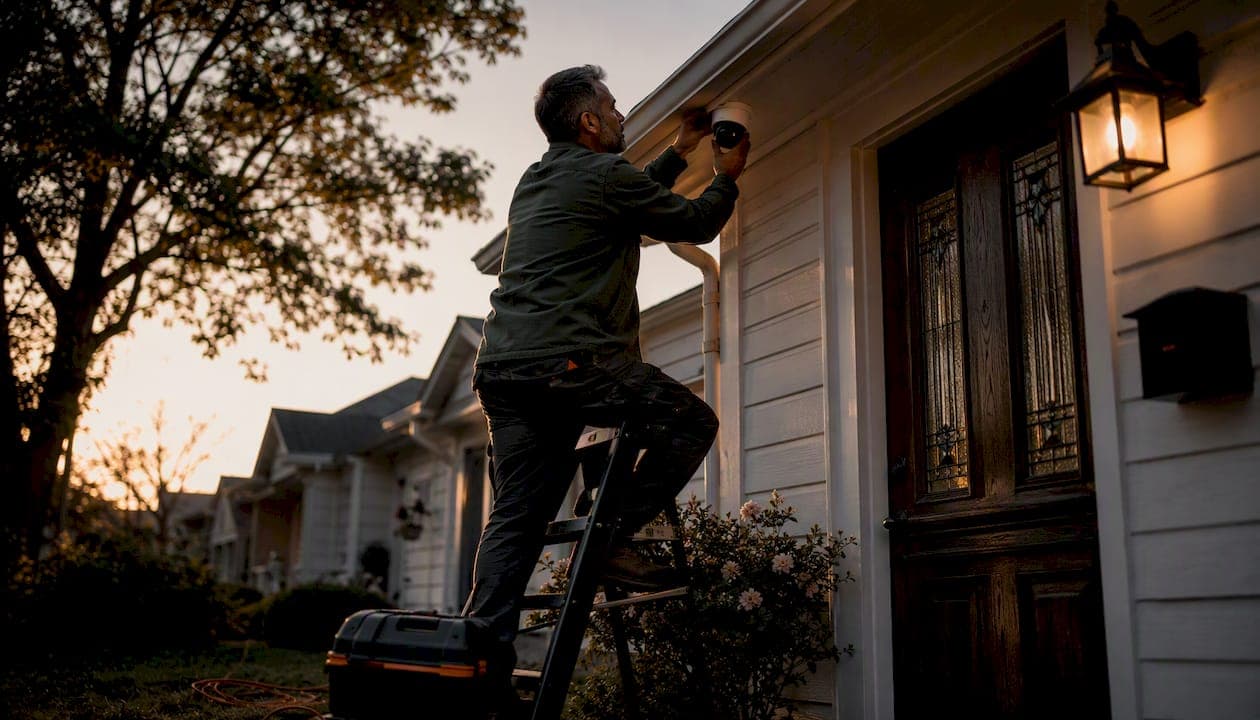
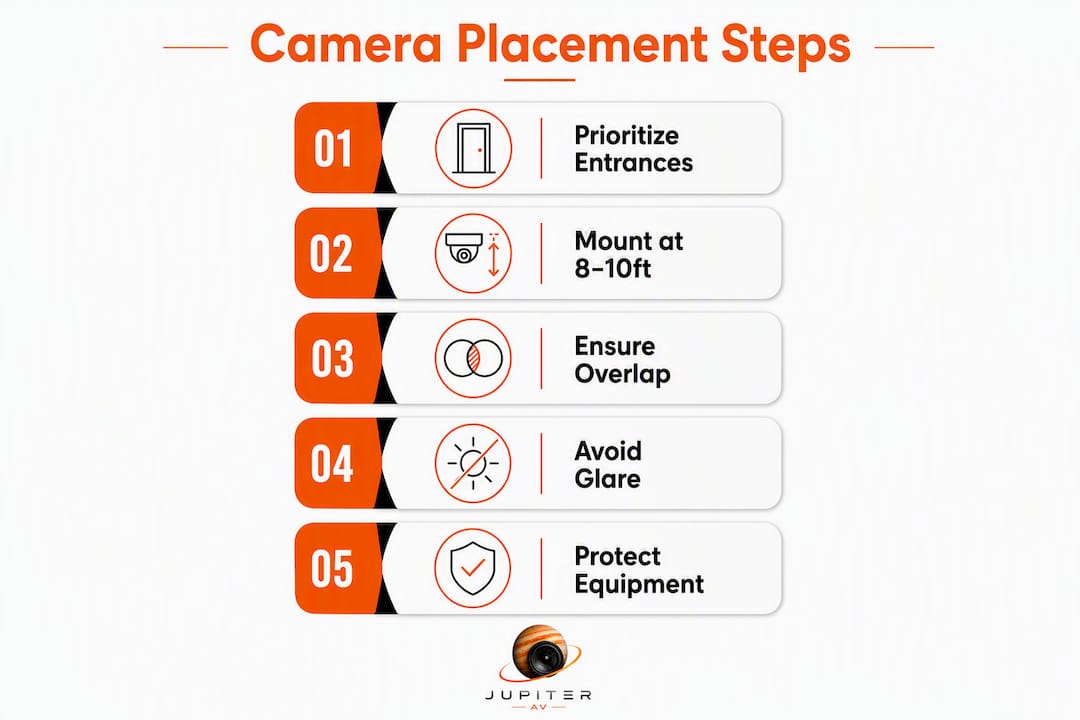
Prioritise entry points first. Mount outdoor cameras at 8–10 ft with a 15–30° downward tilt to capture facial detail while deterring tampering. Video doorbells should be installed at approximately 4 ft for optimal facial perspective and package detection. The five zones to cover first are the front door, back door, garage entry, driveway, and side gates. Get those right and you have covered the approach routes that matter most: face capture at entry, vehicle and plate coverage on the driveway, and deterrence on the paths an intruder would use to avoid the front. Overlap adjacent fields of view moderately to ensure there are no blind spots between cameras.
Table of Contents
- 1. Best outdoor locations to mount your cameras
- 2. Where to place indoor cameras and what to avoid
- 3. Mounting heights, tilt, and the specs that actually capture faces and plates
- 4. Power, connectivity, and tamper-resistant mounting
- 5. Lighting, WDR, and fixes for washed-out or dark footage
- 6. Privacy best practices and Canadian legal considerations
- 7. Common placement mistakes and how to fix them
- 8. When to hire a professional installer
- Key takeaways
- The placement decision most homeowners get backwards
- JupiterAV security camera installation in Calgary
- Useful sources
1. Best outdoor locations to mount your cameras
The goal outdoors is to cover every route someone could take to reach your home without being seen. Open yard space matters less than choke points: the spots where anyone approaching must pass through.
Front door. This is the single highest-priority location. Aim for a corner mount above the door frame, angled to capture faces as people approach, not just the top of their heads. A wide 2.8 mm lens works well here because the subject is close.
Back and side doors. Secondary entry points are the ones most burglars actually use. A camera covering each door, mounted under the eave if possible, gives you both deterrence and evidence.
Garage entry. Cover both the garage door itself and the pedestrian door beside it if one exists. Driveway and vehicle coverage has become increasingly important as keyless car theft rises; a camera positioned to capture the full approach route identifies behaviour before anyone reaches the property.
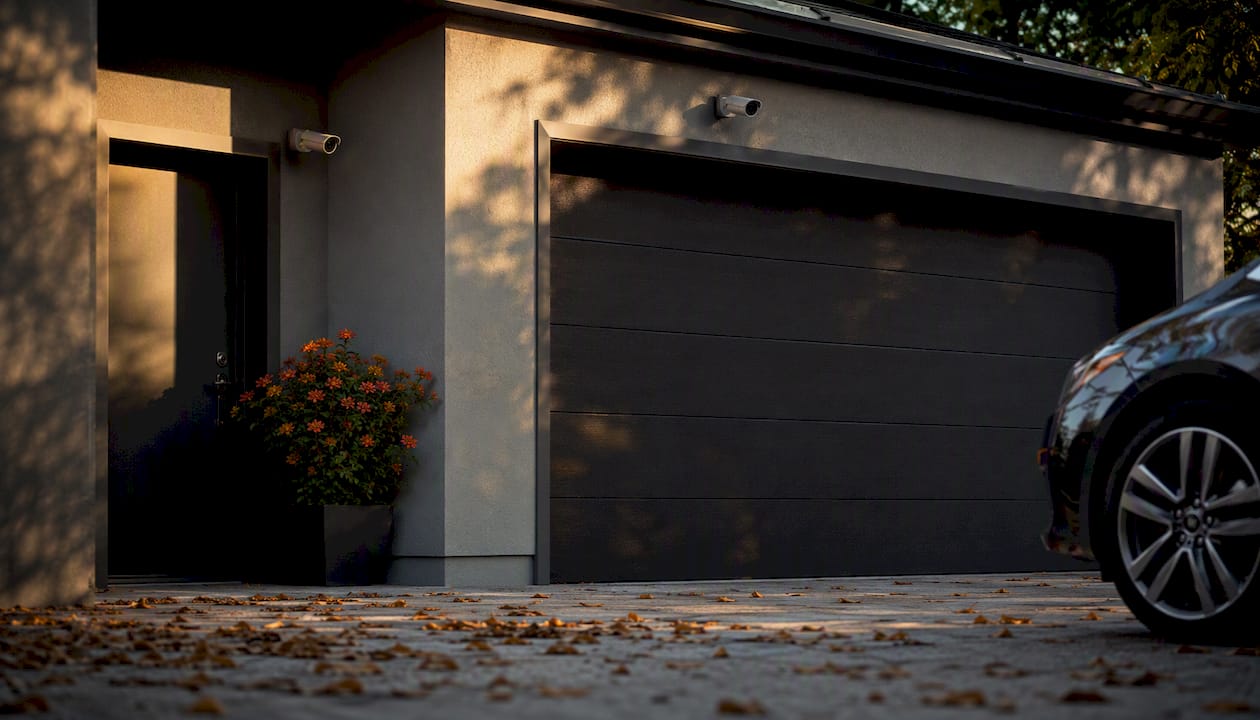
Driveway. Position this camera to capture the full length of the driveway, not just the parking pad. For longer driveways, resolution matters: a 4K camera can capture licence plates at roughly 40 ft, while a 1080p camera typically only reads plates clearly at 12–15 ft. If your driveway is longer than 15 ft, plan for a higher-resolution camera or a second camera mid-run.
Side gates and yard corners. These are the paths intruders use to avoid the front. A camera at each gate, plus one covering the rear yard corner, closes the most common approach gaps.
Rough camera counts by property size:
- Small detached single-storey homes typically require several cameras to cover key entry points and paths.
- Medium two-storey homes with double garages generally use multiple cameras to add comprehensive coverage including garage and yard areas.
- Larger or corner-lot properties often have multiple cameras covering all entry points and perimeter areas for full monitoring.
Pro Tip: Mount cameras under the roof eave rather than on a flat soffit to protect the lens from environmental damage and reduce maintenance significantly. If the eave is too shallow, a standoff bracket pulls the camera forward so the IR ring doesn't reflect off the soffit at night.
2. Where to place indoor cameras and what to avoid
Indoor cameras serve a different purpose than outdoor ones. Outside, the goal is deterrence and early detection. Inside, you are documenting what happened after someone got in, or monitoring activity in common areas when you are away.
High-value indoor placements:
- Inside the front door, aimed down the entry hall. This catches anyone who enters and gives you a second face-capture angle if the outdoor camera was obscured.
- Top of the stairs, looking down. Stairs are a natural choke point. A camera here covers movement between floors and is difficult to avoid.
- Main living room corner, mounted near the ceiling. Aim for the widest diagonal view of the room. This is most useful for monitoring when you are away — a pet sitter, a contractor, or an unexpected entry.
- Garage interior, covering the door into the house. This is the entry point most often overlooked.
Where not to place cameras:
Bedrooms and bathrooms are off-limits, full stop. This applies to your own household members and absolutely to any space a guest or tenant might use. Pointing a camera at a neighbour's window or private yard — even unintentionally — creates both legal exposure and neighbour conflict.
Shared spaces in multi-unit buildings need particular care. If you are in a condo or apartment, camera placement to monitor package drop-off zones at shared entries requires building management approval in most cases.
Canadian privacy expectation: The Office of the Privacy Commissioner of Canada notes that individuals have a reasonable expectation of privacy in their homes and in spaces where they would not expect to be observed. Residential cameras should be positioned to monitor your own property only, and should not capture private areas of neighbouring properties. When in doubt, angle the camera inward rather than outward.
3. Mounting heights, tilt, and the specs that actually capture faces and plates
The numbers here are not arbitrary. They come from the geometry of face capture: a camera too high sees the top of a head; too low and it is easy to block or grab.
General height rules:
- Outdoor cameras should be mounted at a height that avoids steep angles which degrade facial detail.
- Indoor cameras are best positioned at a height that allows a broad view with a slight downward angle.
- Video doorbells should be positioned to capture faces and package drops effectively.
Tilt: 15–30° downward from horizontal. Steeper than 30° and you lose face detail; shallower than 15° and you capture mostly background.
Lens and field of view:
- 2.8 mm lens: wide field of view (roughly 90–100°), best for close-range entry points where you want context — front door, hallway, garage interior.
- 4 mm lens: narrower field (roughly 70–80°), better for medium-distance coverage like a side path or rear yard.
- Varifocal (e.g., 2.8–12 mm): adjustable after mounting; the right choice for driveways where you need to dial in plate capture at a specific distance.
| Location | Recommended height | Tilt | Suggested lens/FOV |
|---|---|---|---|
| Front door | 8 ft | 15–20° | 2.8 mm wide |
| Back/side door | 8 ft | 15–20° | 2.8 mm wide |
| Driveway (short) | 10 ft | 15–30° | 4 mm or varifocal |
| Driveway (long, >20 ft) | 10 ft | 15–30° | 4K + varifocal |
| Garage entry | 8 ft | 15–20° | 2.8–4 mm |
| Side gate | 8–10 ft | 20–30° | 4 mm |
| Indoor hallway | 7–8 ft | 15–20° | 2.8 mm wide |
| Top of stairs | 7–8 ft | 20–30° | 2.8 mm wide |
| Video doorbell | ~4 ft | — | Built-in wide |
On-site image verification checklist:
- Walk the approach path at the distance a person would normally travel and confirm your face is visible in the live feed, not just the top of your head.
- Stand at the furthest point a vehicle would park and check whether the plate is legible on the live feed.
- Cover the IR emitter with your hand at night and confirm the camera switches to night mode; then check that the image is usable at 10 ft and 20 ft.
- Check the live feed at sunrise and sunset from the camera's direction to catch backlight issues before they matter.
- Review a 10-second clip at each camera position to confirm the image is sharp, not just the live preview.
4. Power, connectivity, and tamper-resistant mounting
How you power and connect a camera affects reliability as much as where you put it.
Wired PoE (Power over Ethernet):
PoE cameras run on a single Cat6 cable that carries both power and data. They are the most reliable option for mission-critical positions like front door and driveway. The practical single-run limit on Cat6 is 100 m, which covers virtually every single-family property in Calgary. Pair PoE cameras with a dedicated NVR; for a comparison of recording architectures, the NVR vs DVR guide covers the trade-offs clearly.
Wi-Fi and battery cameras:
Easier to install and good for locations where running cable is impractical (a detached garage, a rental suite). The trade-off is real: Wi-Fi cameras drop out during network congestion, and battery cameras need regular charging. Neither is ideal for a front door or driveway where you cannot afford gaps. Wired PoE is preferred over Wi-Fi for mission-critical cameras to avoid latency and dropouts.
Wiring best practices:
- Route cables inside conduit wherever they run along an exterior wall.
- Drill entry holes at a slight downward angle so water drains away from the camera, and seal with silicone at every exterior penetration.
- Use UV-rated cable for any outdoor run exposed to direct sun.
- Anchor into studs or masonry with through-bolts, not drywall anchors, for long-term stability.
Tamper resistance:
- The 8–10 ft mounting height is itself a tamper deterrent. Most people cannot reach a camera at that height without a ladder.
- Use tamper-alert settings in your NVR or app so you are notified if a camera is moved or covered.
- Protective metal housings add physical resistance; avoid plastic housings on exposed corners.
- Overlap fields of view so that if one camera is knocked out, an adjacent camera still covers the same zone.
Pre-installation checklist:
- Confirm Wi-Fi signal strength at each planned camera location (for wireless cameras).
- Identify stud or masonry anchor points at each mounting spot.
- Plan cable routes from each camera back to the NVR or switch, staying inside walls where possible.
- Confirm power source availability (PoE switch location, outlet for Wi-Fi cameras).
Pro Tip: For outdoor installs in Calgary's climate, use gel-filled Cat6 cable for any underground or exposed run. Standard Cat6 jacket degrades faster in freeze-thaw cycles, and a failed cable mid-winter is a poor time to discover the difference. The outdoor installation guide covers weatherproofing principles that apply equally to camera cable runs.
5. Lighting, WDR, and fixes for washed-out or dark footage
A camera in the wrong light is nearly useless. The most common failure is not a bad camera — it is a good camera pointed at a bad light source.
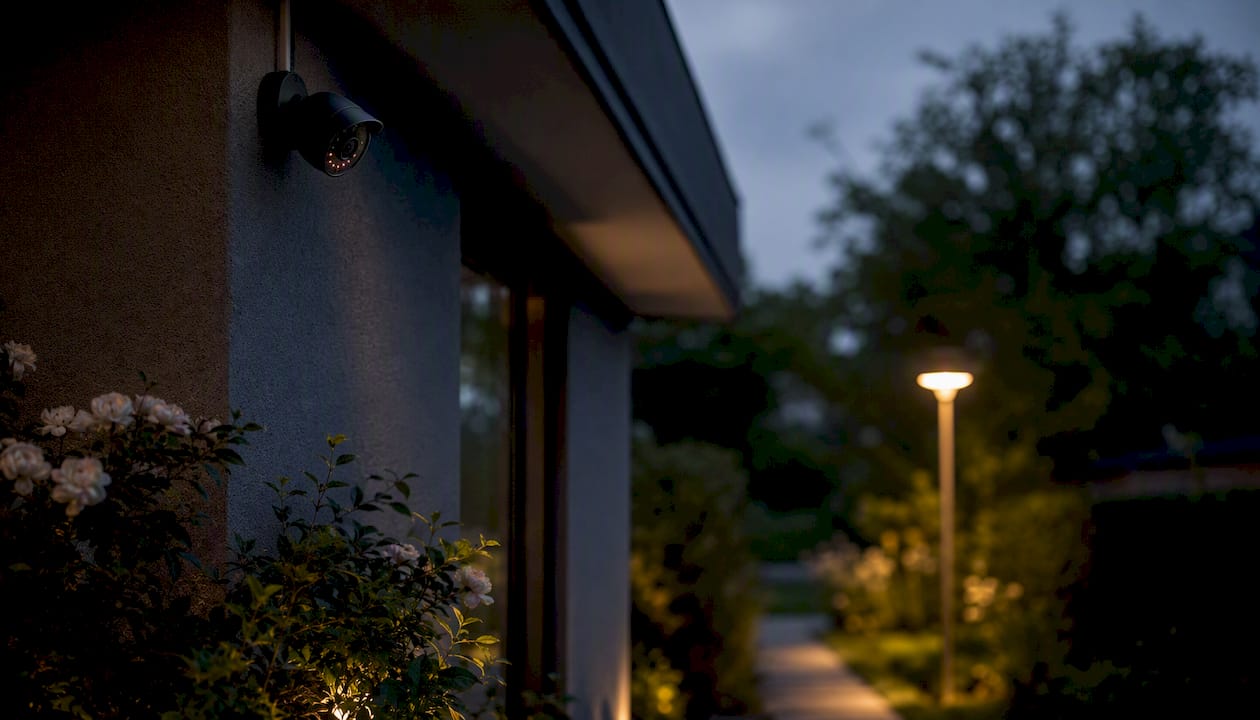
Common lighting failures and fixes:
Pointing cameras directly at high-contrast light sources — a setting sun, a bright window, a streetlight — washes out the foreground subject. The camera exposes for the bright background and the person in front becomes a silhouette. Wide Dynamic Range (WDR) sensors help by processing highlights and shadows simultaneously, but they have limits. The better fix is often a physical one: shift the camera angle so the light source is behind the camera, not in front of it.
IR reflection under soffits is the other common failure. When a camera is mounted flush against a soffit, the IR ring illuminates the soffit surface and the reflection washes out the image. The fix is a standoff bracket or an eave mount that puts clear air between the camera and any surface near the IR emitters.
Indoor cameras through glass present a specific problem at night: the IR night vision reflects off the glass and all you see is a bright white glow. Turn off IR on any camera monitoring through a window and rely on ambient interior light or a separate illuminator outside the glass.
Features worth prioritising:
- WDR: non-negotiable for any camera facing a bright background.
- Colour night vision: useful for entry points where you need colour detail (clothing, vehicle colour) after dark.
- Adjustable IR intensity: lets you dial down IR output near reflective surfaces.
- Integrated spotlight: adds colour detail at night and acts as a deterrent, though it can annoy neighbours if motion zones are not set carefully.
Pro Tip: Sun direction often dictates mounting decisions more than any other factor. Before drilling, check which direction the camera will face at sunrise and sunset using a compass or a phone app. A small physical shade — a piece of flashing bent over the top of the camera — often solves a backlight problem that no amount of WDR processing can fully fix.
6. Privacy best practices and Canadian legal considerations
Canadian privacy law draws a clear line: your cameras should monitor your own property, not your neighbours'.
The core rule is straightforward. Avoid recording into private spaces — bedrooms, bathrooms, and any area where a person has a reasonable expectation of privacy. This applies inside your own home and extends to neighbouring properties. A camera covering your driveway that also captures your neighbour's backyard or bedroom window is a problem, regardless of intent.
Practical mitigations:
- Use privacy masking in your camera's software to black out portions of the frame that capture neighbouring property. Most NVR systems and camera apps support this.
- Adjust camera angles before finalising mounts. A small inward rotation often removes a neighbour's window from the frame entirely.
- For cameras covering semi-public areas (a shared driveway, a front walkway visible from the street), consider posting a small notification sign. It is not legally required for residential use in most Canadian provinces, but it reduces neighbour complaints significantly.
Provincial guidance: Privacy rules for residential cameras vary by province. The Office of the Privacy Commissioner of Canada provides general guidance, and provincial commissioners (such as the Information and Privacy Commissioner of Alberta, the Information and Privacy Commissioner of Ontario, and the Commission d'accès à l'information du Québec) publish more specific residential guidance. If your cameras cover any shared or semi-public space, check your provincial commissioner's website before finalising placement. When in doubt, the conservative choice — angle inward, mask the neighbour's property — is always the right one.
The police guidance in most Canadian jurisdictions is consistent: cameras are most useful as evidence when they capture clear faces and licence plates on your own property. Footage of a neighbour's yard rarely helps an investigation and creates friction that undermines community relationships.
7. Common placement mistakes and how to fix them
Most footage that fails in court or fails to identify a suspect comes down to a handful of avoidable errors.
The most common mistakes:
- Mounting too high. Above 12 ft, the downward angle is too steep for reliable face capture. You see the top of a head, not a face.
- Pointing at a bright light source. Sunset arcs, streetlights, and bright windows silhouette subjects. Shift the angle or add a physical shade.
- No field-of-view overlap. A single camera covering a long fence line leaves gaps. Ensure adjacent cameras have overlapping fields of view to prevent blind spots.
- Ignoring Wi-Fi range. A camera that drops offline every time the microwave runs is not a security camera. Test signal strength at the mounting location before committing.
- IR reflection off soffits. Flush soffit mounts wash out night footage. Use a standoff bracket.
- Indoor cameras through glass with IR on. The reflection makes the footage useless at night. Disable IR and rely on ambient light.
- Forgetting motion detection zones. A camera that triggers on every passing car generates alert fatigue and gets ignored. Set detection zones to cover the approach path, not the street.
Pro Tip: Before finalising any mount, do a site-mapping exercise: sketch your property from above and draw each camera's field of view as a cone. Where cones don't overlap, you have a blind corridor. Professional installers call this a coverage map, and it takes about 20 minutes to do on paper. It is the single step most DIY installs skip — and the one that causes the most regret.
Quick post-mount check:
- Walk every approach path and confirm you appear in at least one camera feed.
- Check night footage at 10 ft and 20 ft from each camera.
- Trigger a motion alert and confirm the notification arrives within a few seconds.
- Review the coverage map and confirm no corridor is covered by only one camera.
8. When to hire a professional installer
Some installs are straightforward. Others are not, and the difference usually shows up in the footage quality.
Hire a professional when:
- You need PoE wiring run through finished walls or attic spaces without damaging drywall.
- Plate capture on a long driveway is a priority and lens selection and positioning need to be dialled in precisely.
- You want a documented site plan showing camera fields of view — useful for insurance claims and police reports.
- The property has multiple buildings, a large lot, or complex approach routes that require a coverage map to plan properly.
- You want tamper-resistant conduit runs and through-bolt anchoring that a standard drill-and-plug install won't provide.
What a professional install typically delivers:
- Site survey: a walk of the property to identify approach routes, lighting conditions, and anchor points before any equipment is specified.
- Camera siting map: a scaled drawing showing each camera position, field of view, and overlap zones.
- Cable routing plan: a route for each cable run that minimises exposure, avoids water ingress points, and meets local building standards.
- Tamper-resistant mounting: through-bolt anchoring, conduit on exposed runs, and metal housings at vulnerable positions.
- System testing at multiple times of day: daylight, dusk, and full dark, with adjustments to tilt, IR intensity, and motion zones before sign-off.
- Documentation: a record of camera positions, fields of view, and NVR/switch locations for future reference.
Questions to ask a potential installer during a site visit:
- Can you show me a coverage map for this property before we finalise camera positions?
- What resolution and lens do you recommend for the driveway, and why?
- How will you route the cable from the back corner camera to the NVR?
- What happens to coverage if the Wi-Fi goes down — are any cameras wired?
- Do you test night footage before you leave?
For a sense of what professional installation costs in Alberta, the CCTV installation cost guide for Alberta covers typical scope-of-work pricing.
Key takeaways
Effective security camera placement comes down to one rule: cover every entry point at 8–10 ft with overlapping fields of view, and verify the footage works in daylight and dark before you call the job done.
| Point | Details |
|---|---|
| Prioritise entry points | Front door, back door, garage, driveway, and side gates cover the routes that matter most. |
| Mount at 8–10 ft outdoors | This height captures facial detail and stays out of easy reach; above 12 ft, face capture typically yields poor detail. |
| Overlap fields of view | Adjacent cameras should share 10–20% of their coverage zone to eliminate blind corridors. |
| Match power to priority | Use wired PoE for mission-critical positions; reserve Wi-Fi and battery cameras for secondary spots. |
| JupiterAV professional install | JupiterAV provides site surveys, PoE wiring, tamper-resistant mounts, and coverage documentation for Calgary homeowners. |
The placement decision most homeowners get backwards
There is a tendency to treat security camera placement as a hardware problem. People spend hours comparing camera specs and almost no time walking their property to understand where an intruder would actually approach from.
The professional workflow starts with threat modelling, not product selection. Walk the property as if you were trying to approach unseen. Where would you go? Almost always, it is not the front door — it is the side gate, the gap between the garage and the fence, or the back corner where the yard light doesn't reach. Those are the positions that need cameras first, regardless of how inconvenient the cable run is.
The second thing professionals get right that homeowners often miss is overlap. A single camera covering a long fence line feels like coverage. It isn't. One camera can be blocked, pointed away, or simply have a blind spot at the edge of its field. Two cameras with overlapping views of the same zone create redundancy that a single camera never can.
The privacy piece matters too, and not just legally. A system designed with conservative angles — cameras pointed inward at your own property, motion zones set to your approach paths rather than the street — generates fewer false alerts, fewer neighbour complaints, and footage that is actually useful when something happens. The goal is not to surveil the neighbourhood. It is to document your own property clearly enough that the footage means something.
JupiterAV security camera installation in Calgary
A well-placed camera system is only as good as its installation. JupiterAV handles the full process for Calgary homeowners: site survey, PoE wiring through finished walls, tamper-resistant mounting, and a documented coverage map showing every camera's field of view and overlap zones. You get a system that works in January at 2 AM, not just on a sunny afternoon demo.

The difference between a DIY install and a professional one usually shows up the first time you need the footage. Cameras at the right height, with the right lens, wired for reliability, and tested at night before sign-off — that is what JupiterAV delivers on every residential job. Book a site survey and get a coverage plan for your property before a single hole is drilled.
Useful sources
These are the primary references used throughout this guide. The technical mounting sources are most useful for DIY planning; the privacy commissioner links are the right starting point for legal and privacy questions.
Technical and installation guidance:
Privacy and legal context (Canada):
- Office of the Privacy Commissioner of Canada — the primary federal reference for residential privacy expectations and surveillance guidance.
- Where to Place Your Home Security Camera — general placement guide with privacy considerations for residential use.
Professional standards:
- ASIS International — the professional body for security practitioners; publishes standards relevant to camera system design and documentation.