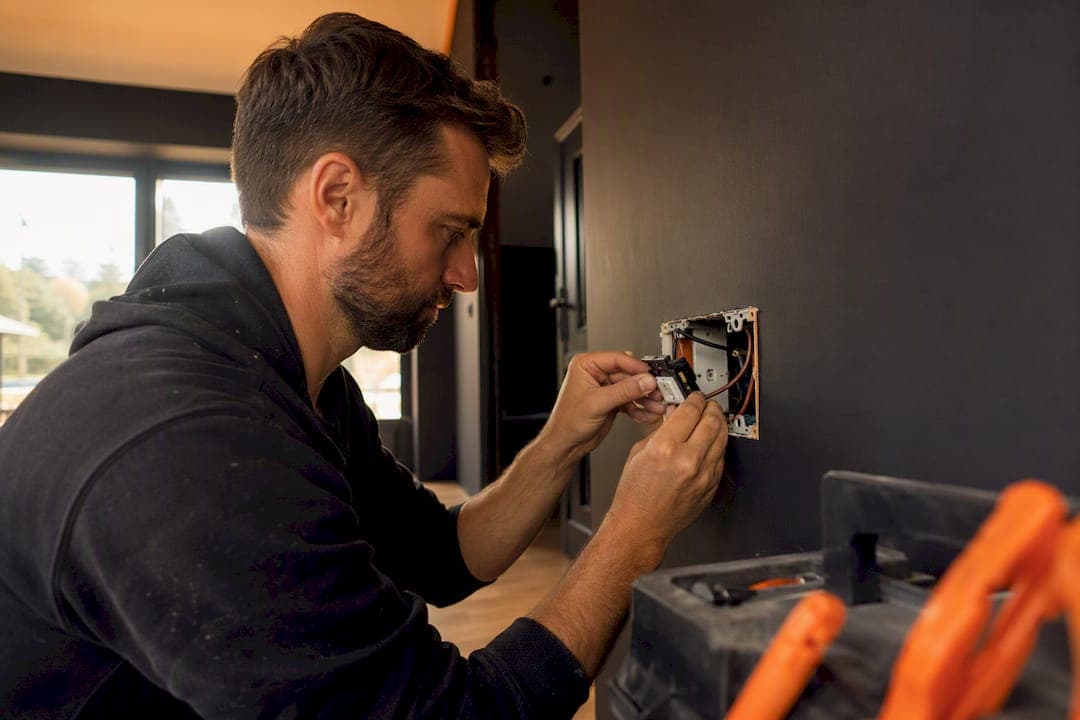
Most smart switches need a neutral wire to power their internal radio and processor reliably, and skipping it usually means picking a workaround, not skipping the problem. If your box has no neutral, you have four real options: a no-neutral switch, a bypass module at the fixture, a relay hidden at the ceiling rose, or running new neutral wire during a rewire. Test the circuit dead before touching anything, and call an electrician if the box has multiple gangs or wiring you can't confidently identify.
TL;DR:
- Without a neutral wire, installing a smart switch may cause flickering or unreliable connections, especially with low-wattage LED bulbs.
- A bypass module at the fixture can often fix flickering issues without rewiring, but it adds complexity and cost.
- Running a new neutral wire during a renovation eliminates all workarounds but is disruptive and requires professional installation.
- Multi-way circuits need compatible switches designed for traveler wiring; mismatched or incompatible devices are a common failure point.
- Always verify wiring and circuit conditions thoroughly before installation, and consider calling a licensed electrician for complex or unsafe wiring.
Table of Contents
- What a neutral wire is and why most smart switches ask for one
- How do you check whether your switch box has a neutral?
- Options when there is no neutral: pros, cons and where each fits
- Installing a smart switch when a neutral is present: a practical checklist
- Installing a smart switch when you don't have a neutral
- Compatibility, dimming and flicker: what to check before you buy
- Multi-way circuits, box depth and other install gotchas
- When should you call a licensed electrician?
- Our take: run the neutral once, retrofit when you can't
- Book a wiring inspection or smart switch install with JupiterAV
- Sources
What a neutral wire is and why most smart switches ask for one
Every switch box has up to four conductors doing distinct jobs. Line brings power in from the breaker panel. Load (also called switched live) carries power out to the light fixture only when the switch is closed. Neutral completes the circuit back to the panel, and earth (ground) is the safety conductor that carries fault current if something goes wrong.
A basic mechanical switch only needs line and load. It's just a gate: open the gate, power stops; close it, power flows. There's no electronics inside that need to stay awake.
A smart switch is different. It has a Wi-Fi or Zigbee radio, a small processor, and usually an LED status light, and all of that needs continuous, low-level power even when the connected light is off. That's the whole reason for the extra wire: the switch has to stay "on" internally at all times so it can hear your app, your voice assistant, or a scheduled automation.
- Line: incoming power from the panel
- Load: switched power heading to the fixture
- Neutral: the return path that keeps the switch's electronics running
- Earth: the safety ground, present in almost every modern box
Older homes wired for simple two-wire switching often skipped running neutral to the switch location entirely, since a mechanical toggle never needed it. That's the gap most homeowners run into when they try to wire a smart switch for the first time and find only two wires waiting in the box.
How do you check whether your switch box has a neutral?
You don't need an electrician's toolkit to answer this, but you do need to treat every box as live until proven otherwise.
- Shut off the breaker feeding that circuit, not just the switch itself.
- Remove the faceplate and unscrew the switch from the box, pulling it forward gently.
- Look for a bundle of white (or grey, depending on cable colour coding) wires capped together with a wire nut, tucked at the back of the box and not connected to the switch. That capped bundle is almost always your neutral.
- Before touching anything bare, use a non-contact voltage tester near each wire with the breaker still off, then briefly restore power to confirm which wire goes hot when the switch is flipped. That tells you line versus load.
- Turn the breaker off again before making any connections.
- Photograph the box, note how deep it is, and count how many devices share it (a "gang") before buying hardware or calling a pro.
Pro Tip: If you see more than two wires beyond line and load, or the box is stuffed with wiring for two or three switches, take a photo and send it to a professional before you buy anything. Multi-gang boxes are where DIY smart switch installs go sideways most often.
Options when there is no neutral: pros, cons and where each fits
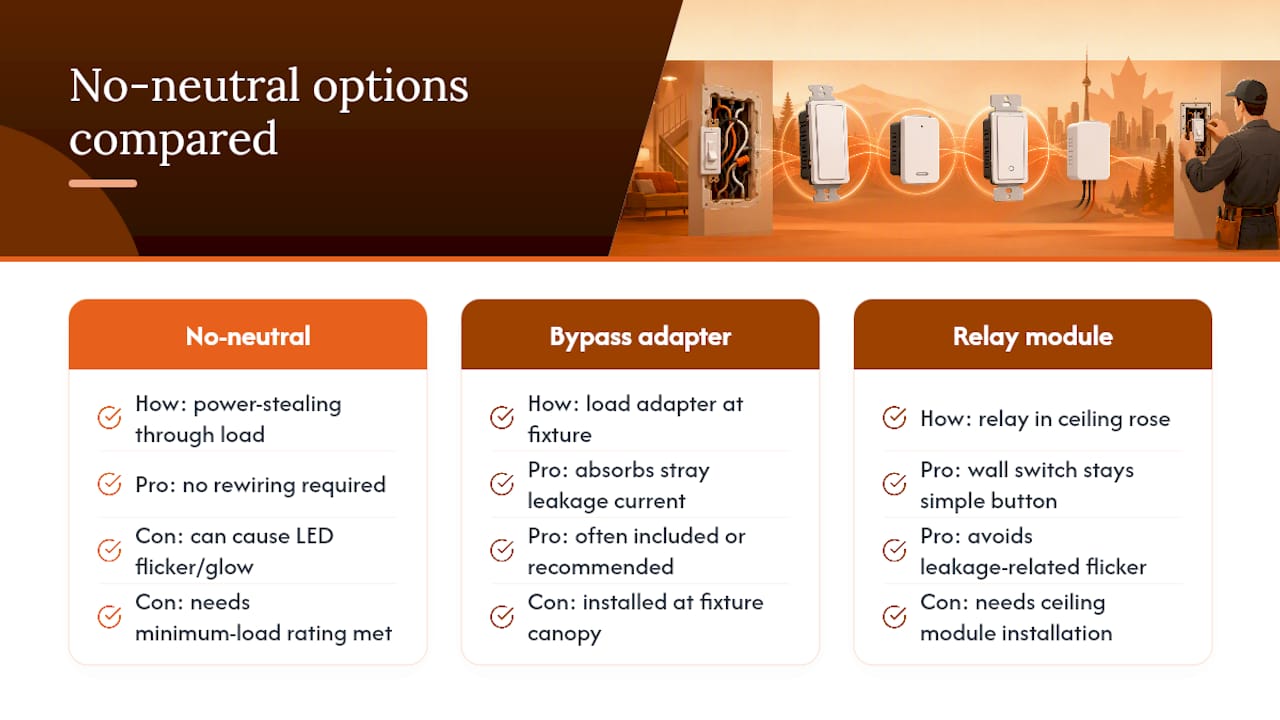
Finding no capped neutral bundle doesn't mean giving up on a smart switch. It means choosing which trade-off you're comfortable with.
No-neutral switches work by using a technique called power-stealing, drawing a tiny leakage current through the load wire itself to keep the switch's electronics alive. It's clever engineering, but that leakage current has to go somewhere, and with low-wattage LED bulbs it can cause flickering, dim glowing when the switch is "off," or unreliable Wi-Fi connections. Manufacturers publish minimum-load ratings for exactly this reason. Ignore them and you'll chase flicker problems for months.
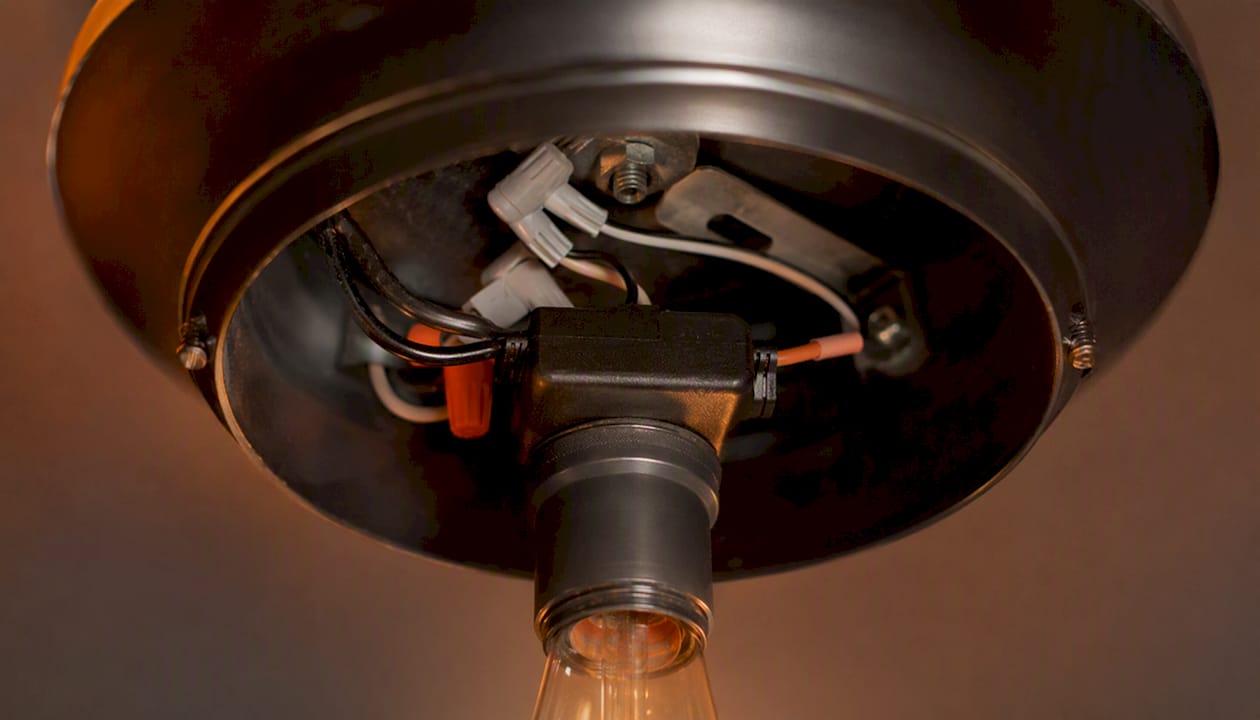
A bypass, or load adapter, installed at the light fixture itself is often the cleanest fix for that flicker. It sits between the fixture and the bulb, absorbing the stray leakage current so the LED never sees it. Many current no-neutral devices include a bypass in the box or recommend one outright.
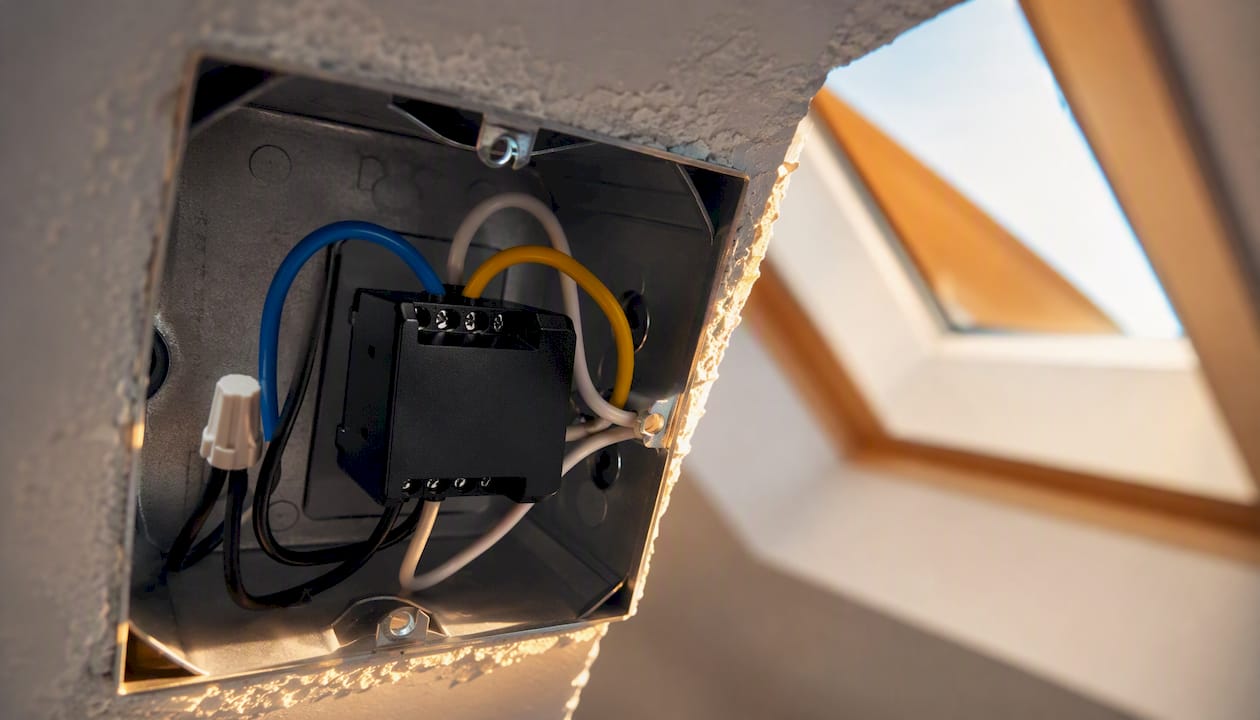
A relay or flush module hidden at the ceiling rose takes a different approach entirely. The wall switch stays a simple mechanical button, wired to a small relay module tucked inside the ceiling box or fixture canopy, where a neutral is almost always present. The wall device never needs its own neutral because it isn't doing the smart switching. It's just sending a signal.
Running new neutral wire during a renovation or rewire is the option with the fewest long-term compromises. It's disruptive, usually means opening drywall or fishing cable through a wall cavity, and typically calls for a licensed electrician. But it removes every constraint above in one move.
None of these choices is universally "best." A rental unit favours the bypass or a plug-in relay. A gut renovation favours running the wire once and never thinking about it again.
Installing a smart switch when a neutral is present: a practical checklist
If your box already has that capped neutral bundle, the install is refreshingly straightforward.
- Kill the breaker for that circuit, then confirm dead with a non-contact voltage tester. Don't trust a labelled panel; labels get swapped over the years.
- Put on safety glasses at minimum, and keep a flashlight handy since you'll be working with the power off.
- Pull the old switch, and label each wire with tape as you disconnect it: line, load, neutral, ground. Smart switches often colour their terminals to match, but labelling yours removes any guesswork.
- Connect each wire to its matching terminal. Push-in connectors like Wago lever nuts tend to be faster and more forgiving than wrapping wire around a screw terminal, though screw terminals torqued to the manufacturer's spec work fine too. A loose connection is the single most common cause of a switch that works for a week and then stops.
- Check that the device fits the back-box depth before you commit; many smart switches are noticeably thicker than the mechanical switch you removed, and a shallow box or a tight multi-gang plate can make the faceplate bow instead of sitting flush.
- Tuck the wiring so nothing pinches when you seat the switch back into the box.
- Restore power, test the switch manually first, then pair it with the app or hub.
- Confirm the switch still operates the light manually if your network or hub goes down. That fallback matters more than most people realize until the Wi-Fi drops during a dinner party.
Installing a smart switch when you don't have a neutral
The install path changes depending on which of the three retrofit routes you picked.
For a dedicated no-neutral switch, the terminal map usually covers line, load, and ground only, with no neutral terminal at all. Many of these devices need a compatible hub, so confirm that before you buy rather than after. Expect the switch to behave normally for standard incandescent-equivalent loads, but watch closely for flicker on LED-only fixtures during the first few nights of use.
For a bypass at the ceiling rose, the wiring pattern places the small bypass module between the fixture's wiring and the bulb socket, essentially giving the leakage current a place to go besides the bulb itself. This is usually a five-minute addition once the fixture is already open, and it's the fix most likely to resolve stubborn flicker on low-wattage LED circuits without touching the switch itself.
For a relay or flush module at the fixture, wire the relay to line, neutral (present at the fixture), and load, then run a low-voltage or simple two-wire connection down to the existing wall switch, which now acts purely as a physical trigger. The wall plate never changes.
Multi-way circuits deserve their own warning. A 3-way setup needs a compatible master switch paired with proper remote or accessory switches designed for that exact system. Swapping in a single smart device on one leg of a 3-way circuit without the matching remote hardware is one of the most common DIY failures, and it often looks like a wiring mistake when it's really a compatibility mismatch. Our 3-way smart switch guide covers the master/remote pairing in more detail if that's your situation.
Pro Tip: Buy your master and remote switches as a matched set from the same product line. Mixing brands on a 3-way circuit is the fastest way to end up with a switch that works from one location and not the other.
Compatibility, dimming and flicker: what to check before you buy
Flicker isn't random. It almost always traces back to two things: how the switch powers its electronics, and how the bulb's internal driver reacts to that tiny leakage current.
Cheap LED drivers respond to power-stealing current by flashing, glowing faintly when "off," or buzzing. Better-built dimmable LEDs with quality drivers tolerate it far better, and checking a bulb's dimmable rating before buying is worth thirty seconds at the shelf. When a good bulb still flickers on a no-neutral switch, a bypass adapter is usually the fix, not a bulb swap.
- Check the switch's published minimum load rating against your fixture's total wattage
- Prefer bulbs rated explicitly for dimming, even on a non-dimming switch
- Add a bypass proactively on fixtures with a single low-wattage LED bulb
- Confirm hub requirements before purchase, not after installation
Protocol choice matters just as much as bulb choice. Wi-Fi switches connect straight to your router with no extra hardware, but they add devices to a network that may already be crowded. Zigbee and Lutron's Clear Connect run on dedicated low-power radios through a hub, which tends to mean fewer dropped connections in larger homes. Matter is emerging as a common language across these ecosystems, but hub dependency still varies by device, and it's worth confirming before you commit to one protocol across an entire house.
Multi-way circuits, box depth and other install gotchas
A few situations turn a straightforward swap into a real project, and it's worth spotting them before you start rather than halfway through.
- 3-way and 4-way circuits use traveller wires that don't map cleanly onto a single-pole smart switch; you need hardware built for that exact configuration.
- Deep smart switches sometimes won't fit shallow or older back boxes, especially in a multi-gang setup, and forcing the faceplate on can crack it or strain the wires.
- An extension ring or remodel box can solve depth problems without opening the wall.
- Aluminium wiring, mismatched wire gauges, or scorched or brittle insulation inside the box are all signs to stop immediately. These point to underlying issues a new switch won't fix and a professional needs to assess.
When should you call a licensed electrician?
Call one before opening a panel, running new cable through finished walls, or working on any box with aluminium wiring, visible heat damage, or wiring for more than two gangs you can't confidently trace. A local permit or code check is worth five minutes on the phone, and it beats guessing. JupiterAV's installers handle exactly these calls across Calgary, and our smart home networking guide and ethernet wiring guide cover the related groundwork for a full smart home retrofit.
Our take: run the neutral once, retrofit when you can't
We tell clients to run 3-core cable to every switch location during a rewire or new build. It costs little extra and removes every no-neutral compromise for good. Where walls are staying closed, a bypass or relay retrofit is a perfectly sound choice, not a compromise you'll regret.
— JupiterAV
Book a wiring inspection or smart switch install with JupiterAV
JupiterAV is the practical alternative to guessing your way through a switch box in Calgary: our electricians identify your wiring in one visit and install the right fix the same day, whether that's a no-neutral switch, a bypass, or a full rewire.

We install Lutron Caseta, Control4, and other smart lighting systems across homes and businesses, and we handle the low-voltage wiring work that makes a retrofit reliable instead of a workaround that fails in six months. If you're staring at a switch box with only two wires and no clear next step, that's exactly the call we take most often. Request a quote or inspection and we'll tell you straight whether your situation needs a bypass, a relay, or new wire, before you spend a cent on hardware.
Sources
For deeper technical detail, see squote's wiring breakdown on neutral requirements and JupiterAV's own 3-way switch guide for multi-gang circuits.
- Smart Switch Wiring: Do You Need A Neutral Wire? | squote
- Best smart switches without neutral in 2026 | SmartHomePerfected
- Smart switches with no neutral wire: which ones actually work in older US houses | Smart Light Guru