Home ethernet wiring is the practice of installing structured network cabling throughout a residence to deliver fast, stable internet connections that Wi-Fi alone cannot match. Cat6 and Cat6A are the current standards for residential installs, with Cat6 supporting 10 Gbps up to 55 metres and Cat6A reaching 10 Gbps up to 100 metres. For Alberta homeowners running home offices, gaming setups, or 4K streaming in multiple rooms, a wired network eliminates the dead zones and congestion that wireless networks struggle with. Done right, a structured cabling install also adds lasting value to your home and makes future upgrades straightforward.
How to plan your home ethernet wiring layout
Good planning separates a clean, functional install from a frustrating one. Before you pull a single cable, map every room where you want a wired connection and decide how many drops each space needs.
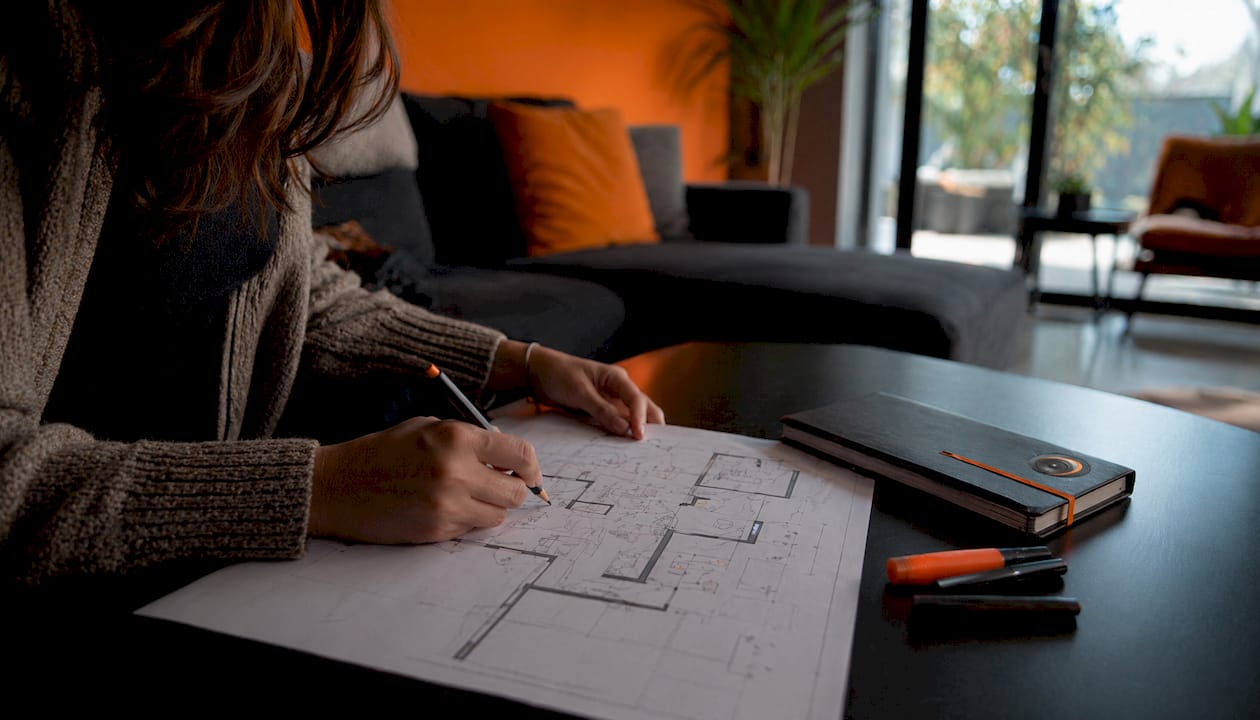
A typical 3–4 bedroom home requires 12–20 Ethernet drops for full coverage. That number sounds high until you account for every device that benefits from a wired connection.
Here is a practical room-by-room breakdown:
- Home office: 2–4 drops (desktop, VoIP phone, printer, spare)
- Living room: 2–3 drops (TV, streaming device, gaming console)
- Bedrooms: 1–2 drops each
- Ceiling-mounted wireless access points: 2–3 drops throughout the home
- Utility room or mechanical room: 1–2 drops for network equipment
The central distribution point matters as much as the drop count. Experts recommend a home-run wiring topology where every cable runs directly back to a central patch panel. This approach makes troubleshooting and upgrades far easier than daisy-chaining connections between rooms.
Plan for extra drops now. Retrofitting Ethernet after construction costs $100–$200 per run. That cost is nearly zero when you add an extra cable during the initial install.
Keep data cables at least 15 centimetres away from electrical wiring. Parallel runs close to 120V or 240V lines cause interference that degrades signal quality.
Pro Tip: Run one or two lengths of conduit through your walls during the initial install. If you ever need to upgrade from Cat6 to Cat6A, you can pull new cable through without opening walls again.
Tools and materials you need for cat6 cable installation
Having the right tools before you start saves hours of frustration. The list below covers everything needed for a complete residential install.
Cable types
| Cable type | Max speed | Max distance | Best use |
|---|---|---|---|
| Cat6 | 10 Gbps | 55 metres | Most home installs |
| Cat6A | 10 Gbps | 100 metres | Long runs, future-proofing |
Solid-core cable is the correct choice for in-wall runs. It reduces signal loss over distance and is designed for punchdown terminations at keystone jacks and patch panels. Stranded cable is for patch cords only, meaning the short cables you plug between a wall jack and a device.
Cat6A cables are thicker and stiffer than Cat6, which makes them harder to pull through tight wall cavities. If your home has narrow stud bays or many bends in the cable path, Cat6 is the more practical choice for most rooms.
Cable jacket ratings also matter for code compliance. CM-rated cable works for horizontal in-wall runs. CMR-rated (riser) cable is required when running cables vertically between floors in Alberta homes, as it resists flame spread in vertical shafts.
Essential tools
- Fish tape or fish sticks for pulling cable through walls
- Stud finder to locate framing before drilling
- Drill with long flexible bit (at least 45 centimetres) for drilling through plates
- Low-voltage mounting brackets for wall outlets
- Punchdown tool for terminating keystone jacks
- Cable tester for verifying continuity after installation
- Fire-rated caulk or firestop putty for sealing drilled holes
How do you run ethernet through walls and terminate wall jacks?
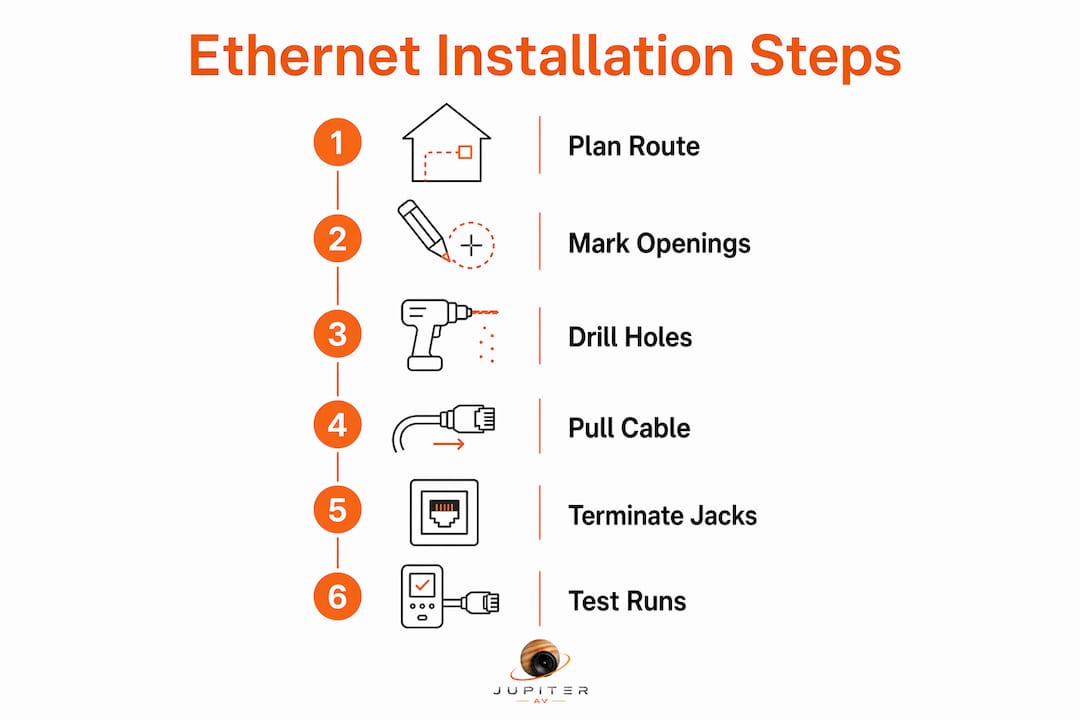
This is where the project comes together. Follow these steps in order and you will avoid the most common installation errors.
Step 1: Plan your cable routes
Use your attic or basement to run cables horizontally before dropping them down inside walls. These spaces give you access to top and bottom plates without opening drywall. Sketch your routes before drilling anything.
Step 2: Mark and cut wall openings
Mark the location of each wall jack with a pencil. Use a stud finder to confirm you are not cutting into a stud. Cut the opening with a drywall saw sized for your low-voltage mounting bracket.
Standard electrical boxes are not suitable for low-voltage Ethernet wiring. Use open-backed low-voltage mounting brackets instead. These comply with electrical codes and allow the cable to pass through freely without being enclosed in a box.
Step 3: Drill through top and bottom plates
Use your long flexible drill bit to bore through the top plate (from the attic) or bottom plate (from the basement). Drill straight down or up into the wall cavity so the cable has a clear path.
Every hole drilled through a top or bottom plate must be sealed with fire-rated caulk or firestop putty after the cable is pulled. This is a building code requirement in Alberta and most Canadian jurisdictions. It prevents fire from spreading through wall cavities between floors.
Step 4: Pull the cable
Attach the cable to your fish tape with electrical tape, folding the end back on itself so it does not snag on framing. Pull slowly and steadily. Avoid sharp bends, especially at corners. Cat6 has a minimum bend radius of four times the cable diameter. Exceeding that radius crushes the internal pairs and degrades performance.
Pro Tip: Label each cable at both ends with masking tape and a marker before you pull it. Once cables are in the wall, identifying them without labels becomes a real problem.
Step 5: Terminate at keystone jacks and patch panel
T568B is the standard wiring configuration for North American residential installs. Use T568B at both ends of every cable. Mixing T568A at one end and T568B at the other creates a crossover cable that will not work with standard network equipment.
To terminate a cat6 keystone jack, untwist each wire pair only as far as needed to seat it in the punchdown slots. Keeping the pairs twisted as close to the termination point as possible maintains the cable's performance rating. Use your punchdown tool to seat and trim each wire in one motion.
Leave 12–18 inches of slack at each wall jack and at least 3 feet at the patch panel. That extra length lets you re-terminate the cable if a connection fails later without pulling new cable through the wall.
Step 6: Test every run
Basic cable testers verify continuity and confirm correct wiring at both ends. Test every run before closing up walls or securing faceplates. A failed test at this stage is easy to fix. A failed test after drywall is patched is a much bigger problem.
Common mistakes to avoid in DIY ethernet wiring
Most installation failures trace back to a small set of repeatable errors. Knowing them in advance saves you from learning them the hard way.
- Mixing wiring standards: Using T568A at one end and T568B at the other creates a non-functional crossover. Pick T568B and use it consistently on every cable in the house.
- Excessive bends and kinks: Bending Cat6 too sharply at corners or stapling it too tightly crushes the wire pairs. Use cable clips rated for data cable, not staples.
- Running cable parallel to electrical wiring: Keep data cables at least 15 centimetres from electrical runs. Where they must cross, do so at a 90-degree angle to minimise interference.
- Skipping the cable test: Untested cables are a gamble. A wiring error at a keystone jack is invisible until a device fails to connect.
- Not leaving slack: Cutting cable too short at the wall jack leaves no room for re-termination. Always leave more than you think you need.
Pro Tip: Buy 10–15% more cable than your measurements suggest. Walls are rarely straight lines, and you will need extra length for routing around obstacles and leaving proper slack at both ends.
Low-voltage Ethernet wiring projects typically do not require permits in most Canadian jurisdictions, including Alberta. That said, always confirm with your local municipality before starting, as rules can vary by project scope.
Key takeaways
Solid home ethernet wiring requires Cat6 or Cat6A solid-core cable, a home-run topology to a central patch panel, T568B termination at both ends, and fire-rated sealing at every drilled plate.
| Point | Details |
|---|---|
| Choose the right cable | Use Cat6 for most rooms; upgrade to Cat6A for runs over 55 metres or future-proofing. |
| Plan drops before you start | A 3–4 bedroom home needs 12–20 drops; add extras now to avoid costly retrofits later. |
| Use T568B consistently | Wire both ends of every cable to T568B to avoid crossover faults. |
| Seal every drilled hole | Fire-rated caulk at top and bottom plates is a building code requirement in Alberta. |
| Test before closing walls | A basic cable tester catches wiring errors before they become expensive drywall repairs. |
What I have learned from years of ethernet installs
The single biggest mistake homeowners make is under-planning. They count the rooms, estimate one drop per room, and then call us six months later asking why the gaming setup in the basement has no wired connection. A wired network is infrastructure. Treat it like plumbing: put in more than you think you need while the walls are open.
I also see a lot of resistance to patch panels. Homeowners want to run cables directly to a switch and skip the panel entirely. That works, but it creates a mess that is genuinely difficult to manage when something goes wrong at 11 PM on a Friday. A patch panel in a small wall-mounted enclosure keeps every connection labelled, accessible, and easy to swap. The extra cost is modest. The time it saves over the life of the network is not.
The other thing worth saying plainly: quality tools matter. A cheap punchdown tool produces inconsistent terminations. A reliable cable tester catches problems before they become mysteries. Spending an extra $40 on decent tools is always cheaper than re-pulling a cable because a bad termination caused intermittent failures for three months.
If the project scope grows beyond what you are comfortable with, or if you are building a new home and want the wiring done right from the start, that is exactly the kind of work JupiterAV handles every day across Alberta.
— JupiterAV
Ready to take your home network further?
A well-planned wired network is the foundation every smart home needs. JupiterAV works with Alberta homeowners and home builders to design and install complete home networking solutions that go well beyond a single cable run. From patch panels and managed switches to whole-home Wi-Fi access points and low-voltage wiring for new builds, the team handles every part of the project.

Whether you are finishing a basement, building a new home, or upgrading an older property, JupiterAV can assess your layout, recommend the right cable spec, and install everything to code. Reach out through jupiterav.ca to discuss your project and get a quote.
FAQ
What is the best ethernet cable for home use in 2026?
Cat6 is the minimum recommended standard for new residential installs, supporting 10 Gbps up to 55 metres. Cat6A is the better choice for long runs or future-proofing, as it maintains 10 Gbps up to 100 metres.
Do I need a permit to run ethernet cable in my Alberta home?
Low-voltage Ethernet wiring typically does not require a permit in most Alberta municipalities. Confirm with your local authority before starting, as requirements can vary by project scope.
What is the T568B wiring standard?
T568B is the most common Ethernet termination standard in North America. Both ends of every cable must use the same standard; mixing T568A and T568B creates a crossover cable that will not function with standard network equipment.
Can I run ethernet cable alongside electrical wiring?
Keep data cables at least 15 centimetres away from electrical wiring. Where the two must cross, do so at a 90-degree angle to reduce interference and signal degradation.
How much slack should I leave at each ethernet wall jack?
Leave 12–18 inches of cable slack at each wall jack and at least 3 feet at the patch panel. That extra length allows for re-termination if a connection fails without pulling new cable through the wall.