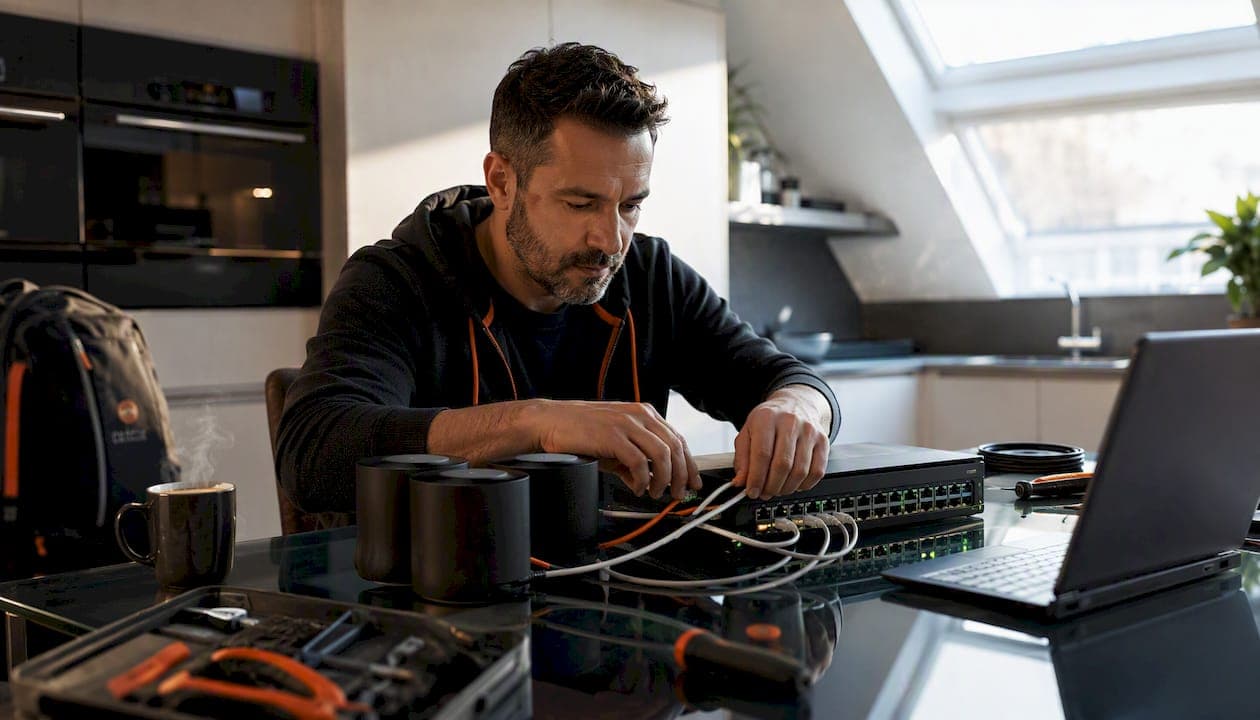
A smart home network is a purpose-built local area network that pairs a wired Ethernet backbone and high-bandwidth Wi-Fi (802.11ax/Wi-Fi 6 or newer) with low-power mesh protocols like Thread and Matter, all segmented by VLANs for security. That combination is the practical starting point for any Canadian home, whether you are wiring a new build in Calgary or retrofitting a 1990s two-storey in Edmonton.
The fastest thing you can do right now, in under ten minutes, is log into your router and create a second SSID labelled something like "Home-IoT." Put every smart bulb, thermostat, and plug on it. That is not a finished solution, but it immediately separates your laptops and phones from your smart devices. The sections below explain how to go further: proper VLANs, Thread border routers, firewall rules, and what a professional install from a team like JupiterAV actually involves.
Table of Contents
- How a smart home network differs from a basic home LAN
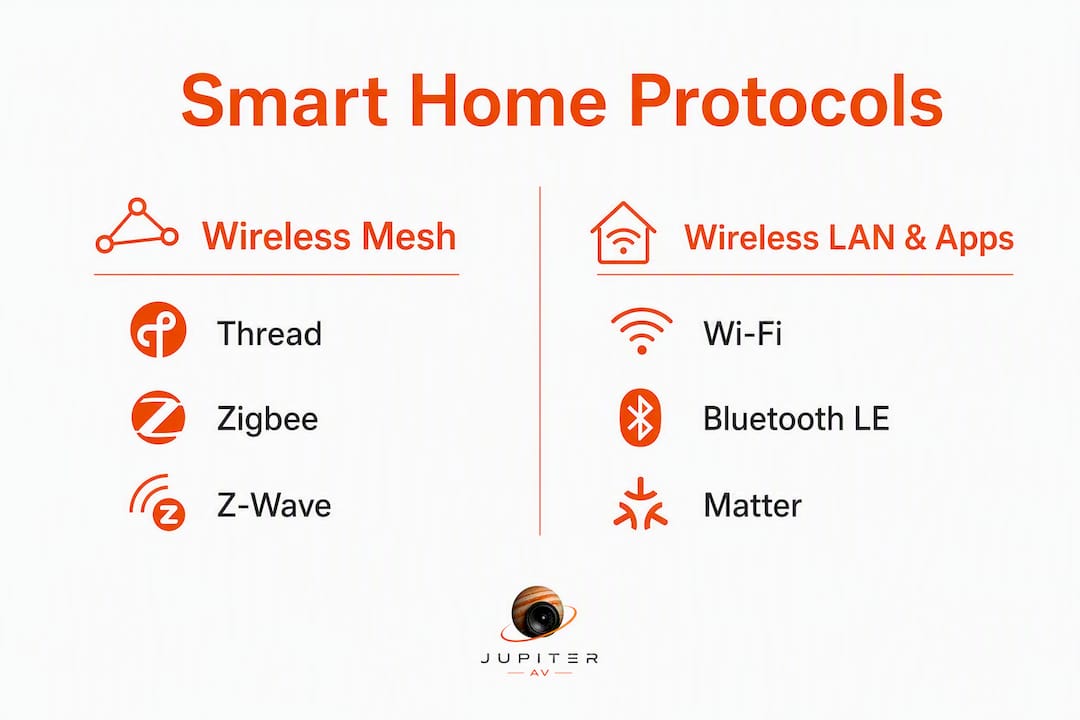
- Key protocols: Wi-Fi, Thread, Zigbee, Z-Wave, Bluetooth, and Matter
- Network architecture and topology: what to build and where
- Security best practices: VLANs, firewall rules, mDNS, and remote access
- Hardware categories and what to look for
- Planning, scaling, costs, and timelines for Canadian homes
- Step-by-step setup checklist for a secure smart home network
- Common problems and how to fix them
- Practitioner insights: what installers see on real jobs
- Privacy and Canadian data regulations
- Key takeaways
- What we see on real Calgary jobs
- JupiterAV designs and installs complete smart home networks in Calgary
- Useful sources and further reading
How a smart home network differs from a basic home LAN
A standard home LAN moves traffic between a handful of computers, phones, and a TV. A smart home network does all of that and then adds dozens to hundreds of additional devices with wildly different traffic profiles, power constraints, and communication patterns. The architecture has to account for all of them at once.
Device categories and their traffic profiles
Four broad categories show up on every smart home network:
- High-bandwidth clients: 4K cameras, smart TVs, streaming speakers (Sonos, WiiM), and video doorbells. These need consistent throughput, low jitter, and ideally a 5 GHz or wired connection.
- Low-power sensors: door/window contacts, motion sensors, temperature probes, leak detectors. They send tiny packets infrequently and run on coin cells for years. Wi-Fi would drain them in days.
- Real-time controllers: smart locks, motorized blinds (Lutron, Clara), light switches. Latency matters here; a lock that takes three seconds to respond feels broken.
- Automation hubs and border routers: Control4 controllers, Apple HomePod minis, Google Nest Hubs. These sit at the intersection of protocols and need reliable IP connectivity at all times.
Why protocol diversity is not optional
No single wireless protocol handles all four categories well. Wi-Fi is fast but power-hungry. Bluetooth LE is low-power but short-range. That gap is exactly why Thread exists: it is an IP-based mesh protocol built on IEEE 802.15.4 that scales to hundreds of low-power devices with self-healing routing and no single point of failure. Matter, the application-layer standard backed by Apple, Google, Amazon, and Samsung, runs on top of Thread (for sensors and controllers), Wi-Fi (for higher-power devices), and Bluetooth LE (for commissioning). The result is a network where Thread handles the sensor fabric, Wi-Fi handles the bandwidth-hungry devices, and Matter provides a common language between them.
Three design assumptions to accept before you start:
- Your network will grow. Plan for at least twice the device count you have today.
- Flat networks (everything on one subnet) become unmanageable and insecure past about 20 smart devices.
- Wireless backhaul in consumer mesh systems costs you bandwidth; a wired Ethernet backbone is worth the upfront effort.
Key protocols: Wi-Fi, Thread, Zigbee, Z-Wave, Bluetooth, and Matter
Choosing the right protocol for each device type saves you years of troubleshooting. Here is a practical breakdown.
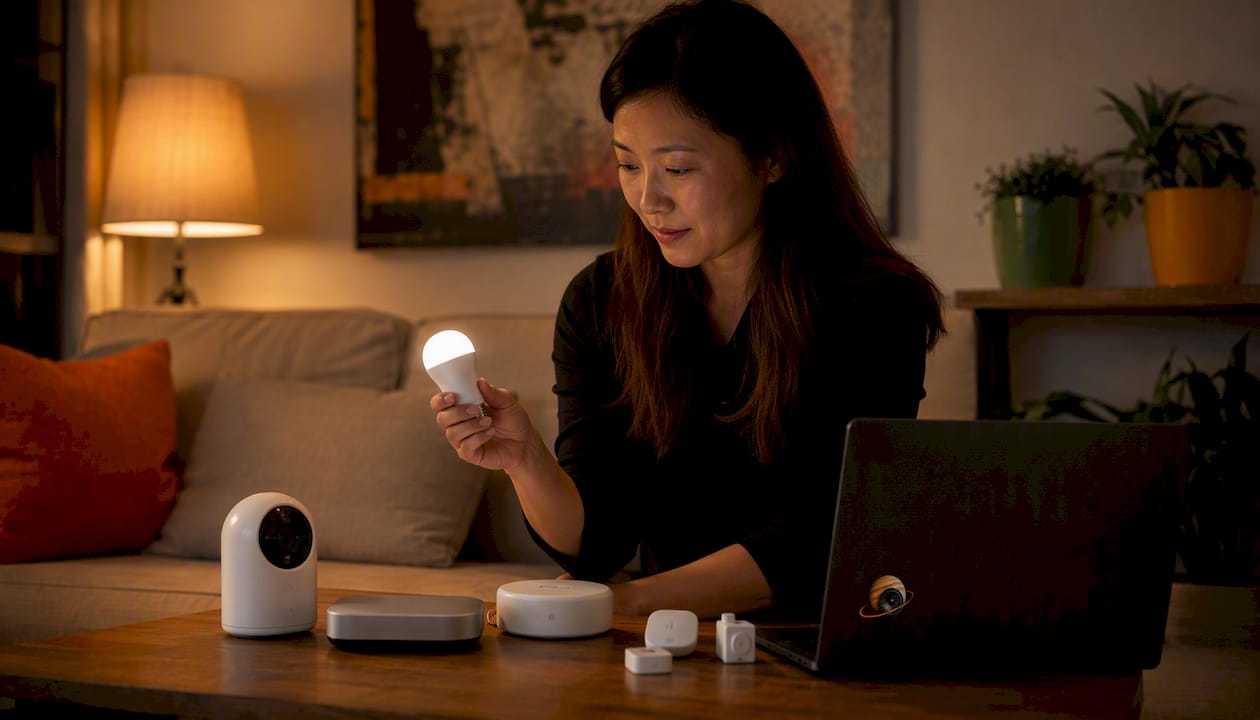
Wi-Fi (802.11ac/ax) Wi-Fi 5 (802.11ac) and Wi-Fi 6 (802.11ax) are the workhorses for cameras, streaming devices, and smart displays. Wi-Fi 6 adds OFDMA and Target Wake Time (TWT), which meaningfully reduces power draw for IoT clients that support it. The practical limit is that each Wi-Fi device adds load to your access point's radio; a home with 60+ Wi-Fi smart devices will stress a single AP. Cameras and streaming speakers belong on 5 GHz; most sensors and plugs work fine on 2.4 GHz.
Thread Thread is designed to run alongside Wi-Fi, not replace it. It uses IPv6 and self-healing mesh routing, so if one node goes offline the mesh re-routes automatically. Battery sensors, smart locks, and light switches are ideal Thread candidates. The catch: Thread devices need a Thread Border Router (TBR) to be reachable from your phone or cloud services. Many modern hubs and smart speakers act as TBRs automatically.
Zigbee Zigbee is a mature, low-power mesh protocol with a massive installed base of bulbs, sensors, and plugs. It is not IP-native, so it requires a hub (SmartThings, Philips Hue Bridge, Home Assistant with a Zigbee coordinator). Range per hop is roughly 10–20 metres indoors; the mesh extends that. Zigbee and Wi-Fi both use the 2.4 GHz band, so channel planning matters: Zigbee channels 15, 20, and 25 avoid overlap with Wi-Fi channels 1, 6, and 11.
Z-Wave Z-Wave operates on the 908.42 MHz band in North America, which means zero interference with Wi-Fi or Zigbee. It is the preferred protocol for locks, garage door controllers, and anything where reliability trumps cost. Device counts are capped at 232 nodes per network, which is plenty for residential use. Z-Wave Long Range (Z-Wave LR) extends range to several hundred metres line-of-sight, useful for detached garages or outbuildings.
Bluetooth LE Bluetooth LE is the commissioning protocol for Matter devices and works well for proximity-based devices (presence sensors, asset trackers). Its range tops out around 10 metres reliably indoors, so it is not a mesh backbone. Thread supersedes it for anything that needs to reach across a house.
Matter Matter is not a radio protocol; it is an application layer that runs over Thread, Wi-Fi, and Bluetooth LE. A Matter-certified device works with Apple HomeKit, Google Home, Amazon Alexa, and Samsung SmartThings without a proprietary hub. The practical benefit: you are not locked into one ecosystem. The practical limit: Matter over Thread requires at least one TBR on your network, and Matter over Wi-Fi adds another Wi-Fi client to your AP.
Protocol comparison
| Protocol | Typical latency | Power draw | Indoor range | Max devices | Best for |
|---|---|---|---|---|---|
| Wi-Fi 6 (802.11ax) | Low (ms) | High | 10–20 metres | Limited by AP | Cameras, streaming, displays |
| Thread | Very low (ms) | Very low | 10–30 m per hop (mesh) | Hundreds | Sensors, locks, switches |
| Zigbee | Low (ms) | Very low | 10–20 m per hop (mesh) | — | Bulbs, sensors, plugs |
| Z-Wave | Low (ms) | Low | several hundred metres line-of-sight | 232 | Locks, garage, security |
| Bluetooth LE | Very low (ms) | Very low | ~10 m | Dozens | Commissioning, proximity |
| Matter (app layer) | Depends on transport | Depends on transport | Depends on transport | N/A | Cross-ecosystem interop |
Network architecture and topology: what to build and where
The right topology depends on your home's size, construction, and device count. Three patterns cover most Canadian homes.
Small home (under 1,500 sq. ft., under 30 devices)
A single Wi-Fi 6 router with VLAN support handles this well. Run one SSID for main clients (WPA3, 2.4/5 GHz), one for IoT (WPA2, 2.4 GHz only, no band steering), and one for guests. A Thread border router, often a HomePod mini or Google Nest Hub, sits on the main VLAN and bridges the Thread mesh to your IP network. No managed switch required unless you add PoE cameras.
Prosumer setup (1,500–4,000 sq. ft., 30–80 devices)
This is where consumer mesh starts to show its limits. Professional-grade APs with wired Ethernet backhaul avoid the bandwidth penalty of wireless mesh nodes. The architecture: a VLAN-aware router or firewall at the edge, a managed switch in a utility closet, and two to four ceiling-mounted APs connected via CAT6. VLANs separate main clients, IoT, cameras, and guests. An mDNS reflector (built into most prosumer routers) keeps AirPlay and Chromecast working across subnets.
Large home or new build (4,000+ sq. ft., 80+ devices)
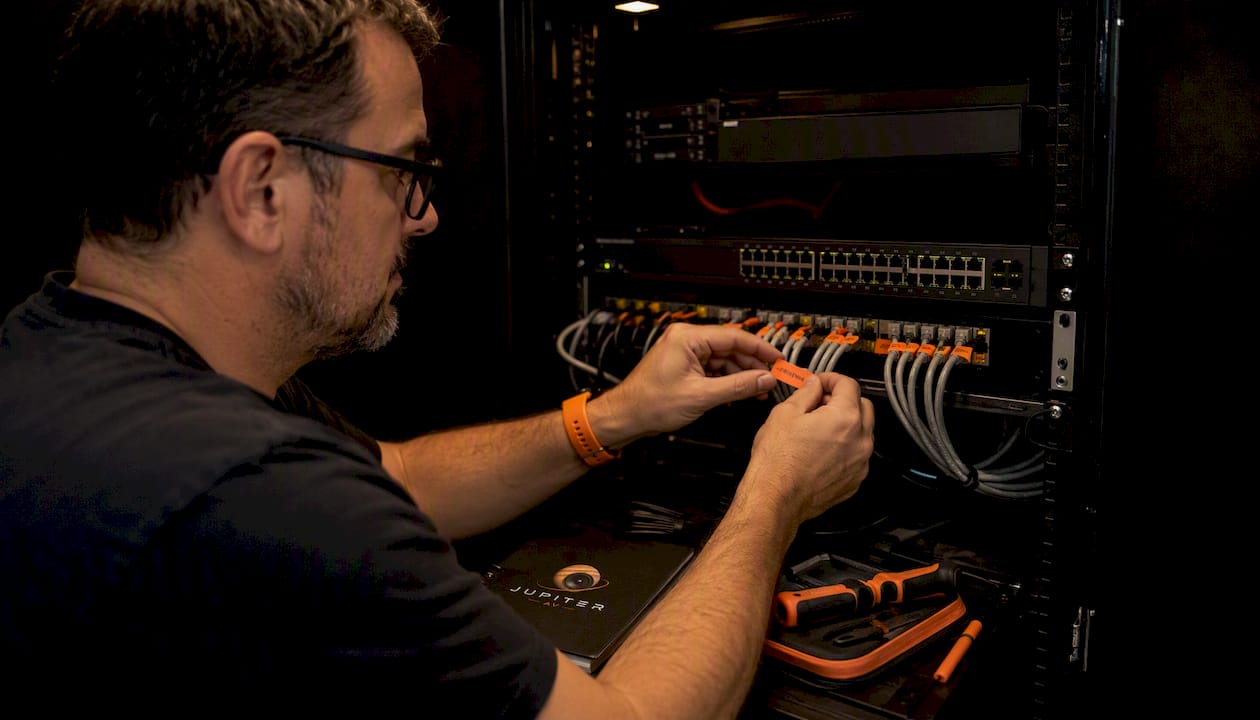
A centralised equipment rack with a dedicated firewall, a 24-port managed PoE switch, and five or more APs is the baseline. For new construction in Alberta, running CAT6A to every room and pre-wiring for a media/automation closet costs a fraction of what it costs to retrofit later. Check out the home Ethernet wiring guide for Alberta homeowners for specifics on in-wall runs and conduit planning.
Thread border router placement
A Thread Border Router bridges the Thread mesh to your home IP network via IPv6 and is required for Matter over Thread devices to be reachable by apps and cloud services. Place TBRs centrally and on the main VLAN. Running two TBRs (e.g., a HomePod mini and a Google Nest Hub) adds redundancy: if one reboots, the mesh stays connected. Keep TBRs plugged into wired Ethernet where possible so the bridge path is stable.
AP placement principles
Ceiling-mount APs at the geometric centre of each coverage zone. Avoid placing APs near metal ductwork, concrete walls, or microwave ovens. For roaming, configure all APs with the same SSID and password but on non-overlapping channels (1, 6, 11 on 2.4 GHz; stagger 5 GHz channels). A 15–20% signal overlap between adjacent APs gives clients a clean handoff without sticky-client problems.
Security best practices: VLANs, firewall rules, mDNS, and remote access
Network security is where most smart home setups fall short. A guest SSID feels like isolation but is not.
Why a guest SSID is not enough
A guest SSID prevents direct device-to-device discovery but typically lacks VLAN-grade firewall control. Devices on a guest network can still reach the internet and, depending on the router, may be able to reach your main LAN through shared NAT. A true VLAN requires a managed switch and a VLAN-aware router or firewall; without that hardware, client isolation is only partial.
Concrete firewall policy pattern
Three rules cover the core isolation logic:
- Allow Main → IoT: Your phone and laptop can initiate connections to smart devices (to send commands).
- Block IoT → Main: Smart devices cannot initiate connections back to your computers or NAS.
- Permit IoT → Internet: Devices can reach their cloud services for firmware updates and remote control.
A fourth rule, blocking IoT devices from reaching your router's admin interface, prevents a compromised bulb from reconfiguring your network.
mDNS and discovery across subnets
When you put IoT devices on a separate VLAN, AirPlay, HomeKit, Chromecast, and similar discovery protocols stop working. They rely on mDNS (Bonjour), which does not cross subnet boundaries by default. The fix is an mDNS reflector or relay configured on your router. Most prosumer firmware (pfSense, OPNsense, Unifi) includes this. Without it, your phone will not find your Sonos speakers or Apple TV across the IoT VLAN.
Remote access
Avoid port forwarding for smart home devices. Every open port is an attack surface. Instead, use a VPN: WireGuard is fast and built into most modern routers; Tailscale and ZeroTier are zero-config options that work even behind carrier-grade NAT. With a VPN, you connect to your home network as if you were on the local LAN, and all your apps work normally.
Security checklist:
- Change default router admin credentials immediately.
- Enable WPA3 on your main SSID; use WPA2 on the IoT SSID for compatibility.
- Disable UPnP on your router (it lets devices open their own port forwards).
- Assign static DHCP leases (reservations) to all critical devices so IP addresses never change.
- Enable automatic firmware updates on your router and APs, or set a quarterly manual schedule.
- Disable remote management on your router unless you are using a VPN.
- Review connected device lists monthly and remove anything unrecognised.
Pro Tip: Configure your IoT SSID as 2.4 GHz only with no band steering. Most smart home devices are 2.4 GHz-only, and forcing them to a dedicated band reduces congestion on your 5 GHz radio for cameras and streaming.
Hardware categories and what to look for
You do not need to pick specific brands here, but you do need to pick the right class of hardware.
Routers and firewalls
The minimum for a proper smart home setup: VLAN support, mDNS reflection, WPA3, and at least four Ethernet ports. Consumer routers marketed as "smart home ready" often emulate VLAN isolation with a guest SSID rather than true tagged traffic. If you want real firewall rules, look at prosumer firmware or a dedicated firewall appliance running pfSense or OPNsense. For most Calgary homes, a mid-range prosumer router with built-in VLAN and mDNS support hits the right balance. See the best Wi-Fi routers for Canadian homes for current picks.
Access points
Wi-Fi 6 (802.11ax) is the current baseline; Wi-Fi 6E adds the 6 GHz band for less congested high-throughput connections. The features that matter: Ethernet backhaul port, multi-SSID support (at least four), PoE input so you can ceiling-mount without a power outlet, and band steering controls you can disable per SSID. Consumer mesh nodes are convenient but share backhaul bandwidth wirelessly; in a device-dense home, that penalty compounds quickly.
Managed switches
A managed switch lets you tag VLANs to specific ports, which is how you connect APs and cameras to the right network segment. For most homes, an 8-port or 16-port PoE managed switch is sufficient. PoE (Power over Ethernet) matters if you are running ceiling APs or IP cameras without nearby power outlets. Look for 802.3af/at PoE support and a total PoE budget that covers all your powered devices simultaneously.
Thread border routers
Many devices already in your home act as TBRs: Apple HomePod mini (2nd gen), Apple TV 4K, Google Nest Hub (2nd gen), and Amazon Echo (4th gen) all include Thread border router functionality. You do not need to buy dedicated hardware. What you do need is to place these devices on your main VLAN (not the IoT VLAN) so they can bridge the Thread mesh to your IP network and remain reachable by your phone and cloud services.
Cabling
CAT6 handles 10 Gbps up to 55 metres and is the practical standard for new residential installs. CAT6A extends that to 100 metres and is worth the small premium for runs over 40 metres or any run that passes near electrical panels or HVAC equipment. For new builds in Alberta, run CAT6A to every room and pull a spare conduit while walls are open.
Planning, scaling, costs, and timelines for Canadian homes
Getting the budget right before you start saves a lot of rework.
Device counts and bandwidth
Sensors and smart switches consume negligible bandwidth. Cameras are the dominant load: a single 4K camera streams at roughly 8–16 Mbps continuously. Ten cameras need 80–160 Mbps of dedicated capacity on your camera VLAN, plus headroom for recording. Plan your internet plan and internal backhaul around camera count first, then add everything else. For whole-home audio with Sonos or WiiM, multicast traffic matters more than raw bandwidth; a managed switch with IGMP snooping keeps multicast contained.
Cost bands
| Setup type | Typical device count | Estimated cost (CAD) | Timeline |
|---|---|---|---|
| DIY basic (single router, 2 SSIDs) | 10–25 devices | — | 1–2 days |
| Prosumer DIY (mesh or wired APs, VLANs, managed switch) | 25–60 devices | — | 3–7 days |
| Professional install, mid-size home | 40–80 devices | — | 1–2 weeks |
| Professional install, large/new build | 80–200+ devices | — | 2–6 weeks |
Costs include hardware and labour. Structured cabling for new builds is quoted separately and varies by home size and conduit requirements.
What to have ready before an installer arrives:
- A floor plan with room dimensions and approximate device locations.
- Your current ISP plan and modem/router model.
- A list of every smart device you own or plan to buy, with protocol noted (Wi-Fi, Zigbee, Z-Wave, Thread).
- Confirmation of whether walls are open (new build) or finished (retrofit).
- Access to your electrical panel location and any existing low-voltage conduit.
For new construction projects, the new home smart home integration guide covers how to coordinate networking infrastructure with your builder before drywall goes up.
Canadian ISP considerations
Most major Canadian ISPs (Bell, Rogers, Telus, Shaw/Rogers) offer plans with 500 Mbps to 2.5 Gbps download speeds in urban centres. For a home with 10+ cameras and heavy streaming, a 1 Gbps symmetrical plan is a reasonable baseline. Check whether your ISP's supplied modem/router supports bridge mode; if it does not, you will need to work around double NAT, which complicates VPN and port-forward configurations.
Step-by-step setup checklist for a secure smart home network
Follow this sequence from a fresh router to a working, segmented network.
- Place and configure Thread border routers — Plug TBR devices (HomePod mini, Apple TV, Nest Hub) into wired Ethernet on the main VLAN. Commission Thread devices through their respective apps.
Maintenance cadence: Check firmware on your router, APs, and managed switch quarterly. Review your connected device list monthly. Reboot networking gear (router, switch, APs) on a schedule, or put them on a smart plug with a weekly overnight reboot cycle.
Common problems and how to fix them
Most smart home network issues fall into a short list of patterns.
Quick diagnostic flow
Check power first (is the device on?), then IP/DHCP (does it have an address?), then gateway connectivity (can it ping the router?), then subnet isolation (is a firewall rule blocking it?), then logs (what does the router or hub log say?). That sequence resolves the majority of issues in under ten minutes.
Symptom → cause → fix
Devices dropping off the network repeatedly: Usually a DHCP lease expiry or a sticky IP conflict. Fix: assign a static DHCP reservation for every critical device.
AirPlay/Chromecast/HomeKit not finding devices: mDNS is not crossing the subnet boundary. Fix: enable mDNS reflection on your router. If you are using pfSense or OPNsense, install the Avahi package. If the issue persists, check that your TBR is on the correct VLAN.
Slow streaming or buffering on cameras: Wireless backhaul congestion or a camera on 2.4 GHz. Fix: move cameras to 5 GHz, check AP backhaul is wired, verify the camera VLAN has sufficient bandwidth. For Sonos-specific issues, the Sonos not connecting troubleshooting guide covers multicast and IGMP settings in detail.
Roaming issues (device stays connected to a distant AP): Sticky client behaviour. Fix: enable 802.11r (fast BSS transition) and 802.11k/v on your APs if supported. Lower the minimum RSSI threshold so the AP drops weak clients and forces a reconnect to a closer node.
Zigbee or Z-Wave devices not responding: Interference or range. Fix: check Zigbee channel against your Wi-Fi channels (use Zigbee channels 15, 20, or 25 to avoid Wi-Fi overlap). For Z-Wave, check mesh routing in your hub's device map and add a plug-in repeater if a device is at the edge of range.
Interference sources and mitigation
Microwave ovens blast 2.4 GHz during operation; keep APs away from kitchens or switch affected devices to 5 GHz. Baby monitors and older cordless phones also use 2.4 GHz. Neighbouring Wi-Fi networks are the most common interference source in dense urban areas; use a Wi-Fi analyser app to find the least-congested channels and set your APs manually rather than relying on auto-channel selection.
Practitioner insights: what installers see on real jobs
The most common mistake on residential smart home networks is treating a guest SSID as a finished security solution. It is not. A guest SSID keeps devices off your main LAN in a basic sense, but it does not give you firewall rules, it does not give you traffic visibility, and it almost always breaks discovery. The first call after a "guest SSID IoT setup" is usually "my Chromecast stopped working" or "HomeKit can't find my thermostat."
The second recurring issue is missing UPS (uninterruptible power supply) coverage for networking gear. A power blip reboots your router, switch, and APs simultaneously. Every automation that was mid-execution fails, DHCP leases get confused, and Thread border routers take a minute to re-establish their mesh bridges. A $150 UPS on your network rack prevents all of that.
DHCP reservations are another small investment with outsized returns. When a hub or border router gets a new IP after a lease renewal, every automation that references it by IP breaks silently. Assign reservations to every piece of infrastructure and you eliminate an entire category of intermittent failures.
For a concrete example: a 5,000 sq. ft. home in Calgary with 94 smart devices (42 Wi-Fi, 31 Zigbee, 21 Thread) was running everything on a flat network with a single consumer mesh system. Latency on automations was inconsistent, cameras buffered during peak hours, and AirPlay dropped daily. The fix: a wired AP backhaul with four ceiling APs, a managed switch, three VLANs (main, IoT, cameras), mDNS reflection, and DHCP reservations for all hubs. Automation latency dropped to under 200 ms consistently, cameras ran without buffering, and AirPlay has not dropped since commissioning.
For readers weighing a full Control4 or managed automation system against a DIY approach, the Control4 alternatives guide for Canadian homeowners lays out the trade-offs honestly.
Privacy and Canadian data regulations
Canadian homeowners have specific privacy considerations that differ from the U.S. framework most smart home documentation assumes.
Canada's federal private-sector privacy law, PIPEDA (the Personal Information Protection and Electronic Documents Act), governs how companies collect, use, and disclose personal information. Most smart home devices collect data including voice recordings, usage patterns, presence detection, and video footage. Under PIPEDA, companies must obtain meaningful consent and disclose what data is collected and where it is sent.
The practical concern: most smart home devices route data through U.S. or international cloud servers. That data is subject to U.S. law (including national security access provisions) once it crosses the border. Canadians have no direct recourse under PIPEDA for data held by foreign entities, though the company's Canadian operations remain subject to it.
Data handling best practices for Canadian homeowners:
- Review the privacy policy of every device before purchase. Look for where data is stored and whether local processing is available.
- Prefer devices that support local control (Home Assistant, Matter over Thread with a local hub) so automations run without cloud dependency.
- Use a local DNS resolver or Pi-hole to block known telemetry endpoints and reduce the volume of data leaving your network. This also speeds up troubleshooting by making unexpected outbound connections visible.
- For cameras and doorbells, check whether footage is stored locally (NVR/NAS) or exclusively in the cloud. Local storage keeps footage under Canadian jurisdiction.
- Disable microphone access on voice assistants when not in use, or use a hardware mute button.
- Alberta's Personal Information Protection Act (PIPA) applies to provincially regulated businesses; if you run a home-based business, your smart home data practices may fall under PIPA rather than PIPEDA.
Canada's proposed Bill C-27 (the Consumer Privacy Protection Act) would replace PIPEDA with stronger consent and transparency requirements. It had not received Royal Assent as of early 2026, but its passage would increase obligations on smart home device manufacturers operating in Canada.
This section is general information, not legal advice. Confirm current obligations with a qualified privacy professional or the Office of the Privacy Commissioner of Canada.
Key takeaways
A well-designed smart home network pairs a wired Ethernet backbone with Wi-Fi 6, Thread for low-power devices, VLAN segmentation, and mDNS reflection to deliver reliable, secure automation at any scale.
| Point | Details |
|---|---|
| Wired backbone first | Run CAT6 or CAT6A to APs, cameras, and hubs before commissioning any wireless devices. |
| Thread complements Wi-Fi | Use Thread for sensors, locks, and switches; reserve Wi-Fi for cameras, streaming, and displays. |
| VLANs over guest SSIDs | A guest SSID is a starting point only; true isolation needs a managed switch and firewall rules. |
| mDNS reflection is required | Without an mDNS relay, AirPlay, HomeKit, and Chromecast will not work across separate subnets. |
| JupiterAV for professional installs | JupiterAV designs, cables, and commissions complete smart home networks in Calgary, from site survey to ongoing support. |
What we see on real Calgary jobs
The gap between a flat consumer network and a properly segmented smart home is wider than most homeowners expect, and it shows up in the first week of use. Automations that worked fine with ten devices start misfiring at thirty. Cameras buffer. AirPlay drops. The root cause is almost always the same: no wired backhaul, no VLANs, no mDNS reflection, and no UPS on the network rack.
Alberta homes present a specific set of challenges. Older homes in established Calgary neighbourhoods often have no low-voltage conduit and concrete or plaster walls that attenuate 5 GHz significantly. New builds in communities like Mahogany or Livingston are wired during framing, but only if the builder and homeowner coordinate early. The window to run CAT6A in a new build is narrow; once drywall is up, retrofit costs multiply.
Before an on-site consultation, the most useful thing you can do is draw a rough floor plan, note where your ISP connection enters the home, and list every smart device you own or plan to add. That information lets a site survey move from two hours to forty-five minutes and produces a more accurate quote.
JupiterAV designs and installs complete smart home networks in Calgary
Most homeowners reach the limits of DIY at the VLAN and mDNS configuration stage, and that is exactly where a poorly configured network causes the most frustration. JupiterAV handles the full scope: site survey and network design, structured CAT6/CAT6A cabling, managed switch and AP installation, VLAN and firewall configuration, Thread and Matter commissioning, Lutron Caseta lighting, Control4 automation, Sonos and WiiM whole-home audio, and CCTV/security integration.

The difference between a DIY setup and a professionally installed one is not just the hardware. It is the firewall rules that actually work, the mDNS relay that keeps AirPlay running, the UPS that keeps your network online during a power blip, and the DHCP reservations that mean your automations never break silently at 2 AM. JupiterAV works with homeowners, home builders, and businesses across Calgary. If you are planning a new build or a retrofit, contact JupiterAV for a site survey and get a design that works from day one.
Useful sources and further reading
A short list of authoritative references for deeper reading, plus JupiterAV's own guides for follow-up.
- Thread Group: Thread in Smart Homes — The Thread Group's overview of Thread's architecture, scaling, and role in Matter ecosystems. Start here for protocol fundamentals.
- Wikipedia: Home network — Solid reference for LAN fundamentals, device categories, and protocol overviews.
- JupiterAV: Home Ethernet wiring guide for Alberta homeowners — Practical guidance on in-wall CAT6 runs, conduit planning, and common pitfalls specific to Alberta homes.
- JupiterAV: Best Wi-Fi routers for Canadian homes — Current router and AP picks with Canadian availability and feature priorities for smart home use.
- JupiterAV: Control4 alternatives for Canadian homeowners — Honest comparison of managed automation platforms versus DIY, with dealer vs self-install trade-offs.
- New home smart home integration: your 2026 build guide — Partner resource covering how to coordinate smart home infrastructure with your builder during new construction in Canada.