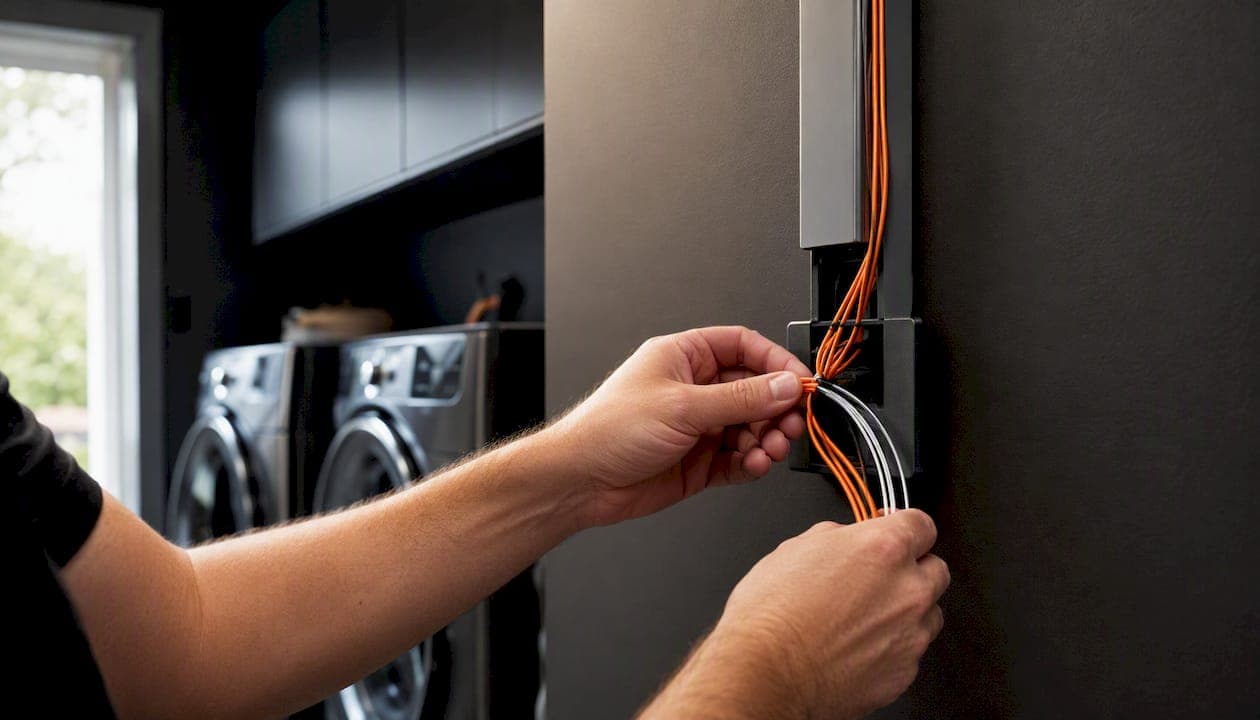
A fiber home network gives you the best long-term combination of speed, latency, and reliability available for a residential wired backbone. Plan the physical plant first — conduits, pull ropes, and labelled terminations — before you buy a single transceiver.
Before you read further, here are the four actions that matter most:
- Map your applications and high-bandwidth devices. Identify where 8K streaming, NAS storage, or a homelab lives before choosing fibre count or optics, as the FOA design guide recommends starting with service requirements, not hardware.
- Check FTTH availability at your address. FTTH (fibre to the home) delivers the full benefit; FTTN and FTTC still use copper for the last stretch and cap your speeds accordingly.
- Decide on your backbone strategy. Choose between running fibre to each room (FTTR) or a central wiring closet with Cat6a Ethernet to endpoints before the installer arrives.
- Confirm your router's WAN port speed. A 2.5G or 10G WAN port is required to take advantage of multi-gig plans; a standard 1G port will bottleneck a 1.5 Gbps or 2 Gbps service.
Table of Contents
- What does "fiber home network" actually mean, and what terms do you need to know?
- The four core components of a fibre home network
- What happens during a typical Canadian fibre installation?
- How do you distribute multi-gig bandwidth inside the house?
- How do you plan cable paths to avoid rework later?
- Safe handling, maintenance, and basic troubleshooting
- When should you DIY, and when is a professional installer worth it?
- What do typical costs and timelines look like in Canada?
- Key takeaways
- An installer's perspective on what actually goes wrong
- JupiterAV handles your fibre and home network installation in Calgary
- Useful sources and further reading
What does "fiber home network" actually mean, and what terms do you need to know?
The phrase "fiber home network" covers two distinct things: the ISP's fibre connection arriving at your home, and the fibre or copper backbone you run inside it. Understanding where one ends and the other begins is what separates a well-planned install from an expensive redo.
ISP delivery architectures
Fibre types
- OS2 (singlemode): The standard for ISP drops and long runs. Supports distances well beyond what any home needs, with maximum future-proofing. The FTTH installation standard recommends OS2 or bend-insensitive G.657A2 for last-mile drops.
Connectors and polish types
Short glossary
The four core components of a fibre home network
Every residential fibre install, from a basic FTTH connection to a full in-home fibre backbone, relies on the same four building blocks.
1. The fibre drop and NID
The drop is the fibre cable running from the ISP's nearest terminal (on a pole or underground) to your home. It terminates at the NID, a weatherproof enclosure mounted on the exterior wall. Everything from the street to the NID is the ISP's responsibility. Everything past it is yours. Knowing this boundary matters when something goes wrong.
2. The ONT (Optical Network Terminal)
The ONT converts the optical signal into a standard Ethernet port. It is powered by mains electricity, which means a power outage kills your internet unless the ONT is on a UPS (uninterruptible power supply). A small UPS — even a basic unit — keeps the ONT and router alive through brief outages, which is worth doing if you rely on VoIP or home security. The ONT is typically mounted near the NID entry point or in a utility room; placement affects how cleanly you can route the Ethernet run to your router.
3. Router or gateway
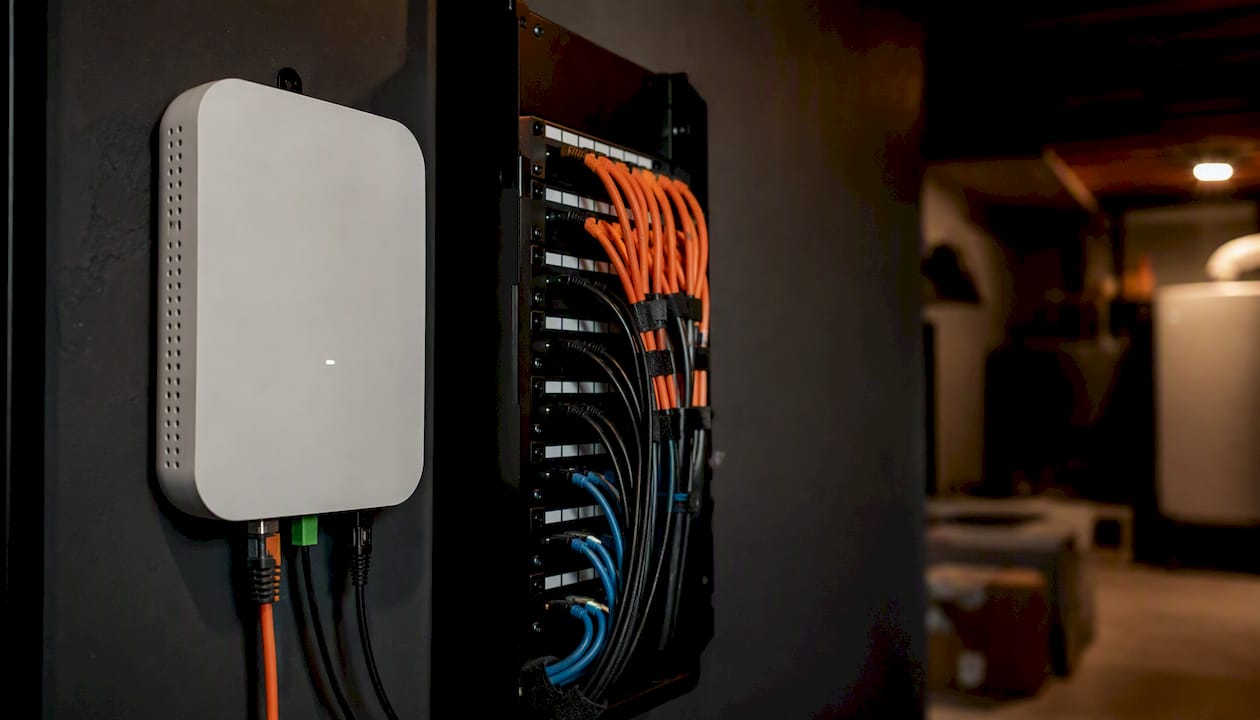
Your router connects to the ONT via a single Ethernet cable. For any plan above 1 Gbps, the WAN port on that router must be 2.5G or 10G. Many consumer routers still ship with a 1G WAN port, which hard-caps your throughput regardless of what the ISP delivers. Wi-Fi 6 (802.11ax) handles most wireless endpoints well; Wi-Fi 7 (802.11be) is worth considering for new builds where you expect multi-gig wireless in the next few years. For best Wi-Fi router options that support multi-gig WAN, check JupiterAV's curated picks for Canadian homes.
4. The in-home backbone
This is where your choices have the longest-lasting consequences. Three common patterns:
- Mixed-speed architecture: 10G fibre or Cat6a to NAS/workstation locations; 2.5G or 5G to access point uplinks; 1G to TVs and IoT devices. Per 10G home fibre guidance, this mixed approach avoids overspending while removing the bottlenecks that actually matter.
Pro Tip: Invest in conduit and pull ropes now, not expensive optics. Transceivers and switches will be faster and cheaper in three years. A conduit you can't retrofit through a finished wall will cost you far more.
What happens during a typical Canadian fibre installation?
A standard residential FTTH install follows a consistent sequence. Knowing each step helps you prepare your home and ask the right questions.
- Site survey. The technician evaluates aerial versus underground routing, checks for easements or permit requirements, and identifies the best ONT location inside the home. In Canada, underground drops require a locate request (Ontario One Call, BC One Call, or Alberta One Call depending on your province) before any trenching.
- Running the drop. Aerial drops attach to a strand on the utility pole and run to a weatherhead on your home. Direct-burial drops go into a trench at the minimum depth required by local code (typically 450 mm in most Canadian municipalities, deeper in frost-prone zones). The technician drills one small entry hole — usually around 12 mm — through the exterior wall and seals it with weatherproof compound.
- Mounting the NID and ONT. The NID goes on the exterior wall near the entry point. The ONT is mounted inside, connected to the NID via a short fibre pigtail. The ONT powers up and registers on the ISP's PON network.
- Connecting the ONT to the router. A single Cat5e or Cat6 Ethernet cable runs from the ONT's LAN port to the router's WAN port. The technician confirms the WAN port negotiates at the correct speed.
- Testing and handover. The installer runs an Ethernet speed test (not Wi-Fi) to verify the provisioned speed, checks optical power levels at the ONT, and documents the results. Ask the technician to show you the optical receive power reading — it should fall within the ONT's specified range. A standard install takes 2–4 hours; complex sites with trenching or long conduit runs take longer.
Homeowner preparation checklist:
- Clear a path from the exterior entry point to your preferred ONT/router location.
- Identify and mark where you want the ONT mounted (utility room, basement, or main floor).
- List mission-critical devices (NAS, workstation, security DVR/NVR) and their locations so the installer can plan Ethernet drops.
- Confirm your router's WAN port speed before the technician arrives.
- Have a UPS ready for the ONT and router.
How do you distribute multi-gig bandwidth inside the house?
Getting fast internet to the ONT is the easy part. Getting it to every device that needs it — without running fibre to a smart thermostat — is where planning pays off.
Distribution options compared
| Criterion | Fibre to each room (FTTR) | Central fibre + Cat6a to rooms | Mixed-speed (fibre backbone + varied edge) |
|---|---|---|---|
| Cost | Highest | Moderate | Lowest for most homes |
| Future-proofing | Excellent | Very good | Good for 10+ years |
| Device compatibility | Requires SFP+ NICs or media converters at endpoints | Standard RJ45 everywhere | Standard RJ45 everywhere |
| Ease of maintenance | Requires fibre handling skills | Familiar copper at endpoints | Familiar copper at endpoints |
| Best fit | New builds, homelabs, AV-heavy installs | Most Canadian homes | Homes with a few high-bandwidth nodes |
FTTR extends fibre coverage to individual rooms, solving last-metre Wi-Fi roaming issues and delivering gigabit-class wireless from any room. It is a compelling option for new construction where conduit is already in place, but it adds cost and complexity in retrofits.
Fibre type and optics choices
For indoor 10G links between rooms or floors, OM3 multimode with SR optics is the practical default — affordable, widely available in Canada, and more than adequate for any residential distance. OS2 singlemode with LR optics makes sense when you are running fibre to a detached garage or studio, or when you want maximum headroom for future standards.
SFP+ switches (10G) are now available at prices that make sense for a home wiring closet. 10GBASE-T (copper 10G) is an alternative for short runs where you already have Cat6a in the walls, though it draws more power and generates more heat than SFP+ equivalents.
Hardware checklist by device type
- Wireless access points: 2.5G or 5G uplink port; mesh systems with wired backhaul perform significantly better than wireless mesh in multi-storey Canadian homes.
Pro Tip: Order pre-terminated fibre assemblies for indoor runs where you can. Field termination requires a fusion splicer and cleaver; pre-terminated LC-LC OM3 patch assemblies are cleaner, faster, and less prone to connector loss issues in a home setting.
How do you plan cable paths to avoid rework later?
The FOA design guidance is direct on this: start with service requirements and geographic layout before choosing any component. In practice, that means drawing your cable paths before you buy anything.
Conduit and infrastructure first
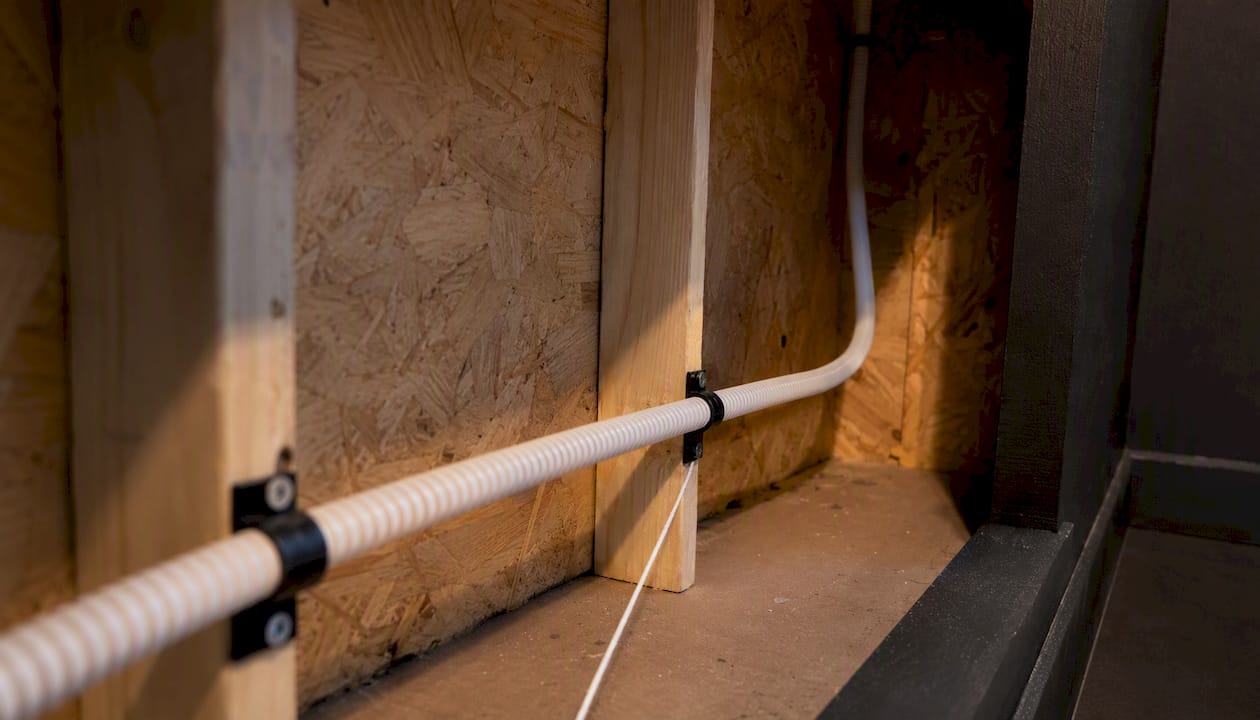
Run conduit everywhere you can, even if you are pulling Cat6a today. A 25 mm ENT (electrical non-metallic tubing) conduit with a pull rope costs almost nothing during a renovation or new build; retrofitting it through finished walls costs a great deal. Leave a pull rope in every conduit after the first cable is installed.
Fibre count and jacket selection
Run more fibres than you need today. A 6-fibre or 12-fibre indoor cable costs marginally more than a 2-fibre cable and gives you spares for future upgrades or repairs without re-pulling. For indoor runs, choose LSZH (low-smoke zero-halogen) jacketed cable. For outdoor or direct-burial runs, use PE (polyethylene) jacketed cable rated for the application. In Canadian climates, outdoor aerial fibre must be rated for the temperature range in your region; Alberta and the Prairie provinces see sustained temperatures below -40°C, which eliminates some cable grades.
Routing in typical Canadian homes
- Basements: The easiest path for horizontal runs. Use J-hooks or cable trays rather than staples, which can deform fibre jackets.
- Attics: Viable for vertical drops to upper floors; insulation depth and vapour barriers complicate access in Canadian homes. Seal all penetrations for fire and air barrier compliance.
- Multi-storey runs: A central chase or utility wall is ideal. If none exists, an interior closet stack is the next best option.
- Detached garages or studios: Use OS2 singlemode in a direct-burial PE jacket or conduit; aerial runs need a messenger wire and must account for ice loading in winter.
For new construction, integrating smart home infrastructure during the build is the most cost-effective time to run conduit and fibre.
Documentation checklist
- Label every cable at both ends before it goes in the wall.
- Record the cable route, fibre count, and connector type in a simple spreadsheet or drawing.
- Run baseline OLTS (optical loss test set) measurements after installation and keep the results. Future troubleshooting is far faster when you have a baseline to compare against.
- Photograph termination points and patch panel layouts before closing walls.
Safe handling, maintenance, and basic troubleshooting
Fibre is not fragile in the way people assume, but it does have specific failure modes that copper does not.
Safety rules
- Never look directly into a live fibre or connector end. Even invisible infrared light from a 1310 nm or 1550 nm source can damage your retina without any visible warning.
- Wear safety glasses during any splicing or cleaving work. Fibre shards are invisible and sharp.
- Keep connector end-faces clean. A contaminated LC connector is the single most common cause of unexplained signal loss. Use a one-click cleaner before every connection.
Bend radius
Fibre fails silently when bent too tightly. During installation, maintain a minimum bend radius of 20 times the cable's outer diameter while pulling; after installation, the static minimum relaxes to 10 times. For G.657A2 drop fibre, the static minimum can be as low as 7.5 mm, but that is a limit, not a target. Tight bends cause micro-cracks that produce intermittent packet loss — the kind of fault that is nearly impossible to diagnose without an OTDR.
Basic troubleshooting steps (no optical test gear required)
- Check ONT power and status LEDs. A solid green PON light means the ONT is registered; a flashing or red light means the optical signal is lost or the ONT is not authenticated.
- Verify the Ethernet link between the ONT and router. Confirm the port negotiates at the correct speed (check the router's WAN port status page).
- Swap the ONT-to-router Ethernet cable with a known-good cable. A failed patch lead is a surprisingly common culprit.
- Run an iperf3 test between two wired devices before blaming Wi-Fi for slow speeds. If wired speeds are correct and Wi-Fi is slow, the problem is wireless, not the fibre connection.
- After a Sonos or other audio device stops connecting post-upgrade, check VLAN and IGMP snooping settings — audio device connectivity issues after a network change are almost always a configuration problem, not a hardware fault.
When to call a professional: If the ONT shows no PON signal, if you suspect a break in the drop, or if OLTS measurements show loss above the link budget, you need optical test equipment (VFL, OLTS, or OTDR) and likely fusion splicing. These are not DIY tasks.
When should you DIY, and when is a professional installer worth it?
The honest answer: most of the physical infrastructure work inside the home is within reach of a competent DIYer. The work outside the home — and anything involving the optical fibre itself — generally is not.
Tasks a competent DIYer can handle
- Running conduit in accessible basement or attic spaces.
- Pulling pre-terminated fibre assemblies or Cat6a through conduit.
- Terminating patch leads with RJ45 connectors (copper only).
- Basic router and switch configuration, VLAN setup, and QoS rules.
- Mounting patch panels and labelling cable plant.
Tasks that require a professional
- Buried drop installation (requires locates, trenching, and often a permit).
- Fusion splicing. Fusion splices produce insertion loss below 0.05 dB; mechanical splices and field-terminated connectors are higher-loss and less reliable for permanent infrastructure.
- OTDR testing and certified documentation of the cable plant.
- Any work on the ISP's side of the NID.
- Permit applications for exterior work in municipalities that require them.
Questions to ask prospective installers
- Do you provide OLTS and OTDR test results with the job?
- Are you familiar with local permit requirements for buried drops in this municipality?
- What fibre types and connector standards do you work with?
- Do you carry fusion splicing equipment on-site?
- What is your warranty on terminations and splices?
Typical Canadian residential cost ranges
Cost varies significantly by scope. A simple FTTH connection with an ONT inside and no new in-home cabling is handled by the ISP at no extra charge. In-home fibre or structured cabling work is a separate engagement:
- Basic structured cabling (4–6 Cat6a drops, patch panel, basic switch): roughly $800–$1,500 CAD for a standard Canadian home, depending on run complexity.
- In-home fibre backbone with fusion splicing and OLTS testing: $1,500–$3,500 CAD depending on fibre count, number of terminations, and access difficulty.
- Trenching for a detached garage or long outdoor run: add $500–$2,000 CAD depending on distance and ground conditions; frost depth and rocky soil in Alberta add cost.
- Full FTTR (fibre to each room) in a new build: pricing varies widely by home size and scope; get itemised quotes.
JupiterAV handles low voltage wiring and home network installation in Calgary, including structured cabling, fibre termination, and network configuration for residential and builder projects.
What do typical costs and timelines look like in Canada?
A standard FTTH installation by your ISP — drop, NID, ONT, and basic router connection — is typically included in the service activation fee or a one-time connection charge. The standard residential install runs 2–4 hours for a straightforward site; underground drops or long aerial runs extend that to a full day or more.
Timeline breakdown
- Site survey scheduling: 1–2 weeks from service order in most Canadian urban centres; longer in rural areas.
- Permit window (if required): Municipal permits for exterior work or trenching add 1–3 weeks in most Alberta municipalities.
- Installation day: 2–4 hours for a standard FTTH drop and ONT; 4–8 hours if trenching is involved.
- In-home structured cabling (separate contractor): typically 1–2 days for a full home, depending on the number of drops and access conditions.
Common extra costs to budget for
- Trenching fees if the ISP's drop must go underground and no conduit exists.
- Permit fees for exterior work (varies by municipality; typically $100–$300 CAD in Alberta).
- Additional fibre or Cat6a drops beyond the ISP's standard install.
- Fusion splicing fees if in-home fibre terminations are required.
- Long conduit runs to detached structures (garage, workshop, studio).
- UPS for ONT and router (budget $80–$200 CAD for a basic unit).
Statistic callout: A standard FTTH residential install takes 2–4 hours on site for a straightforward drop and ONT connection, with complex sites requiring a full day or more.
Key takeaways
A fiber home network built on proper physical infrastructure — conduit, pull ropes, labelled terminations, and the right fibre type for each run — will outlast every router, switch, and transceiver you put on it.
| Point | Details |
|---|---|
| Plan the physical plant first | Map applications and device locations before choosing fibre type, optics, or switch ports. |
| Confirm your router's WAN port | A 1G WAN port caps multi-gig plans; verify 2.5G or 10G before the ISP technician arrives. |
| Conduit beats expensive optics | Pull rope in conduit now; transceivers will be faster and cheaper in three years. |
| Mixed-speed backbone suits most homes | Use 10G for NAS/workstation, 2.5G/5G for AP uplinks, and 1G or Wi-Fi for TVs and IoT. |
| JupiterAV for Calgary installs | JupiterAV provides end-to-end fibre and structured cabling installation, testing, and documentation for Calgary homeowners and builders. |
An installer's perspective on what actually goes wrong
The most common mistake in DIY fibre plans is skipping conduit. Homeowners spend money on quality transceivers and then pull fibre directly through joists with no protection and no pull rope. Two years later, when they want to upgrade from 10G to 25G, the cable is inaccessible and the only option is destructive work. Conduit is cheap. Drywall repair is not.
The second pattern worth flagging: undersized fibre counts. A 2-fibre cable feels like enough until one fibre fails or you want to add a second path for redundancy. Running a 6-fibre or 12-fibre cable costs almost nothing extra during the initial pull and eliminates a future re-pull entirely.
ONT placement also matters more than most homeowners expect. An ONT tucked in a mechanical room at the far end of the basement forces a long Ethernet run to the router, which is fine, but it also means the ISP technician's access path runs through finished living space. Locating the ONT near the main electrical panel or in a dedicated network closet keeps all the infrastructure in one place and makes future service calls straightforward.
Canadian weather changes the calculus for outdoor runs. Aerial fibre in Alberta needs to be rated for sustained cold and ice loading. Direct-burial cable must go deep enough to stay below the frost line — in most of Alberta, that means at least 600 mm, and deeper in exposed or rural sites. These are not details to sort out after the trench is dug.
JupiterAV handles your fibre and home network installation in Calgary
Getting the physical infrastructure right the first time is where most homeowners save the most money over the life of a home network. JupiterAV provides end-to-end low voltage wiring and network installation for Calgary homeowners, custom builders, and businesses: site survey, conduit routing, structured cabling, fibre termination, switch and router configuration, and documented test results you can keep for future reference.

Every JupiterAV installation includes a transparent quote before work begins, OLTS test documentation on completion, and local support from a team that knows Calgary's construction styles and climate conditions. Whether you are planning a new build, finishing a basement, or upgrading an existing home network to support multi-gig fibre, the process starts with a conversation about what you actually need.
Book a consultation or request a quote to get a site survey scheduled and a clear scope of work before you commit to anything.
Useful sources and further reading
For homeowners who want to go deeper on standards, testing, and installation practice, these sources are worth bookmarking:
- The Fiber Optic Association, Inc. — Design guide (DesG.pdf)
- Complete guide to fiber optic home networking — BroadbandSearch
- How is fiber optic internet installed — T‑Mobile
- 10G home fiber network: what to buy and how to set up — Dimifiber
- FTTH cable installation guide: 7 steps — GLORY OPTICAL COMMUNICATION
- Huawei FTTR for Home | FTTR‑B Solution | Fiber to the room — Huawei