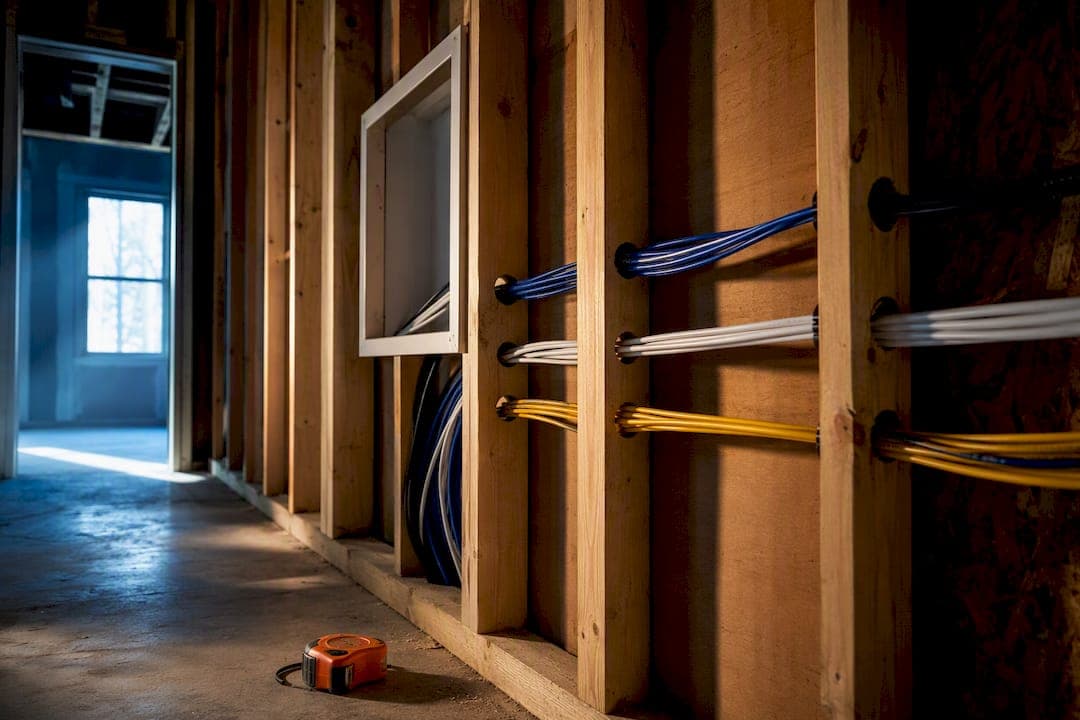
Before drywall goes up, every room needs Cat6A drops, conduit with pull strings running to the equipment closet, a neutral wire at every switch box, and PoE drops for cameras and access points. None of that matters without a signed-off test log and photo record proving it's actually there. Bring your low-voltage integrator in during design, not rough-in, and you'll avoid the change orders that eat margin later.
TL;DR:
- Using Cat6A for every data drop ensures support for 10Gb backhaul and future-proofing for at least 15 years; skipping it may lead to costly retrofits.
- All camera and access point drops must be verified with PoE power checks before drywall, and they should include weatherproof junction boxes for exterior installations.
- Conducting comprehensive testing on every wire, including continuity, PoE voltage, and impedance checks, prevents future troubleshooting and wall openings.
- Standardized prewire packages, guided by a detailed checklist, reduce rework, callbacks, and miscommunications across multiple projects.
- Bringing low-voltage integrators into design phases before framing and performing coordinated inspections minimizes change orders and enhances build quality.
Table of Contents
- Quick prewire checklist for job-site QC
- Room-by-room drops and minimum specs
- Standards and materials to specify
- Coordination and timing: who to bring in and when
- What inspection and testing has to prove before drywall
- What goes in the homeowner handover package
- What JupiterAV sees on the job site
- Why standardizing this checklist pays off
- Get your prewire plan reviewed before you break ground
- Sources
Quick prewire checklist for job-site QC
Rough-in day is where most low-voltage mistakes either get caught or get buried behind drywall forever. Run through this list at every framing walk before you call it complete.
- Cat6A to every room that could hold a TV, workstation, or streaming device. Skip Cat5e. Cat6A supports 10Gb backhaul and handles PoE loads that older cable can't, which is why it's become the recommended baseline for new construction.
- PoE camera and access point drops at every planned exterior camera location and one AP per floor minimum.
- Speaker runs to any room slated for in-ceiling or in-wall audio, pulled before insulation goes in.
- HDMI conduit behind every wall-mounted TV location, even if the client hasn't picked a mount yet.
- Neutral wire at every switch location, full stop, even switches nobody plans to automate on day one.
- C-wire to every thermostat location so smart thermostats don't need a battery workaround later.
- A dedicated 20-amp circuit run to the structured media centre location.
Leave service loops of at least 12 inches at both ends of every run, zip-tie bundles loosely (never cinch Cat6A tight enough to deform the jacket), and keep low-voltage cable at least 12 inches from parallel high-voltage runs to cut down on interference. Anywhere you can't run cable directly, run conduit with a pull string instead. It costs almost nothing at framing stage and saves you from cutting open a finished wall in three years when the homeowner wants a new camera. Structured wiring guidance covers the routing logic in more depth if you're training a new framing crew on this.
Room-by-room drops and minimum specs
Drop counts vary by room function, not just square footage. A media wall needs more infrastructure than a guest bedroom, and your bid sheets should reflect that instead of a flat "two drops per room" rule that underserves the rooms that matter and overspends on the ones that don't.
- Bedrooms: 2x Cat6A, one at the nightstand location and one behind the likely TV wall.
- Living and family rooms: 4+ Cat6A drops plus HDMI conduit behind the TV wall, since these rooms typically run a streaming box, a gaming console, and a smart TV on separate ports.
- Kitchen: 1 to 2 drops for a display or under-cabinet audio control point.
- Home office: 4+ drops minimum. Remote work setups routinely run a desktop, a monitor dock, a VoIP phone, and a backup access point off one wall.
- Ceiling access points: one per floor at minimum, more in homes over 3,500 square feet or with concrete/stucco exteriors that kill Wi-Fi signal.
- Exterior and garage: 2 to 6 camera drops depending on lot size and entry points, with weatherproof junction boxes at every exterior termination. Consider conduit to detached garages or shops rather than a wireless bridge.
The structured media centre itself deserves its own line item on the plan. Size the enclosure for growth, not just today's device count, budget for a patch panel with enough ports to cover every planned drop plus 20% spare, and confirm the dedicated 20A circuit and UPS are part of the electrical plan before the panel schedule gets finalized. A closet that's too small is the single most common regret builders report after the first few smart-home installs on a plan.
Standards and materials to specify
Material choice is where a lot of prewire jobs get quietly underbuilt. Cheaper cable saves a few dollars per run and costs thousands in retrofit labour five years down the road.
- Data cable: Cat6A everywhere, no exceptions, even in rooms the buyer says they'll "probably never use for a computer." That 10Gb headroom is what keeps the wiring relevant for the next 15 years instead of the next five.
- Speaker wire: 16/4 for standard in-ceiling and in-wall speakers, 14/4 for longer runs or larger amplified zones where voltage drop becomes a factor.
- Coax: RG6 anywhere a client might still want cable TV or a satellite feed, even in markets trending toward streaming.
- Conduit: 1 inch EMT or PVC for the key future-proofing paths, always with a pull string installed at rough-in.
- Switch boxes: deep boxes rated for smart switch modules, with a neutral present at every single location and a C-wire run to every thermostat.
Pro Tip: Order boxes with extra cubic-inch capacity for any switch location the plan flags for a smart dimmer or Lutron Caseta module. A box that's technically legal but stuffed to the code minimum makes a clean smart-switch retrofit almost impossible for the trade that shows up after drywall.
Coordination and timing: who to bring in and when
Most low-voltage rework traces back to one root cause: nobody with data-cabling expertise was in the room when the plan got locked. Electricians and low-voltage integrators are different trades with different scopes, and treating them as interchangeable is where interference problems and missed runs come from, per Procore's coordination guidance.
- Bring the integrator in during design, before blueprints are final, so equipment closet placement, TV walls, and camera lines get locked while changes are still cheap.
- Schedule a pre-rough-in walkthrough with the integrator present to confirm every drop location against the finished plan.
- Hold a pre-drywall inspection with the electrician, HVAC contractor, and low-voltage crew in the same room, not sequential site visits weeks apart.
- Offer tiered prewire packages (Basic, Enhanced, Premium) at the sales stage. Standardized templates across your floor plans cut subcontractor guesswork and keep pricing consistent from lot to lot.
What inspection and testing has to prove before drywall
A run that "looks fine" isn't the same as a run that tests fine. Every Cat6A drop needs a continuity test and a wiring map, every camera drop needs a PoE power check, and every speaker circuit gets a quick impedance spot check before anyone closes a wall.
- Confirm continuity and generate a wiring map for each data run.
- Verify PoE voltage reaches every camera and access point location.
- Spot check speaker impedance on multi-speaker zones.
- Confirm a neutral is present and the box has capacity at every switch location.
- Label both ends of every cable with a unique ID and photograph every termination point.
A written checklist paired with a pre-drywall photo log is one of the cheapest insurance policies in residential construction. It costs a subcontractor an extra 20 minutes with a phone camera and it's the difference between a five-minute warranty call and tearing open a finished wall. Pre-wiring during framing typically runs 40 to 60% cheaper than retrofitting the same cable after occupancy, and that gap only gets wider the longer a house has been lived in.
What goes in the homeowner handover package
The as-built package is what turns a good prewire job into a system the homeowner can actually use for 20 years without calling you back every time something changes.
- A labelled floor plan showing every drop and its cable ID.
- A structured media centre patch-panel port map, room by room.
- Test reports and termination photos from the pre-drywall inspection.
- A basic network diagram noting access point and camera locations.
- A short note flagging spare conduit capacity and where future upgrades can run without opening a wall.
What JupiterAV sees on the job site
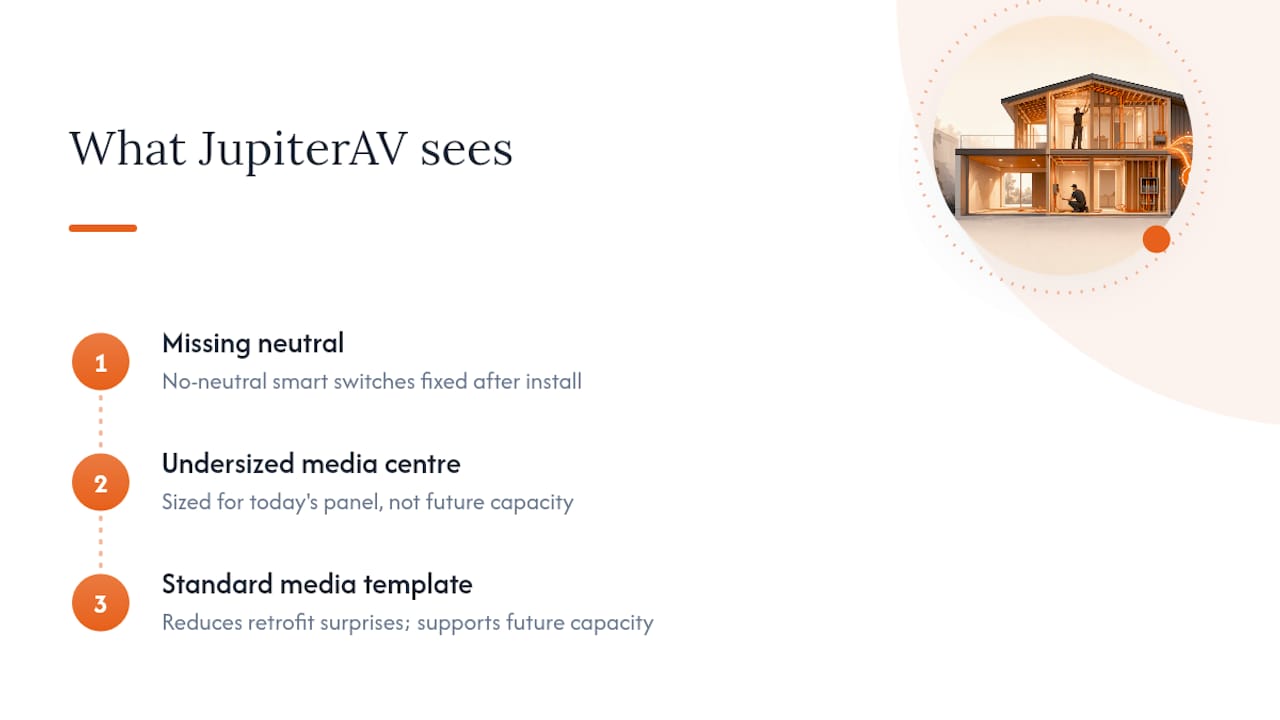
Structured wiring problems tend to repeat themselves across builds: no neutral at a switch the homeowner wants smart, or a media centre sized for the panel today instead of the panel in five years. JupiterAV has fixed no-neutral smart switch installs after the fact more times than anyone would like, and a standard structured media centre template cuts that surprise rate dramatically compared to a custom design on every single plan.
Why standardizing this checklist pays off
On one project, a preprinted structured media centre layout paired with a mandatory integrator walkthrough cut rework almost to zero. The lesson holds across every plan: builders who standardize prewire packages instead of improvising room by room see fewer callbacks and cleaner upsell conversations at the sales desk.
— JupiterAV
Get your prewire plan reviewed before you break ground
JupiterAV works directly with builders on prewire consulting, on-site integrator walkthroughs, and full low-voltage installation, from the first framing set through the final test log and homeowner handover. That's the gap most builders hit: a generic electrical plan that never got reviewed by anyone who actually installs Control4, Lutron Caseta, or Sonos systems for a living, which is exactly where the expensive change orders come from. JupiterAV reviews your plan against real equipment requirements before framing starts, not after a homeowner asks why their thermostat has no C-wire.

If you're building on spec or working through a custom plan set right now, request a prewire package estimate through the JupiterAV site and get a design reviewed before your next framing crew shows up.
Sources
- Procore — Low-voltage systems and MEP coordination
- Hammerio — Smart home pre-wiring guide 2026
- CrimpShop — Residential structured wiring: builder's guide