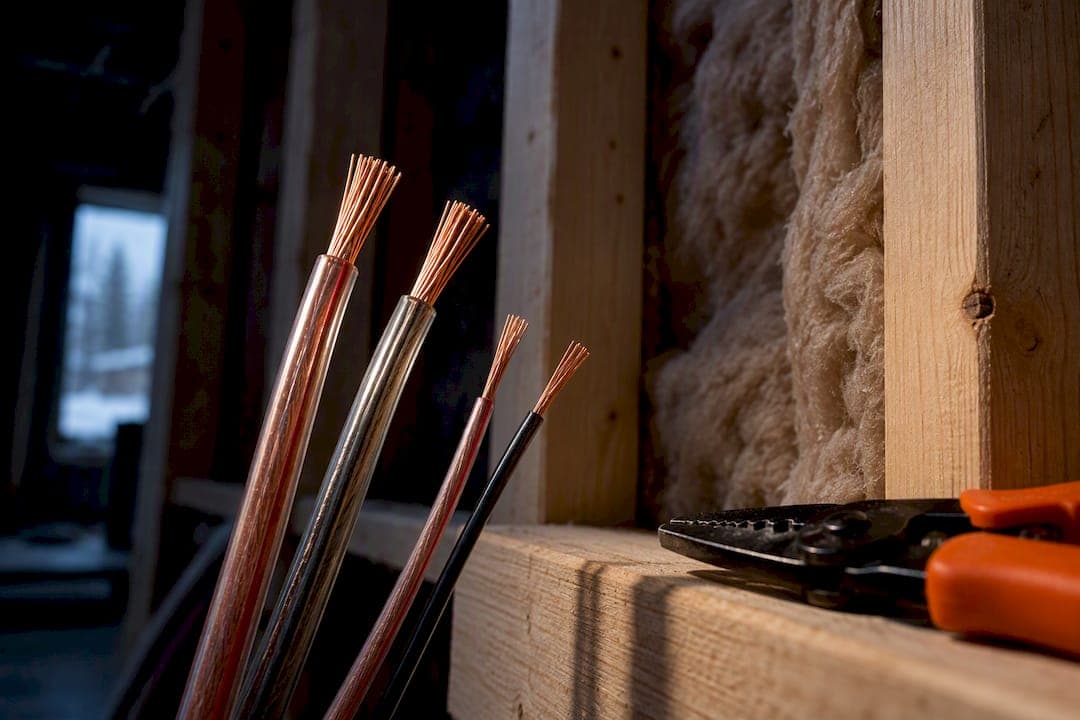
For most home speaker runs, 16 AWG is suitable for shorter distances on standard 8 ohm speakers, 14 AWG is preferred for longer runs or mixed home theatre setups, and 12 AWG is recommended for long cable runs or 4 ohm speakers. The two variables that decide gauge are run length and speaker impedance. In-wall installation adds a separate requirement entirely: the cable needs a CL2 or CL3 fire rating, no matter what gauge you land on.
TL;DR:
- Longer cable runs or 4 ohm speakers require at least 12 AWG wire to keep resistance below the 5% threshold that preserves sound quality.
- In-wall cables must have CL2 or CL3 ratings for fire safety, regardless of gauge, and standard zip cord often lacks these ratings for in-wall use.
- Resistance in speaker wire is the main factor affecting power loss and bass control, making thicker wire essential for long distances and low-impedance speakers.
- Subwoofers typically demand thicker wire, such as 12 AWG, because they draw more current and operate at lower impedance than other speakers.
- Using an appropriate gauge based on run length and impedance prevents audible issues like loose bass and reduced damping, especially in multi-room or home theater setups.
Table of Contents
- Speaker wire gauge chart by run length and impedance
- Why gauge, length and impedance interact the way they do
- In-wall wiring: what CL2 and CL3 ratings actually mean
- Copper types and terminations that actually affect performance
- Planning your speaker wire run: a step-by-step checklist
- Common myths about speaker cable that waste your money
- Subwoofers need thicker wire than most full-range speakers realize
- Signal quality and power loss: what gauge actually changes
- What we see on installation jobs across real homes
- Get your speaker wiring done right the first time
- Sources
- FAQ
Speaker wire gauge chart by run length and impedance
Most speaker wire gauge confusion comes from skipping the math and grabbing whatever's on the shelf. The truth is you only need two numbers: how far the cable travels one way, and what impedance your speakers are rated at. Here's the breakdown installers actually use, based on keeping cable resistance under the 5% threshold that protects sound quality.
| Run length categories | 8 ohm speakers | 4 ohm speakers |
|---|---|---|
| Up to 15 ft | 16 AWG | 14 AWG |
| 15–30 ft | 16 AWG | 12 AWG |
| Longer runs | 14 AWG | 12 AWG (or thicker) |
A run length is measured one way, from amplifier to speaker, but the electricity travels the loop: out and back. So a 25 foot run actually pushes signal through 50 feet of total conductor. Always add a foot or two of slack at each end for termination and drops behind cabinets or in walls. And if your run lands right on the boundary between two bands in this table, go with the thicker gauge. It costs a few more dollars per hundred feet and removes any guesswork.
Why gauge, length and impedance interact the way they do
American Wire Gauge runs backwards from what you'd expect: the lower the number, the thicker the wire. A 12 AWG conductor measures about 1.588 ohms per 1,000 feet, 14 AWG comes in around 2.525 ohms, and 16 AWG sits near 4.0 ohms. Thicker copper simply has less resistance to push electrons through.

That resistance matters because of a rule installers lean on constantly: keep total cable resistance under 5% of your speaker's rated impedance. Cross that line and you start limiting the amplifier's damping factor, which is its ability to control the speaker cone and keep bass tight rather than loose and boomy. This isn't a minor spec. The 5% threshold ties directly to damping factor, and a damping factor that drops too low is audible, particularly in the low end.
Here's a worked example. Say you're running 25 feet one way to an 8 ohm speaker, which means 50 feet of total conductor.
- With 16 AWG (approximately 4.0 ohms per 1,000 ft), that 50 foot loop carries about 0.2 ohms of resistance, which is 2.5% of an 8 ohm load. Fine.
- With 14 AWG, resistance drops further, giving you more headroom if the speaker's impedance dips under load, which most real speakers do at certain frequencies.
- Switch that same speaker to a 4 ohm rating and the math tightens fast. Now 0.2 ohms represents 5% of the load, right at the edge.
That's the entire reason 4 ohm speakers need a jump to 14 or 12 AWG even on runs where 8 ohm speakers would be comfortable on 16 AWG.
In-wall wiring: what CL2 and CL3 ratings actually mean
Gauge is only half the picture once wire goes inside a wall or ceiling. Building codes don't dictate a specific AWG for in-wall runs, but they do require a specific jacket rating: CL2 or CL3, sometimes CL2P or CL3P if the cable runs through a plenum space used for air return. These are fire-safety classifications governing how the jacket behaves if it's ever exposed to flame inside a wall cavity, and speaker wiring installed inside walls needs one of these listings to pass inspection.
A few practical notes before you buy:
- Check the actual jacket printing, not just the box. Cable is stamped with its rating right on the insulation, usually every few feet.
- Standard "zip cord" speaker wire sold for exposed use often lacks any listing at all, and running it inside a wall can fail inspection even if the conductor itself is excellent copper.
- Keep your purchase receipt or packaging. Some jurisdictions want proof of listing during inspection, not just a visual check.
- For practical AWG defaults on in-wall runs, 14 AWG is a safe middle ground for most home theatre and whole-home audio setups, with 16 AWG acceptable for short runs to ceiling speakers.
CL2/CL3 is strictly a fire-safety classification. It says nothing about audio performance, so don't assume "rated for in-wall" means "sounds better."
Copper types and terminations that actually affect performance
Oxygen-free copper, usually labelled OFC, is the standard for a reason: it carries lower resistance and resists corrosion better than copper-clad aluminum, or CCA. OFC is the electrically preferable choice for any serious home audio or home theatre run. CCA has its place, though. For a short desktop setup or a low-power computer speaker run under 10 feet, the resistance difference is negligible and CCA saves money.
Stranded wire beats solid core for nearly every home installation. It flexes around corners and through wall cavities without kinking or breaking, and it terminates more reliably into spring clips and binding posts.
A few termination habits separate a clean install from a noisy one:
- Strip only as much insulation as the connector needs. Too much bare wire invites shorts against the terminal or the housing.
- Twist stranded conductors tight before inserting them, or use a ferrule for a cleaner, more permanent crimp.
- Banana plugs are the easiest for connections you'll adjust later; spade connectors grip tighter for permanent setups; bare wire works fine but only if every strand makes contact.
- Never leave loose strands hanging outside the terminal. A stray wire touching the wrong post causes a short that can damage an amplifier.
Planning your speaker wire run: a step-by-step checklist
Getting the numbers right before you cut a single foot of wire saves you from mid-project surprises. Follow this order:
- Measure the actual physical route the cable will take, not the straight-line distance, and add slack for termination at both ends.
- Double that measurement mentally to account for the out-and-back conductor path if you're calculating total resistance.
- Match your run length and speaker impedance against the cheat sheet to pick the minimum acceptable AWG.
- Step up one gauge if you're running parallel speakers off one amplifier channel, or if you want room for a future upgrade.
- Confirm the cable carries a CL2 or CL3 rating for any run going inside a wall, ceiling, or plenum space.
- Label both ends clearly before drywall goes up. Nobody remembers which cable feeds which speaker six months later.
- After installation, test continuity and measure DC resistance with a multimeter, then inspect and torque every binding post connection.
Pro Tip: Buy an extra 10 to 15 feet of wire beyond your measured need on every in-wall run. Fishing a new cable through finished drywall costs far more than a bit of extra copper up front.
If you're prewiring a new build, our prewire smart home checklist covers what else needs to go in the walls before they close up.
Common myths about speaker cable that waste your money
Exotic conductor geometries, silver plating, and directional cable marketing rarely change anything measurable inside a typical living room. Independent lab testing on cables with matching AWG and material shows differences within 2 to 3% of each other, which is far below what a human ear can detect.
A gauge upgrade is genuinely audible in one specific scenario: when you're crossing that 5% resistance threshold on a long run or a low-impedance speaker. Outside that zone, going from 12 AWG to some premium boutique cable of the same gauge won't change what you hear.
- Skip the marketing claims about "oxygen-free" mystique beyond standard OFC copper.
- Spend saved money on speaker placement and basic room treatment instead. Both affect sound far more than cable exotica.
- Invest in solid terminations. A loose banana plug does more damage to sound quality than any cable brand choice.
Subwoofers need thicker wire than most full-range speakers realize
Subwoofers usually run at lower impedance and demand far more current than bookshelf or tower speakers reproducing midrange and treble. A powered subwoofer with its own amplifier often uses a line-level RJ or RCA-style connection rather than speaker wire at all, which sidesteps the gauge question entirely. But passive subwoofers, driven by an external amplifier through speaker-level wiring, are a different story.
Bass frequencies demand more current to move a large driver, and low-frequency signals are more sensitive to resistance-induced power loss than high frequencies. That's part of why 4 ohm subwoofer setups appear so often in the run-length tables above, pushing the recommendation to 12 AWG even on runs where an 8 ohm bookshelf speaker would be fine on 14 AWG.
Full-range speakers handling the entire frequency spectrum, particularly in stereo or simple two-channel setups, tolerate a slightly thinner gauge because their average current draw across the audio spectrum is lower than a subwoofer's concentrated bass demand. If you're wiring a dedicated home theatre with a passive subwoofer on a long basement or in-wall run, default to 12 AWG rather than matching whatever gauge you used for the front left and right channels. When in doubt, treat the subwoofer channel as the one that gets the thickest cable in the room, and size everything else off the cheat sheet based on each speaker's own impedance and distance from the amp.
Signal quality and power loss: what gauge actually changes
Speaker wire gauge affects your sound in exactly one measurable way: it changes how much power gets lost as heat in the cable itself before it reaches the speaker. Every foot of resistance in a cable steals a small amount of amplifier output. On a short run with the correct gauge, that loss is trivial, usually under 1% of total power. Push the wrong gauge across a long distance and that number climbs, which shows up as reduced volume and looser bass control rather than any change in tone or detail.
The engineering priority here is low series resistance; capacitance and inductance in speaker cable are typically negligible at normal home lengths and only start to matter on runs far longer than anything found in a residential install. This is why the resistance-based gauge tables work reliably across nearly every home audio and home theatre setup: the physics driving performance is straightforward series resistance, not some more exotic electrical property that marketing copy likes to invoke.
Different setups feel this differently. A two-channel stereo system with speakers 10 feet from the amp barely notices gauge choice within reason. A distributed whole-home audio system with runs stretching 40 or 50 feet to ceiling speakers in multiple rooms is far more sensitive, and skimping on gauge there produces audibly weaker output at the far end of the house compared to speakers closer to the amplifier. Multi-room and home theatre installs are exactly where the run-length math from the cheat sheet earns its keep.

What we see on installation jobs across real homes
Prewiring a new build gives you room to plan properly: runs get measured on paper, gauge gets matched to each zone, and CL2/CL3-rated cable goes in before drywall closes anything up. Retrofits are messier. The single biggest mistake we see is homeowners underestimating actual run length, then discovering the wire barely reaches or dips below the resistance threshold once routed around joists and through multiple walls. The second most common issue is non-listed cable bought for what looked like an in-wall job, which fails inspection or gets pulled back out. Getting the gauge and the jacket rating right the first time saves a second trip through the walls.
— JupiterAV
Get your speaker wiring done right the first time
Running your own speaker wire for a simple two-speaker stereo setup is entirely doable with the cheat sheet above. Where it gets trickier is multi-room audio, in-ceiling runs through finished walls, or matching gauge across a full custom home theatre. That's where a fully engineered install from JupiterAV saves you from a second trip through the drywall. We handle the run-length math, the CL2/CL3 compliance, and the termination work as part of our low-voltage wiring and Immersive Sound & Cinema services, so every cable is sized correctly before it disappears into your architecture.

If you're planning a new build or a whole-home audio upgrade, our builder prewire checklist is a useful starting point, and it's worth pairing that plan with a quick read on reliable gear choices for home setups before you commit to a full system. When you're ready for a professional opinion on your specific space, reach out to a qualified installer for a consultation who can walk through the wiring, the equipment, and the install plan with you.
Sources
- Speaker Wire Gauge — The Resistance Arithmetic, Shown | Valve & Vinyl
- In‑Wall Speaker Wire Requirements IRC 2024 Chapter 43 | Jaspector
- Speaker wire — Wikipedia
FAQ
Which gauge wire is best for speakers?
For most home setups, 16 AWG works for 8 ohm speakers on runs under 30 feet, while 14 AWG suits longer runs or 4 ohm speakers on shorter distances. Runs over 30 feet or 4 ohm speakers on runs past 15 feet should move up to 12 AWG.
Is 14 or 16 gauge speaker wire better?
Neither is universally better; the right choice depends on run length and speaker impedance. 16 AWG handles short 8 ohm runs fine, but 14 AWG gives more headroom on longer runs or 4 ohm speakers where resistance needs to stay lower.
Can I use 22 gauge wire for speakers?
22 AWG is far too thin for standard home speakers and belongs in low-power applications like small intercoms or doorbell wiring, not passive speakers pulling real amplifier power. Its resistance is high enough to blow past the 5% threshold on almost any run length, causing audible power loss and poor bass control.
Is 14 gauge speaker wire overkill?
Not usually. 14 AWG is the practical middle ground recommended for longer runs, home theatre setups, and any 4 ohm speaker on a short-to-medium run, so it's rarely wasted. It only counts as overkill on very short runs under 15 feet to an 8 ohm speaker, where 16 AWG already meets the resistance rule.