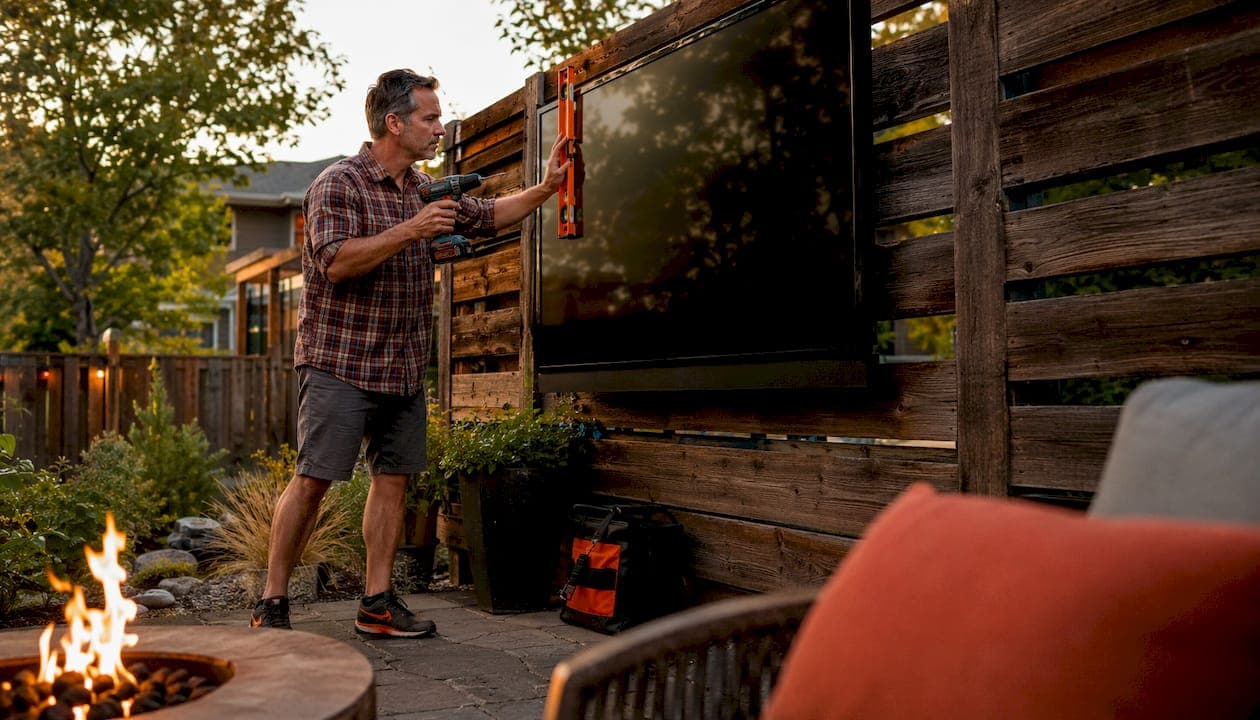
Outdoor TV installation is the process of mounting, weatherproofing, and connecting a television for permanent use in an exterior space such as a patio, deck, or backyard. Calgary homeowners face a specific challenge: temperatures that swing from well below freezing in january to scorching summer afternoons, meaning your equipment and mounting choices carry real consequences. Get it right and you have a backyard entertainment setup that lasts years. Get it wrong and you are looking at a fallen screen, a voided warranty, or an electrical hazard. JupiterAV installs outdoor AV systems across Calgary and sees the same avoidable mistakes repeatedly. This guide covers the equipment, location prep, installation process, and technical setup you need to do it properly.
What equipment is essential for outdoor TV installation?
The single most important decision is whether to use a purpose-built outdoor TV or an indoor TV inside a weatherproof TV enclosure. Purpose-built outdoor TVs carry IP ratings that certify resistance to dust and water, and they include anti-glare screens and higher brightness levels suited to direct sunlight. Indoor TVs placed in a quality weatherproof enclosure can achieve similar protection at a lower combined cost, but the enclosure must be matched precisely to the screen size.
Mounting hardware is the next critical choice. Outdoor-rated brackets use galvanised or stainless steel to resist corrosion, and they are rated for the weight of your specific screen. Never use an indoor mount outside. The finish corrodes, the structural integrity degrades, and the warranty is void the moment it gets wet.
Beyond the screen and bracket, a complete outdoor TV setup requires:
- Weatherproof cable glands to seal any wall penetration where cables pass through
- Outdoor-rated HDMI and power cables rated for UV exposure and temperature cycling
- Silicone sealant (exterior grade) for sealing around conduit and cable entry points
- A stud finder to locate structural framing behind siding before drilling
- A drill with masonry bits if mounting to brick or concrete
- A spirit level to confirm alignment before tightening bolts
- Safety glasses and gloves for drilling and lifting
Pro Tip: Rolling shutter enclosures are a significant upgrade over basic plastic covers. Rolling shutter systems use double-wall aluminium slats with a polyurethane core that regulate heat, block rain and UV, and open motorised on demand. Basic plastic boxes trap heat and risk damaging your electronics.
How do you choose and prepare the mounting location?
Location selection determines whether your outdoor TV setup is safe, comfortable, and long-lasting. The ideal spot combines structural support, shade or overhang protection, and a viewing angle that works for seated guests.
Structural surface requirements
Vinyl siding is not load-bearing and cannot support a TV mount on its own. The mount must anchor into the structural wood framing behind the siding using lag bolts. Use a stud finder to locate those framing members before you drill a single hole. Skipping this step is the leading cause of outdoor TV falls.
For brick or masonry walls, the rule is equally firm. Avoid drilling into mortar joints; mortar degrades faster than the masonry units and will loosen over time. Drill directly into the brick or block itself using masonry anchors rated for the load.
Height, angle, and sun exposure
Optimal viewing height places the centre of the screen 42–48 inches from the ground for seated patio viewing. A slight downward tilt of 5–10 degrees reduces glare and improves comfort. Our TV mounting height guide covers the geometry in detail for different seating arrangements.
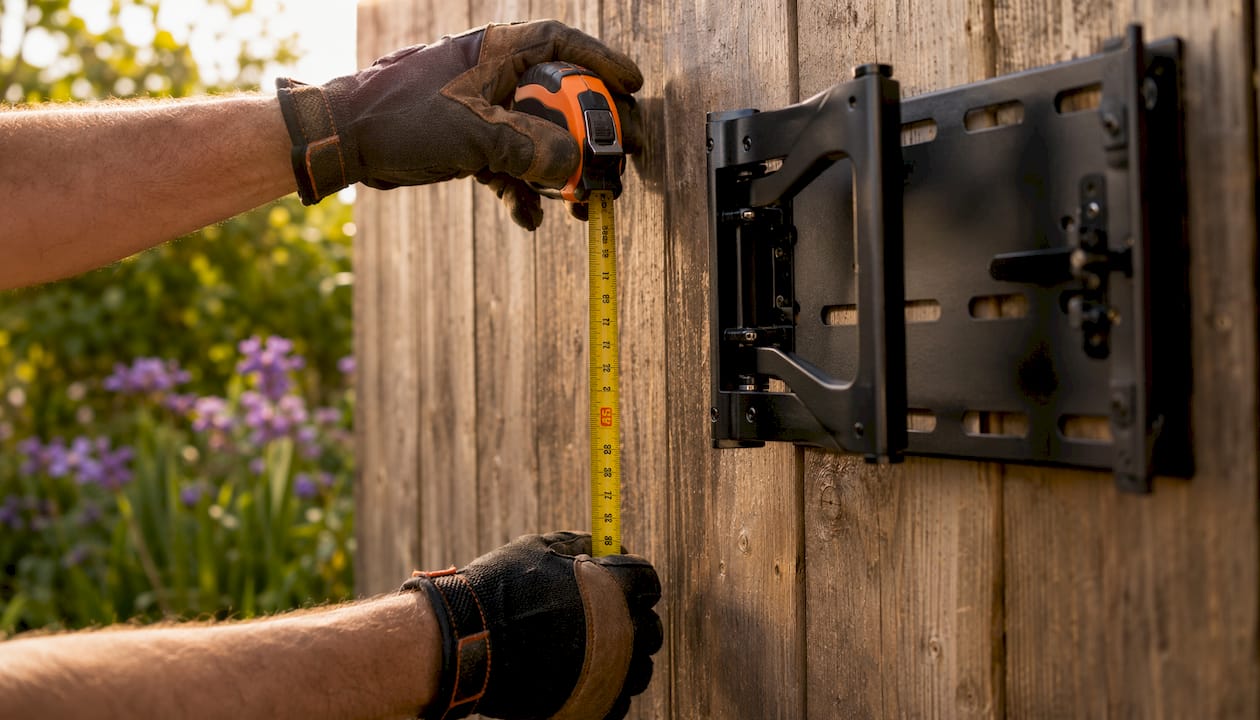
Mounting under an overhang, pergola, or covered patio dramatically extends equipment life. Direct sun exposure fades screens, raises internal temperatures, and degrades enclosure materials faster. In Calgary, north-facing or east-facing walls receive less afternoon sun, which is the most intense period on summer days.
Pro Tip: Mark your stud locations with painter's tape before drilling. Hold the mount in position and have a second person confirm the viewing angle from the actual seating area before committing to the hole placement.
Step-by-step process for safely installing an outdoor TV
A proper installation follows a clear sequence. Rushing any step creates problems that are expensive to fix after the TV is on the wall.
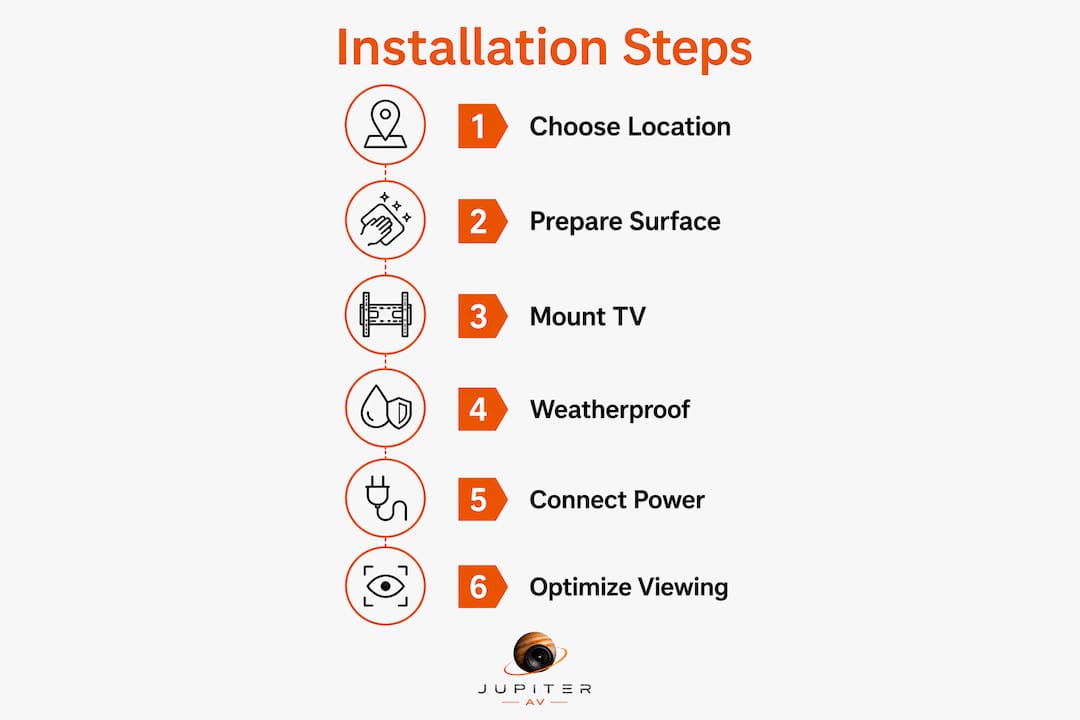
- Mark and confirm stud or anchor locations. Use a stud finder and mark the centres with a pencil. Double-check spacing against your mount's bolt pattern.
- Drill pilot holes. Use the correct bit for your surface. For wood framing, use a wood bit slightly smaller than your lag bolt diameter. For masonry, use a hammer drill and masonry bit.
- Attach the wall plate. Secure the mount's wall plate using lag bolts for wood framing or masonry anchors for brick. Confirm it is level with a spirit level before fully tightening.
- Run your cables before hanging the TV. Feed power and signal cables through the wall using weatherproof conduit. Seal every wall penetration with exterior-grade silicone and install weatherproof cable glands at the entry points. Indoor HDMI cables fail outdoors due to UV exposure and temperature cycling.
- Connect to a GFCI outlet. Dedicated GFCI-protected outlets with weatherproof conduit are the electrical standard for outdoor TV power. Extension cords are not a substitute. Add a surge protector rated for outdoor use between the outlet and the TV.
- Lift and hang the TV with two people. Attach the TV bracket arms to the screen indoors, then carry it outside and hook it onto the wall plate. One person holds the screen; the other secures the locking mechanism.
- Install the weatherproof enclosure or cover. If using a rolling shutter enclosure, professional installation typically takes 1–3 hours and ensures proper thermal management and a secure fit.
- Verify and test. Check cable protection, confirm the mount is stable with no wobble, verify the viewing angle from your seating area, and power on the TV to confirm signal and picture quality.
Cutting corners on the electrical side of an outdoor TV installation is the single most dangerous shortcut a homeowner can take. A GFCI outlet is not optional. It is the difference between a tripped breaker and a serious shock hazard, especially in Calgary where rain and snow are part of the picture for much of the year.
Pro Tip: Apply a second bead of silicone sealant around cable glands and conduit entry points after the TV is hung and cables are dressed. Movement during installation can shift the first application.
What technical factors improve outdoor TV performance and longevity?
Getting the screen on the wall is only part of the job. Power quality, network connectivity, and ongoing maintenance determine how long your setup performs well.
Brightness and heat management
Outdoor TVs or enclosures need higher brightness ratings than indoor screens. Direct sunlight washes out a standard 400-nit panel completely. Look for screens rated at 1,000 nits or higher for uncovered installations. Advanced rolling shutter enclosures with ventilation actively dissipate heat, which extends screen lifespan significantly compared to sealed plastic covers that trap heat.
Network connectivity
Streaming 4K content outdoors requires a reliable signal. Wired Ethernet with outdoor PoE access points provides the most consistent connection for a permanent outdoor entertainment system. A Wi-Fi 7 mesh router paired with a weatherproof outdoor access point is the next best option. Standard indoor Wi-Fi rarely delivers consistent throughput through exterior walls and across a patio.
Electrical safety and maintenance
- Use a dedicated circuit for your outdoor TV rather than sharing with other outdoor loads
- Install a whole-home surge protector at the panel in addition to a point-of-use protector at the TV
- Inspect all silicone seals and cable glands each spring before the season begins
- Clean ventilation filters on enclosures annually to maintain airflow
- Test the GFCI outlet monthly by pressing the test and reset buttons
Pro Tip: In Calgary, inspect your outdoor TV setup each spring after the freeze-thaw cycle. Temperature swings can crack silicone seals and shift mounts slightly. Catching these issues early prevents water intrusion and structural problems.
Key takeaways
Successful outdoor TV installation in Calgary requires structural mounting, weatherproof cabling, GFCI-protected power, and proper enclosure selection to protect your investment through every season.
| Point | Details |
|---|---|
| Mount into structure, not siding | Lag bolts must anchor into wood framing or masonry units, never vinyl siding or mortar joints. |
| Use weatherproof enclosures | Rolling shutter aluminium enclosures outperform plastic covers by managing heat and blocking UV. |
| GFCI power is non-negotiable | Dedicated GFCI outlets with weatherproof conduit are the electrical safety standard for outdoor setups. |
| Seal every cable penetration | Weatherproof cable glands and exterior silicone prevent water intrusion at wall entry points. |
| Network quality affects performance | Wired Ethernet with an outdoor PoE access point delivers the most reliable streaming for 4K content. |
What we have learned from outdoor TV installs across Calgary
The most consistent mistake we see at JupiterAV is homeowners mounting directly to exterior siding without locating the framing behind it. The TV looks fine for a few weeks. Then the bracket shifts, the siding cracks, and the screen ends up on the deck. It is an expensive lesson that a stud finder and 20 minutes of prep would have prevented entirely.
The second pattern we see is underestimating the electrical side. Homeowners run an extension cord from a garage outlet and call it done. That works until the first heavy rain, or until the cord gets pinched under a door, or until the circuit trips mid-game because it is shared with the outdoor lighting. A dedicated GFCI circuit is not a luxury for a permanent outdoor installation. It is the baseline.
What has genuinely improved in recent years is enclosure technology. The rolling shutter systems available now are a different product category from the plastic covers sold a decade ago. They protect against weather and theft, they manage heat actively, and they look good on a finished patio. Investing in a quality enclosure pays for itself by protecting a screen that costs several times more than the enclosure itself.
My honest advice: if you are comfortable with a drill and basic electrical concepts, a straightforward wall mount on a covered patio is a manageable DIY project. The moment you are running new circuits, mounting to masonry, or installing a rolling shutter enclosure, bring in a professional. The cost of a proper installation is a fraction of replacing a fallen or water-damaged screen.
— JupiterAV
JupiterAV outdoor TV installation services in Calgary
Calgary homeowners trust JupiterAV for outdoor TV setups that are built to last through every season. From weatherproof mounting and enclosure installation to low-voltage wiring and network setup, JupiterAV handles the full scope of an outdoor entertainment system.

Every installation includes proper structural mounting, GFCI-compliant power, sealed cable management, and a post-installation check to confirm picture quality and stability. Whether you are mounting a screen on a covered deck or building a full outdoor theatre with audio, JupiterAV tailors the setup to your space and budget. Visit JupiterAV's main page to learn about available services or to book a consultation with the Calgary team.
FAQ
What is the difference between an outdoor TV and an indoor TV in an enclosure?
Purpose-built outdoor TVs carry IP-rated weatherproofing and higher brightness built into the unit. Indoor TVs in a quality weatherproof enclosure can achieve comparable protection, often at a lower combined cost, provided the enclosure fits the screen precisely.
Do I need a permit to install an outdoor TV in Calgary?
Running a new electrical circuit for an outdoor TV typically requires an electrical permit in Calgary. Mounting the TV itself generally does not. Consult a licensed electrician or your local authority to confirm requirements for your specific project.
What height should I mount an outdoor TV?
Mount the centre of the screen 42–48 inches from the ground for comfortable seated viewing. A downward tilt of 5–10 degrees reduces glare and improves sightlines from patio seating.
Can I use an indoor HDMI cable outside?
Standard indoor HDMI cables fail outdoors because UV exposure and temperature cycling degrade the insulation. Use outdoor-rated HDMI cables and seal all wall penetrations with weatherproof cable glands and exterior silicone.
How long does a professional outdoor TV installation take?
A standard wall mount installation typically takes 2–4 hours. Custom weatherproof enclosure installations from a certified installer usually require 1–3 hours on top of that, depending on the complexity of the enclosure and the electrical work involved.