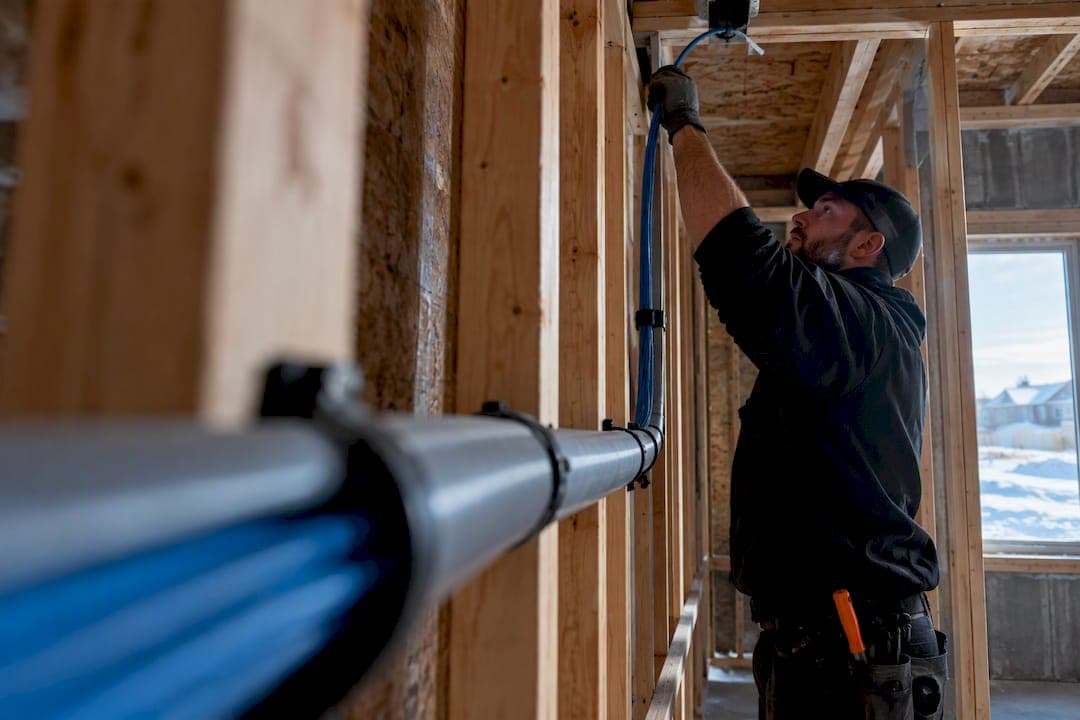
Wire each PoE camera with a single Cat5e-or-better Ethernet run to a PoE-capable switch or PoE NVR, keeping every run under 100 metres and sizing the switch or injector for the cameras' combined power draw. That one cable carries both the data feed and the power, so there's no separate power adapter at the camera end. Get the cable category, the power budget, and the termination right, and the rest of the install falls into place.
TL;DR:
- Proper cable choice requires using solid copper conductors, especially for high-power or long outdoor runs, to prevent voltage drop and overheating.
- Power budgeting is critical; ensure your switch's total power capacity can handle all cameras simultaneously, especially with high-draw models or multiple units.
- Maintain cable runs under 100 metres to avoid signal degradation, and plan routes to incorporate firestopping and weatherproofing for outdoor or in-wall installations.
- Terminate all cables to the T568B standard consistently at both ends, and verify each connection with a comprehensive test including continuity, PoE detection, and camera discovery.
- For complex or multi-camera setups, professional installation ensures compliance, proper grounding, documentation, and reduces troubleshooting risks later.
Table of Contents
- How PoE camera wiring actually works
- What you need: hardware and tools checklist
- Choosing the right cable for distance and durability
- Sizing your PoE switch: standards and power budgeting
- Planning routes and protecting cable outdoors
- Termination standards and the testing checklist that catches mistakes
- Step-by-step: from planning to a working PoE system
- Building code notes: firestopping, plenum ratings, and when to call an electrician
- Troubleshooting the wiring problems you'll actually see
- What professional installers check that DIYers often miss
- Why most PoE wiring guides oversell the "easy DIY" pitch
- Getting a professional install without the guesswork
- Sources
- FAQ
How PoE camera wiring actually works
Every PoE setup has two roles: a power sourcing equipment device (PSE), which is your switch or injector, and a powered device (PD), which is the camera. The PSE detects a compatible camera on the line, classifies how much power it needs, and then energizes the cable. This all happens automatically under the IEEE 802.3 PoE standard, which allows one Ethernet cable to deliver both data and power for runs up to 100 metres.
You'll typically choose one of three topologies:
- PoE switch to cameras to NVR or router: the switch powers each camera and forwards video to your recorder or network. This scales best for four or more cameras.
- PoE injector for a single run: good for adding one camera to a network that already exists, without buying a whole switch.
- PoE NVR with built-in PoE ports: the recorder powers the cameras directly, simplifying wiring for smaller systems.
Standard Ethernet runs are recommended not to exceed 100 metres to avoid potential voltage drop and signal degradation that can cause dropped frames or camera reboots, so plan your camera and equipment locations accordingly.
What you need: hardware and tools checklist
Before you pull cable, match your camera types to their power draw. A basic fixed-lens camera might need under 6 watts, while a pan-tilt-zoom model with heaters or floodlights can pull well past 25 watts.
Decide on your power source: a PoE switch suits multi-camera systems with room to grow, a PoE injector works for one or two add-on cameras, and a PoE NVR bundles power and recording into a single box. Most homeowners plugging cameras straight into an NVR's PoE ports skip the separate switch entirely, since ordinary router LAN ports don't supply power.
Your shopping and tool list should include:
- A cable tester (one capable of verifying wiremap and basic connectivity)
- An RJ45 crimper or punch-down tool, depending on termination style
- Outdoor-rated cable for any exterior run
- Weatherproof junction boxes at exterior transitions
- A surge protector at the building entry point
- A UPS sized for your switch or NVR
Choosing the right cable for distance and durability
Cat5e handles most short indoor runs without issue, and it's what many home installs still use for cameras under 50 metres. Once you're running cable outdoors, over long distances, or feeding multiple 4K cameras, Cat6 gives you extra headroom on bandwidth and reduces the risk of signal loss. Cat6A steps up further for 10 Gbps applications or dense commercial installs, though that's overkill for most residential setups.
The bigger issue is conductor material, not category. Always choose solid bare copper conductors over copper-clad aluminum (CCA). CCA looks identical on the shelf and costs less, but it has higher resistance, which means more voltage drop and more heat buildup under sustained PoE load. That heat matters more than people think, especially in bundled cable runs inside conduit or behind drywall.
Shielded twisted pair (STP or FTP) is worth the extra cost near electrical panels, fluorescent ballasts, or other interference sources. For a typical backyard or hallway run away from heavy electrical equipment, standard unshielded twisted pair (UTP) is fine.
If a camera sits beyond 100 metres from your switch, you have three real options: a PoE extender/repeater partway along the run, a local power injection at the camera end with a separate short data run, or a fibre link with a media converter for genuinely long distances between buildings.
Pro Tip: Buy 10 to 15 percent more cable than your measured distance. Drip loops, service loops at the patch panel, and unexpected wall cavities eat length faster than you'd expect.
Sizing your PoE switch: standards and power budgeting
PoE power delivery comes in three tiers. 802.3af (standard PoE) delivers up to 15.4 watts per port, enough for basic fixed cameras. 802.3at (PoE+) pushes that to 30 watts, covering PTZ cameras and models with built-in heaters. 802.3bt (PoE++) goes up to 60 or even 100 watts per port, aimed at high-draw devices like large floodlight cameras or multi-sensor units.

To size a switch correctly, add up the rated draw of every camera you plan to connect, then compare that total against the switch's total power budget, not just its per-port maximum. An 8-port switch rated for 802.3at per port might still cap its total budget at 130 watts, meaning you can't run all eight ports at their maximum draw simultaneously. Cisco's PoE configuration guidance confirms that switches negotiate power per port using detection and classification, and will place a port into an error-disabled state if a device draws more than its allocated budget.
If your budget is tight:
- Add a standalone PoE injector for one high-draw camera instead of upgrading the whole switch.
- Stagger camera startup where the switch supports it, so cameras don't all draw peak power simultaneously.
- Buy a switch with a higher total power budget than your current camera count requires, leaving room to add cameras later.
Planning routes and protecting cable outdoors
Route planning determines whether your system survives its first winter. Indoors, run cable through walls and ceiling cavities away from HVAC ducting and electrical lines, and always account for future access when fishing cable behind finished drywall.
Outdoors and underground, follow these steps:
- Use rigid or flexible conduit rated for direct burial if the cable will go underground, and choose a burial depth that matches local frost line practices in your area.
- Select outdoor-rated cable jacket (UV-resistant, moisture-sealed) for any exposed run, even short ones between a soffit and a camera mount.
- Build a drip loop into the cable before it enters any junction box or camera housing, so water runs off the low point to reduce moisture ingress risks.
- Seal every wall or roof penetration with proper caulking or a weatherproof gland, and orient RJ45 connectors downward wherever the housing design allows it.
- Install a surge protector at the point where outdoor cable enters the building, and add a UPS for your NVR or switch to ride out short power interruptions.
Outdoor-rated jackets, correctly built drip loops, and sealed junction boxes are the details that separate a system that lasts years from one that fails after the first hard rain. Grounding matters too: a surge protector only works if it's actually bonded to the building's earth ground, not just plugged into an outlet with no ground path.
Pro Tip: Label both ends of every cable run the moment you pull it, before you terminate anything. It takes thirty seconds and saves an hour of guesswork later when you're staring at a patch panel with a dozen unlabelled ports.
Termination standards and the testing checklist that catches mistakes
Terminate every cable to the T568B wiring standard, and make sure both ends match. T568B orders the pairs as orange, orange/white, green, blue, blue/white, green/white, brown, brown/white on the RJ45 pins. Mixing T568A on one end and T568B on the other doesn't necessarily break the connection outright, but it invites confusion during future troubleshooting and can create crosstalk issues on longer runs.
For long runs, terminate into a patch panel rather than a raw RJ45 plug. It's more durable, easier to test, and lets you swap patch cables without redoing the whole termination if something fails. Short pre-made runs can use pass-through connectors, which let you verify pinout visually before crimping.
Poor termination is the single most common failure point in field installs, ahead of bad cable or faulty hardware. Before you call the job finished, run through this sequence:
- Wiremap test: confirm all eight conductors are continuous and correctly paired, with no shorts or reversed pairs.
- Continuity test: check the run end to end with a cable tester, especially after any splice or coupler.
- PoE power test: measure voltage at the camera end (a tester with PoE detection will flag whether power is actually present on the correct pins).
- Camera discovery: confirm the camera appears on your NVR or network video recorder software, with a proper IP address assigned.
- Night/IR test: check that infrared illumination and night mode switch over cleanly after dark, since this catches power-related brownouts that daylight testing misses.
- Seven-day recording check: review footage after a week to confirm there are no intermittent drops, timestamp gaps, or storage errors.
Step-by-step: from planning to a working PoE system
1. Prewire and plan. Walk the property and mark every camera location, then measure the actual cable path back to your switch or NVR location, not the straight-line distance. Add 10 to 15 percent for service loops. Check whether any run crosses a fire-rated wall or ceiling assembly, since that changes your material choices later.
2. Label as you go. Tag both ends of every cable with a matching number or camera name before you terminate anything. This single habit saves the most time during troubleshooting months down the road.
3. Pull the cable. Respect minimum bend radius (roughly four times the cable's outer diameter for most Cat6) and keep conduit fill under 40 percent to avoid crushing conductors. Never staple directly through the jacket; use cable clips or a conduit run instead.
4. Terminate to T568B. Punch down to a patch panel for long or permanent runs, or crimp RJ45 connectors for shorter pre-made segments. Double check both ends match the same standard.
5. Power up and verify. Connect the cable to your PoE switch or PoE NVR port and confirm the port shows a PoE-active or "power detected" indicator. Check the switch's management interface, if it has one, to confirm actual wattage draw matches your camera's rated spec.
6. Mount and aim. With power and network confirmed, mount the camera bracket, dress the cable into a drip loop, and seal the entry point before final aiming and focus adjustments.
7. Commission and document. Run the full testing checklist from continuity through the seven-day recording spot-check. Record cable lengths, port assignments, power draw per camera, and test results in a simple document. This becomes your warranty record and saves a future technician hours if something needs servicing.
Building code notes: firestopping, plenum ratings, and when to call an electrician
Any cable that passes through a fire-rated wall, floor, or ceiling assembly needs to be firestopped, and this isn't optional. The National Building Code requires that penetrations through fire-rated assemblies be sealed to maintain the assembly's fire rating, whether that penetration carries one cable or twelve.
If your cable run passes through an air-handling plenum or shared service space, check whether the space requires FT-4 or FT-6 rated cable jackets, or whether a protected raceway is required instead. These requirements vary by building type and by the authority having jurisdiction (AHJ) in your area, so a quick call to your local building department or a licensed electrician before drywall goes up saves a costly rework later.

Pro Tip: Keep a photo log of every penetration and its firestop material, then hand that documentation to your building inspector along with your cable route map. It turns a potential compliance headache into a five-minute sign-off.
Troubleshooting the wiring problems you'll actually see
Intermittent disconnects almost always trace back to termination quality or cable choice. Check for loose punch-downs, verify you didn't mix T568A and T568B ends, and confirm you used solid copper rather than CCA. Bundled cables in a hot attic or wall cavity can also overheat under sustained PoE load, so spread runs out where possible.
No power at the camera usually means the port isn't actually PoE-enabled, or the camera exceeds the port's power budget. Test with a dedicated PoE tester, or temporarily swap in a known-good injector to isolate the fault.
Video quality drops or lag point toward cable category mismatches (Cat5e struggling with a high-bitrate 4K stream), switch negotiation errors, or an NVR juggling too many simultaneous streams for its processing capacity.
Surge-related symptoms, like a camera that resets after storms or repeatedly drops offline, mean it's time to check your grounding path and confirm your surge protector is actually bonded to earth ground rather than just plugged into a wall outlet.
What professional installers check that DIYers often miss
Installers prioritize things that don't show up in a spec sheet: discreet routing that hides cable in wall cavities and soffits, a properly labelled patch panel, documented test results for every run, and a UPS sized correctly for the connected load.
Professionals lean toward solid copper Cat6 almost by default, because callback rates on CCA installs are high enough to make the cost savings not worth it. When comparing installer quotes, ask specifically about warranty length, whether they provide written test results, how they plan to conceal cable runs, and whether they leave spare service loops at the patch panel for future changes. A quote that skips these details usually skips the workmanship to match.
Why most PoE wiring guides oversell the "easy DIY" pitch
Most PoE camera wiring gets sold online as a plug-and-play weekend project, and for one or two cameras in an existing crawlspace, it often is. The problem shows up at scale, where power budgeting and cable routing decisions compound. A homeowner who runs Cat5e for four cameras without checking the switch's total power budget frequently finds two cameras working fine and the third refusing to power up, with no obvious cause until someone actually adds up the wattage.
The conventional advice also underweights firestopping. Plenty of guides mention conduit and drip loops but skip the fact that a cable through a fire-rated wall assembly is a code issue, not a cosmetic one. That's the gap between a wiring job that looks finished and one that actually passes inspection.
If you take one thing from this guide, prioritize the power budget and the cable quality over the camera specs themselves. A $200 camera on a badly terminated CCA run will underperform a $100 camera on properly terminated solid copper Cat6, every time.
— JupiterAV
Getting a professional install without the guesswork
Running your own cable is doable for a camera or two, but a full-property system with multiple runs, power budgeting across a switch, and code-compliant penetrations is where most DIY installs start to strain. JupiterAV designs and installs security and CCTV systems built around documented cable routes, labelled patch panels, and tested power budgets, so you're not troubleshooting a dropped camera six months after move-in.

A typical professional install starts with a site survey to map camera positions and cable paths, then covers termination, surge protection, and a full commissioning test before handover, backed by a warranty and ongoing support. If your project also touches camera placement decisions or you're weighing wired against wireless options, that gets folded into the same conversation. Reach out through Jupiterav to book a site survey and get a firm quote before you commit to a DIY run that might outgrow its wiring.
Sources
- PoE Camera Installation: Beginner's Guide - eufy US
- NRC / National Building Code-related guidance (publications)
- Configuring Power over Ethernet - Cisco
- CCTV cabling guide (Cat5e, Cat6, conduit and installation best practices) - CCTV Name
FAQ
Do I need all 8 wires for PoE?
Most PoE cameras use all four pairs (all eight conductors) under the standard PoE and PoE+ specifications, since power and data share the same pairs. Skipping conductors or using a damaged cable with broken pairs can cause power negotiation failures even when data seems to pass fine.
What is the disadvantage of a PoE camera?
The main drawback is dependency on your PoE switch, injector, or NVR staying powered, so a UPS is worth adding for continuous coverage during outages. PoE also caps each cable run at 100 metres, which limits placement for cameras far from your equipment room.
How do I run PoE wires?
Route a single Cat5e-or-better cable from each camera location back to your PoE switch or PoE NVR, keeping the run under 100 metres and using outdoor-rated cable or conduit for any exterior section. Terminate both ends to the T568B standard, then test continuity and PoE voltage before mounting the camera permanently.
What wires are needed for PoE?
You need a single twisted-pair Ethernet cable, Cat5e, Cat6, or Cat6A, with solid copper conductors rather than CCA, connecting the camera to a PoE-capable switch, injector, or NVR port. No separate power wiring or adapter is required at the camera end since the same cable carries both.
Should I DIY my PoE camera wiring or hire a professional?
A single indoor camera is a reasonable DIY project if you're comfortable with a crimper and a cable tester. Multi-camera systems, outdoor runs crossing fire-rated assemblies, or anything requiring power budgeting across several ports are where a professional installer typically pays for itself in avoided rework.