For most home theatres, mount in-ceiling height speakers to fire straight down, with front heights angled around 45° forward of the main seat and rear heights around 135° behind it. Choose a 5.1.2 layout for a small room and step up to 5.1.4 or 7.1.4 once the room has the space and budget to support four overhead channels. Wall-mounted elevation speakers are the right call when the ceiling won't accept in-ceiling units. Upward-firing modules are the fallback, not the first choice, because they depend heavily on ceiling material and height.
The short version:
- First choice: in-ceiling speakers firing straight down, or wall-mounted elevation speakers angled toward the seats.
- Last resort: upward-firing Atmos modules that bounce sound off the ceiling.
- Small room (one or two rows): 5.1.2.
- Medium to large dedicated theatre: 5.1.4 or 7.1.4, which Dolby treats as the reference layout for serious home installs.
- Angle targets: front heights near 45° forward, rear heights near 135° behind, measured from the primary listening position.
- Main speaker height: ear level when seated, roughly 1.2 metres off the floor.
- Next step: measure everything from your listening seat first, then run your receiver's calibration or bring in a professional to fine-tune it.
Key Takeaways
Getting Atmos speaker placement right depends on hitting Dolby's angle and distance specs, then verifying them with proper calibration rather than trusting automatic setup alone.
| Point | Details |
|---|---|
| Match layout to room size | Use 5.1.2 for small rooms and 5.1.4 or 7.1.4 for medium to large dedicated theatres. |
| Hit the angle targets | Aim front heights near 45° forward and rear heights near 135° behind the main seat. |
| Respect distance parity | Keep height speaker distances within 1 to 3 feet of your main speakers' distances. |
| Choose the right height type | Pick in-ceiling for flat ceilings, wall-mounted elevation for vaulted ones, upfiring as a last resort. |
| Bring in a professional | JupiterAV installs and calibrates Atmos systems in Calgary when joists, vaults, or wiring make DIY placement risky. |
Table of Contents
- Basic Atmos speaker placement rules for every channel
- How Atmos layouts and angles actually work
- In-ceiling, wall-mounted elevation, or upward-firing: which one wins
- Handling joists, vaults, and rooms that aren't symmetrical
- Verifying your calibration actually worked
- Getting the wiring and mounting right the first time
- Why professional Atmos calibration is worth the call
- Get your Atmos system installed right the first time
- Where to check the official specs and planning tools
- Sources
Basic Atmos speaker placement rules for every channel
Every speaker in an Atmos system has one job: sit where its role in the mix expects it to sit. Get that wrong and the receiver's processing can't fully compensate, no matter how good your gear is.
Ear-level speakers (front left/right, centre) belong at the height your ears sit when seated in your main chair, generally close to 1.2 metres from the floor. Toe them in slightly toward the primary listening position rather than firing straight down the room. The centre channel carries most dialogue, so whether it sits below or above the screen, aim its axis at your ears, not at the wall behind you.
Surrounds and rear surrounds follow their own angular guidance relative to the front stage, typically fanning out to the sides and rear of the seating area rather than clustering near the screen. Subwoofers are the exception to almost every rule here: bass under roughly 80Hz is largely non-directional, so placement is more about the room's response than aiming at anyone. Testing a few spots along the front wall or even the "subwoofer crawl" method (placing the sub at your seat and crawling around the room listening for the smoothest bass) beats guessing.
Then there are the height channels, which come in three distinct forms:
- In-ceiling speakers mount flush into a flat ceiling and fire straight down, giving the most direct and predictable overhead image.
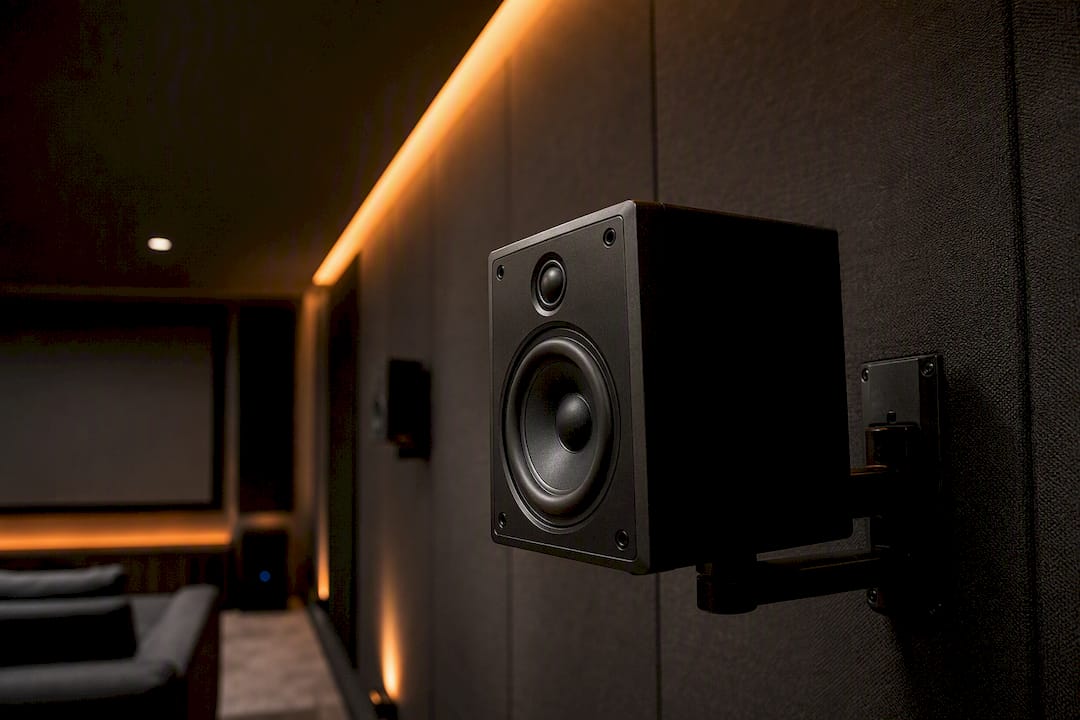
- Wall-mounted elevation speakers sit high on the wall, angled down and inward, standing in for a ceiling speaker when you can't cut into the ceiling.
- Upward-firing Atmos modules sit on top of or built into your regular front speakers, bouncing sound off the ceiling back down toward you.
Pro Tip: Before buying anything, sit in your main seat and look straight up. If you see a flat, unobstructed section of drywall roughly where a 45° line from your seat would hit it, you're a strong candidate for in-ceiling speakers. If you see a beam, a vaulted peak, or a popcorn-textured 1970s ceiling, start planning around elevation speakers instead.
How Atmos layouts and angles actually work
Every Atmos configuration gets described with three numbers, written as X.Y.Z. The first is your standard bed speakers (fronts, centre, surrounds), the second is subwoofers, and the third is height channels. A 5.1.2 setup means five bed speakers, one sub, and two height speakers. That third number is what turns a regular surround system into an Atmos system, and it's also the number that decides how many amplifier channels your receiver needs to have free.
5.1.2 is the practical entry point. Two height speakers sit just in front of and slightly to the side of the main seat, angled forward. It works well in smaller rooms, apartments, and any space where four extra ceiling cuts aren't realistic.
5.1.4 and 7.1.4 add a second pair of height speakers behind the seat, giving you a full front-to-back overhead dome instead of a single band of sound overhead. Dolby's own installation guidance puts front height elevation angles around 45° (adjustable between 30° and 55°), with rear heights around 135° and an adjustable range of 125° to 150°. For dedicated theatres in the 300 to 500 square foot range, 7.1.4 or 5.1.4 tends to be the sweet spot between immersion and complexity. Going bigger, to 7.1.6, mostly adds diminishing returns for a residential room.
Two spacing rules matter as much as the angles:
- Lateral spacing between height speakers should generally fall between roughly 8 and 12 feet.
- Height speaker distance from the listening position should stay within about 1 to 3 feet of your main speakers' distance, since Dolby's spec ties this to timing accuracy, not just aesthetics.
That 1 to 3 foot distance-parity window is one of the most overlooked numbers in Atmos setup. Get it wrong, and your receiver's calibration will try to compensate with delay and level tweaks, but the physical mismatch still shows up as overhead effects that feel slightly detached from the action on screen.
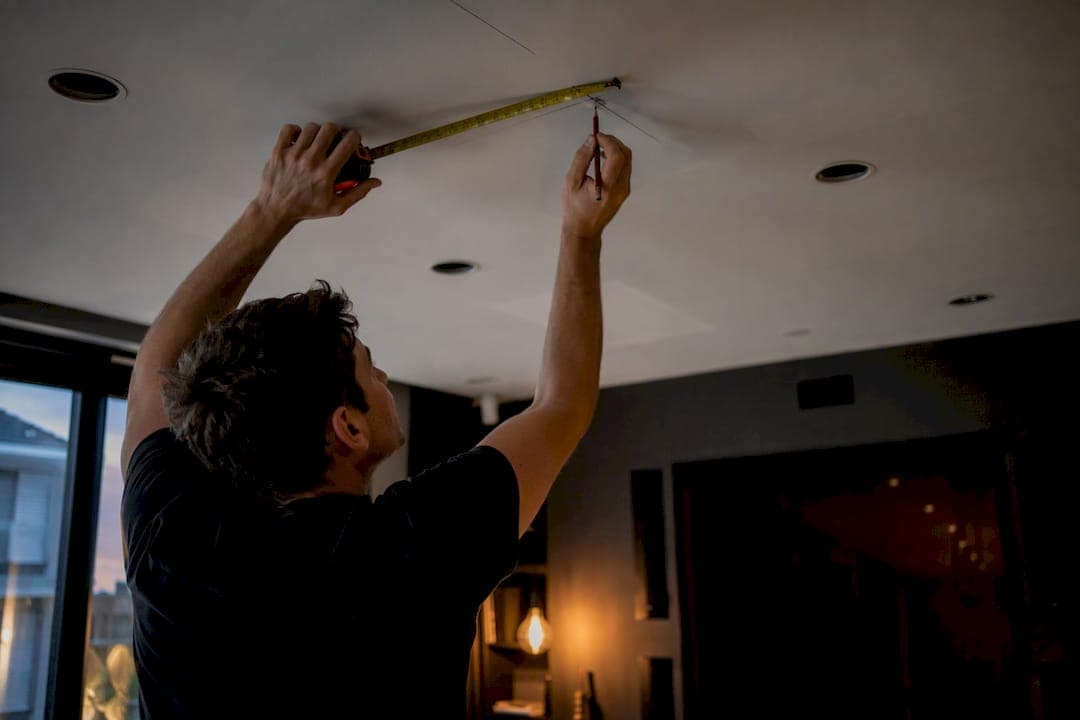
To convert the angle into an actual ceiling position, measure the horizontal distance from your ear position (seated, at your main listening seat) to the point on the ceiling directly above where the speaker should go, then use basic trigonometry, or a printed angle chart, to find where a 45° or 135° line intersects your ceiling height. It sounds technical, but in practice it's a tape measure, a bit of math, and a piece of painter's tape to mark the spot before anyone touches a drill.
In-ceiling, wall-mounted elevation, or upward-firing: which one wins
Dolby treats in-ceiling speakers as the reference solution for a reason: a flat drywall ceiling gives you the most direct, predictable path for overhead sound, with no reflection variables to account for. Wall-mounted elevation speakers are the right compromise when the ceiling is vaulted, textured, or otherwise off-limits, since angling them downward from near ceiling height preserves most of the vertical imaging that in-ceiling units deliver. Upward-firing modules are the easiest to install, since there's no cutting or fishing wire through joists, but they're also the most sensitive to what's above them. They tend to work reasonably well on flat 8 to 9 foot ceilings and struggle noticeably once the ceiling gets high, angled, or heavily textured.
| Option | Overhead precision | Installation impact | Best fit |
|---|---|---|---|
| In-ceiling | Highest | Requires ceiling cuts, wiring, back-boxes | Flat drywall ceilings, dedicated theatres |
| Wall-mounted elevation | Good | Moderate, wall mounting and angling | Vaulted or obstructed ceilings |
| Upward-firing | Variable | Minimal, sits on existing speakers | Flat, low ceilings; rentals; quick setups |
Before deciding, run through a short checklist:
- Is your ceiling flat drywall, or vaulted and textured?
- Do you own the space, or are you renting and unable to cut into the ceiling?
- What's your ceiling height, and does it leave room for proper elevation angles?
- What's your budget for wiring and finishing work versus a self-contained module?
Handling joists, vaults, and rooms that aren't symmetrical
Real rooms rarely cooperate with Dolby's clean geometry. A joist sits exactly where a speaker should go, an HVAC duct cuts across the ceiling cavity, or your seating is pushed off-centre because of a doorway. When that happens, the priority is angular accuracy, not perfect symmetry. Small deviations in position are far less damaging than a speaker moved dramatically off its intended angle just to hit a "nicer" spot.
A few practical workarounds:
- Use back-boxes and aimable in-ceiling baffles to shift the speaker a few inches without losing the correct firing angle.
- For very high or vaulted ceilings, lean toward wall-mounted elevation speakers rather than upfiring modules, which lose accuracy fast as ceiling height and shape change.
- For ceilings under about 8 feet, upfiring can actually work reasonably well, since the reflection path is short and predictable.
- If your seating is off-centre, adjust the corresponding speaker distances in your receiver's setup menu so arrival times still line up, rather than trying to physically re-centre the whole room.
Pro Tip: Mark your calculated elevation angles on the ceiling with painter's tape before you cut anything. It takes ten minutes and it's the cheapest insurance against a $40 cut in the wrong spot.
Verifying your calibration actually worked
Getting the physical placement right is half the job. The other half is confirming your receiver's room correction system is interpreting that placement correctly. Run your automatic calibration (Audyssey, YPAO, Dirac, or similar) with every height speaker connected and powered, then don't just trust the result blindly.
- Manually check the distance values the receiver assigned to each height speaker against your own tape-measure numbers.
- Confirm levels are balanced by ear across bed and height channels using a few minutes of pink noise or the receiver's test tone sweep.
- Play a demo scene with clear overhead object movement (rain, a flyover, a scene with pronounced vertical panning) and listen for whether sound moves smoothly overhead or seems to jump or lag.
- If height effects sound delayed or overhead imaging feels flat and diffuse rather than pinpointed, revisit your distance parity numbers first, since a mismatch there is the most common cause.
Weak overhead imaging almost always traces back to either a distance mismatch outside that 1 to 3 foot window or a height speaker angled further off its target than the room's geometry required.
Getting the wiring and mounting right the first time
The placement math means little if the installation itself is sloppy. In-ceiling speakers need a properly sized back-box or a sealed enclosure behind them. Skip it, and you lose bass output and get muddier dialogue and effects than the speaker is capable of, since the cavity above a ceiling is rarely acoustically sealed on its own.
Plan wiring runs before drywall goes up wherever possible, using fish tape or conduit through finished ceilings, and always leave an accessible termination point rather than burying a splice inside the wall. Keep speaker cable well away from HVAC lines and mains electrical wiring to avoid hum and interference. For aimable in-ceiling models, take the time to angle the tweeter toward the listening position rather than leaving it dead centre. Matching speaker models across your height positions also helps: mixing in-ceiling units with upward-firing modules across the four height channels tends to create noticeably inconsistent overhead imaging compared to using the same type throughout.
- Confirm back-box or sealed enclosure sizing before cutting the ceiling.
- Route and label cable runs, and leave serviceable termination points.
- Aim tweeters on adjustable in-ceiling models toward the primary seat.
- Mount securely. A loose or vibrating ceiling speaker will buzz long before it fails outright.
Why professional Atmos calibration is worth the call
Most of the placement math in this guide is something a careful homeowner can execute with a tape measure and some patience. Where it gets genuinely difficult is time alignment across six or eight channels at once, resolving a joist conflict without wrecking your angle spec, and telling the difference between a wiring fault and a calibration error when something sounds off. That's the gap professional installers close.
JupiterAV handles exactly this kind of work across Calgary, from in-ceiling speaker selection through full acoustic treatment planning and calibration. A room with a vaulted ceiling and an off-centre couch isn't a special case to us. It's most of what we install.
— JupiterAV
Get your Atmos system installed right the first time
Measuring angles yourself is one thing. Cutting into a ceiling, running wire through joists you can't see, and calibrating eight channels to hit that 1 to 3 foot distance parity window is another. JupiterAV designs and installs Dolby Atmos systems across Calgary for homeowners who want the reference-grade result without the trial and error, whether that means a straightforward 5.1.2 upgrade or a full 7.1.4 dedicated theatre build.

We handle the parts homeowners find hardest: joist and duct conflicts, wall-mounted elevation angling on vaulted ceilings, and the manual calibration checks that automatic room correction alone won't catch. If your room has a beam where a height speaker should go, an in-ceiling speaker lineup already picked out, or you're pairing a new subwoofer placement with your Atmos build, book a consultation with JupiterAV and we'll walk your space before anything gets cut.
Where to check the official specs and planning tools
- Dolby Atmos speaker setup guide
- Dolby Atmos installation guidelines (PDF)
- TheaterCalc's Atmos setup and angle guide
- In-ceiling speaker options from Demivolt
Sources
- Dolby Atmos speaker setup
- Dolby Atmos setup guide — TheaterCalc
- Dolby Atmos speaker setup guide — CinemaConfig