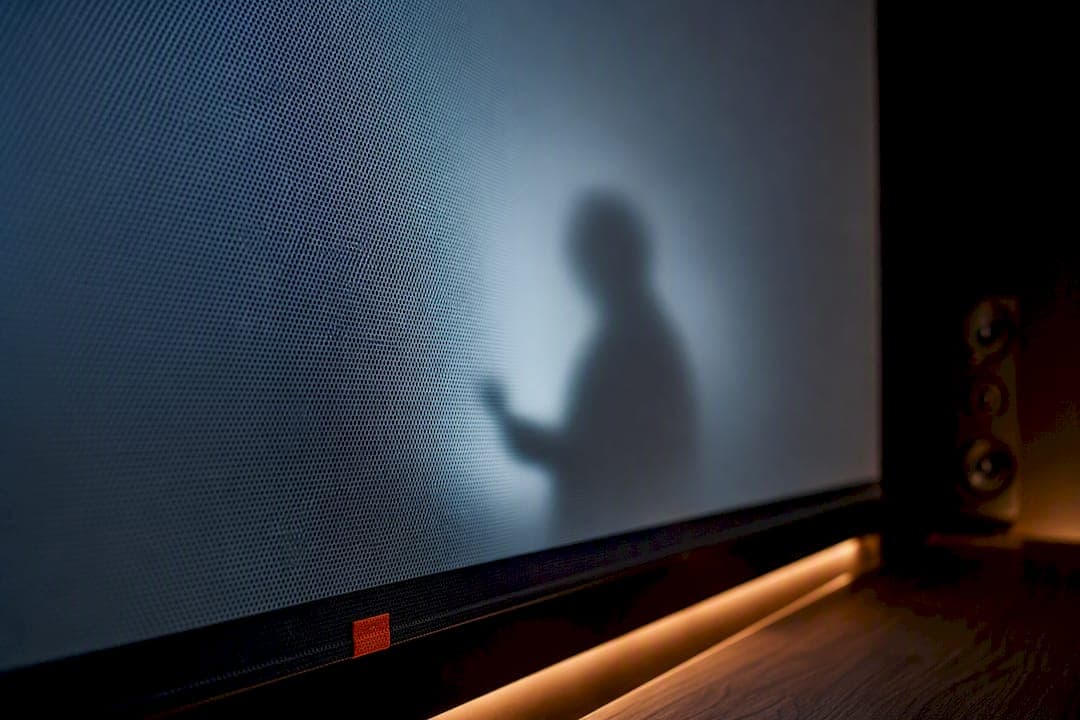
Use an acoustically transparent screen when speakers need to sit directly behind the projection surface to keep dialogue anchored to the picture and preserve a coherent front soundstage. The trade-off is small but real: a bit of light loss, and at close seating distances, some fabrics show texture or moiré. If your centre and mains are hiding behind the screen, this is the right call. If they're not, you're paying for a feature you'll never use.
TL;DR:
- Perforated screens are more affordable and stock more widely but may show micro-holes at close range, especially in brighter rooms.
- Woven fabrics tolerate closer seating distances and higher resolutions, with less risk of moiré and better durability under 4K content.
- Attenuation levels around minus 2 to 3 dB are generally minor and can be compensated for with calibration, but sample testing at the actual seating distance is essential.
- Proper speaker placement behind the screen requires mounting 6 to 12 inches off the wall and lining cavities with acoustic backing to prevent phase issues.
- Choosing the right material depends heavily on actual room conditions; testing samples under real lighting and seat distances ensures the best performance.
Table of Contents
- What is an acoustically transparent screen, and why do installers use them?
- Perforated vs. woven vs. rigid: the three material families
- Attenuation, gain, and moiré: reading the spec sheet correctly
- Getting speaker placement and installation right
- A buyer's checklist for specifying the right AT screen
- Keeping an AT screen clean and performing over time
- What JupiterAV's installers watch for on site
- The trade-off nobody talks about clearly enough
- Get your acoustically transparent screen specified and installed properly
- Sources
What is an acoustically transparent screen, and why do installers use them?
An acoustically transparent (AT) screen is a projection surface engineered with negative space, either woven gaps or perforated micro-holes, that lets sound pass through the fabric with minimal disruption. Instead of mounting your centre channel above or below the screen and fighting a mismatched soundstage, you place it right behind the image, exactly where the dialogue should originate.
This matters most in a few specific scenarios:
- Concealed speaker walls, where the entire front stage (left, centre, right) sits behind one acoustic screen material for a clean architectural look.
- Dialogue-critical rooms, where lip-sync and vocal placement need to track the actor's mouth on screen rather than a speaker box off to the side.
- Custom home theatres where the client wants zero visible speaker grilles in the room.
If you're running a simple two-channel setup with speakers flanking a standard screen, or you're on a tight budget for a casual media room, skip AT fabric entirely. A standard soundproof projection screen won't help you, and a regular matte-white surface will look and perform better for the money.
Perforated vs. woven vs. rigid: the three material families
Material choice is where most installation mistakes start. Every AT surface falls into one of three categories, and each behaves differently once light and sound hit it.
- Perforated screens use a grid of tiny holes punched through vinyl or PVC. Perforated and woven materials are the two dominant AT categories, and perforated fabric tends to show visible micro-holes when viewers sit close to the screen, though it's typically the more affordable route and widely stocked in fixed-frame formats.
- Woven fabrics use a diagonal thread pattern instead of punched holes. That diagonal structure exists specifically to avoid lining up with a projector's pixel grid, which is what causes moiré in the first place, according to woven screen manufacturer specs. Woven materials generally tolerate closer seating and hold up better under 4K resolution.
- Rigid transparent acoustic panels made from PMMA, like PLEXIGLAS Soundstop, exist in architectural noise-barrier applications, not home theatre projection. They're worth knowing about so you don't confuse a sound wall product with a screen material when a supplier's catalogue lumps them together.
Match your pick to throw distance and ambient light. Short-throw projectors in bright rooms punish perforated screens harder because more of the visible hole structure gets exposed at oblique angles.
Attenuation, gain, and moiré: reading the spec sheet correctly
Manufacturer spec sheets throw around numbers that sound abstract until you connect them to what you'll actually see and hear in the room.
Mean attenuation measures how much sound level the fabric absorbs or reflects as it passes through. AcousticPro UHD reports a mean attenuation of about −2.36 dB, paired with a 0.32 mm perforation size and gain of 1.0. A −2 to −3 dB loss is genuinely small. Most listeners won't notice it in a properly calibrated system, especially once you apply a touch of extra gain on the centre channel during EQ.
Gain describes brightness relative to a standard matte-white reference. AT fabrics with gain near 1.0, like AcousticPro UHD, hold image brightness close to a conventional non-AT surface, though viewing angle can narrow slightly compared to a pure matte-white sheet.
Hole size and weave density drive moiré risk more than anything else on the spec sheet. Finer perforation, like the 0.178 mm holes on AcousticPro 1080P3 with mean attenuation around −3.09 dB, is specifically built for 1080p and 4K compatibility, where fine detail can otherwise interact badly with coarser hole patterns.
Sourced data point: manufacturer testing on micro-perforated AT fabric shows hole sizes as small as 0.178 mm paired with mean attenuation near −3.09 dB, a spec tier aimed squarely at high-resolution projection.
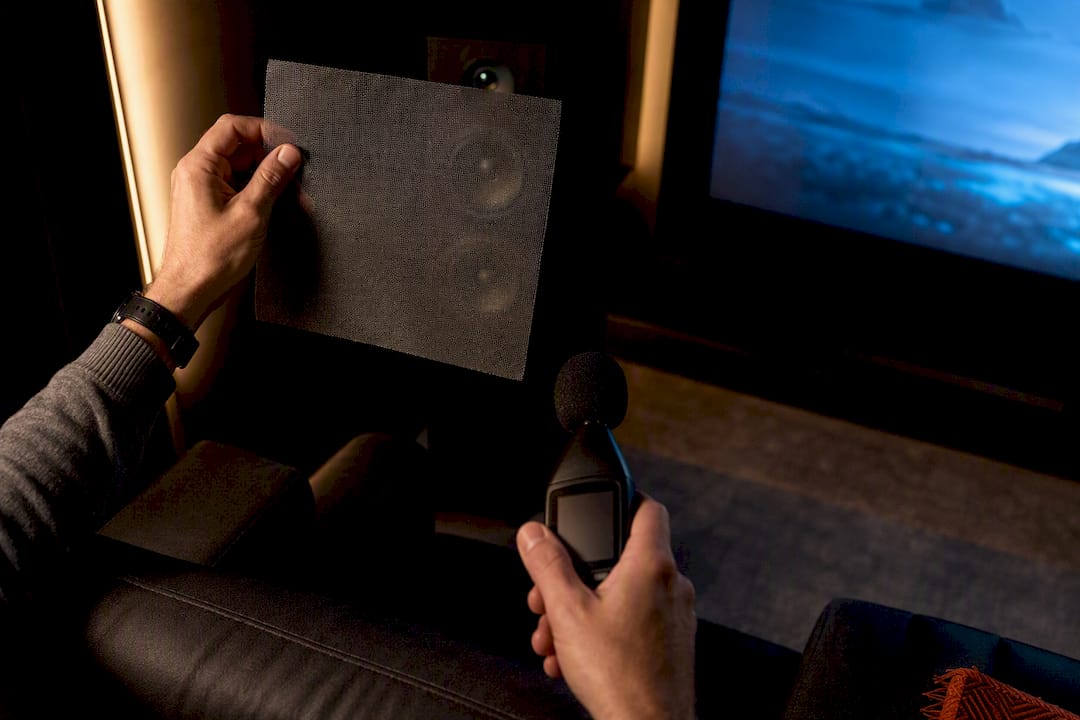
- Always request a physical sample before ordering a full screen.
- View the sample at your actual seating distance, under your actual room lighting, not showroom lighting.
- Ask the vendor for the exact hole size or weave count, not just a marketing description like "acoustically transparent."
Getting speaker placement and installation right
Speaker placement behind an AT screen isn't a "set it and forget it" job. Get the depth and offset wrong and you'll hear comb-filtering, a hollow, phase sound caused by reflections bouncing off the screen's rigid frame and mixing with direct sound at the listener's ear.
- Mount speakers 6 to 12 inches off the wall, with the screen fabric floating a few inches in front of the driver face. Too tight, and reflections off the frame create phase cancellation.
- Match seating distance to hole or weave size. Vendor guidance generally puts perforated materials at 10 to 12+ feet minimum seating distance, while fine woven fabrics can allow seating as close as 6 feet.
- Line the speaker cavity with black acoustic backing to kill internal reflections, and leave ventilation gaps if you're running powered speakers back there.
- Route wiring before the screen goes up. Retrofitting cable runs through a finished frame is a miserable afternoon.
- Calibrate after installation, adjusting centre channel level and time delay to compensate for the fabric's mild attenuation, then run a listening check with real dialogue-heavy content, not just test tones.
Pro Tip: Bring a sound level meter to the sample-testing stage. A quick pink-noise sweep through the fabric at your intended speaker distance tells you more about real attenuation than any spec sheet will.
For deeper guidance on cavity treatment and system-wide sound isolation, our soundproofing retrofit guide and notes on Atmos speaker placement cover the surrounding room mechanics this section doesn't have space for.
A buyer's checklist for specifying the right AT screen
Before you commit to a material or a vendor, run through this list. It catches the mistakes that show up after installation, when they're expensive to fix.
- Confirm published hole size or weave density, not just "acoustically transparent" marketing copy.
- Request mean attenuation in dB, and compare it against your speaker's baseline output.
- Check projector compatibility, especially resolution. A screen built for 1080p may show moiré under 4K.
- Ask about the vendor's sample policy. If they won't send one, be cautious.
- Verify flame rating and certification, such as NFPA 701 or ISF for colour accuracy.
- Confirm warranty terms on both the fabric and the frame mechanism.
| Form factor | Best for | Installation note |
|---|---|---|
| Fixed frame | Dedicated theatre rooms | Simplest install, least tensioning maintenance |
| Tab tension | Rooms needing screen retraction | Requires precise tensioning to avoid wrinkles near speakers |
| Motorized | Multi-use rooms | Adds mechanical complexity behind an already-tight speaker cavity |
Ask your installer or vendor for a demonstration panel at your actual throw distance before signing off on a full order.
Keeping an AT screen clean and performing over time
Perforated fabric collects dust in its micro-holes over years of use, which gradually reduces both light transmission and acoustic clarity. Sealing the speaker cavity and running the room on a basic air filter cuts this down considerably.
- Dust perforated screens with a soft, dry microfibre cloth. Never use liquid cleaners on the perforated surface.
- Woven fabrics tolerate light vacuuming with a brush attachment, but always test on an edge first.
- Watch for sagging or fabric stretch on tab-tension screens; that's usually the first sign it's time to replace the surface, well before the acoustic performance actually degrades.
What JupiterAV's installers watch for on site
Every AT screen quote starts with the same three questions: where does the seating actually sit, what projector and resolution are you running, and are the front speakers going fully behind the fabric or just the centre channel? Those answers dictate material choice more than any brand preference.
On site, we test samples at the client's real seating distance under the room's actual lighting, and we run a quick attenuation check with a level meter rather than trusting a spec sheet alone. Every installer ends up trading some brightness for front-stage accuracy. It's rarely a hard call once a client hears dialogue anchored correctly instead of drifting off to a side speaker.
The trade-off nobody talks about clearly enough
Most guides to acoustically transparent screens treat the attenuation number as the whole story. It isn't. A −2 to −3 dB loss is genuinely minor, and manufacturer specs like AcousticPro UHD's numbers prove the technology has matured. The real variable installers underweight is room-specific: how your seating distance interacts with hole size under your actual projector's resolution and your actual ambient light.
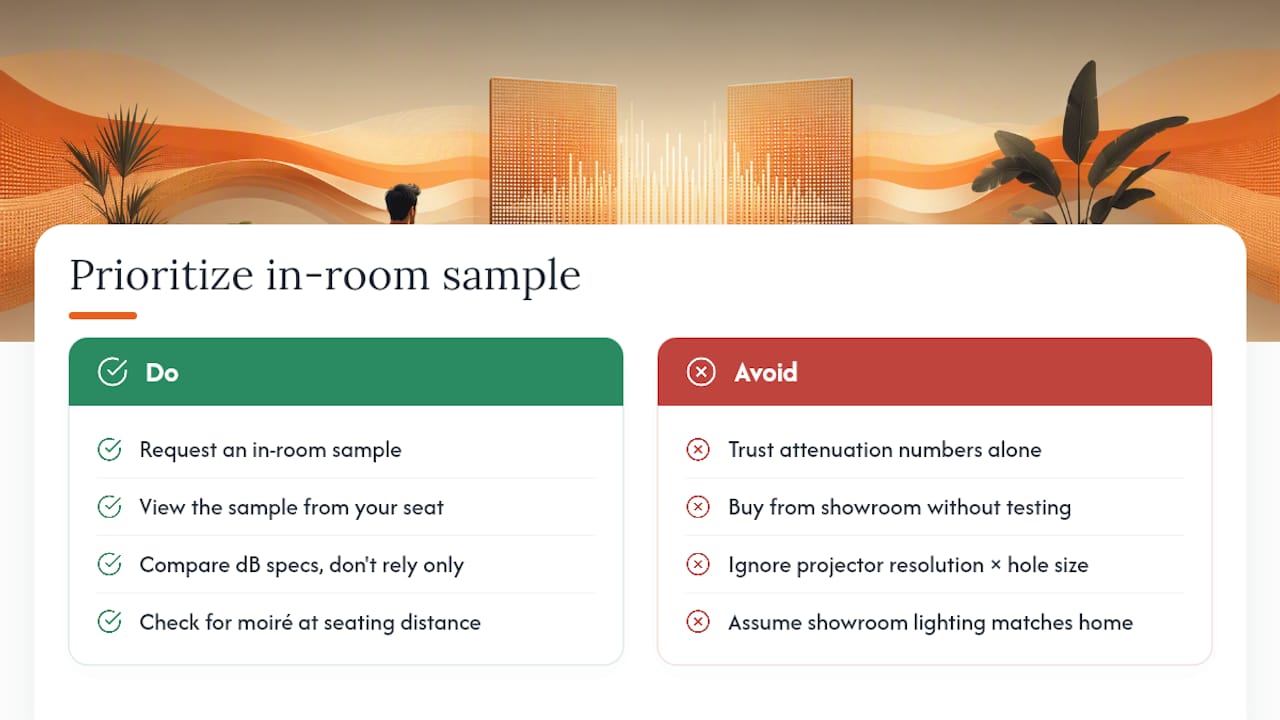
Spec sheets can't predict that. Only a sample, viewed where you'll actually sit, tells the truth. We'd argue the industry's obsession with attenuation figures, while useful for comparing materials on paper, distracts from the bigger risk, which is buying a screen that looks perfect in a showroom and shows moiré the moment it's hung eight feet from your couch.
If you take one thing from this guide, prioritize the sample test over the spec sheet. The numbers get you in the right neighbourhood. Your eyes and ears at your actual seating distance make the final call.
— JupiterAV
Get your acoustically transparent screen specified and installed properly
Sourcing the right AT material yourself means juggling spec sheets, sample requests, and guesswork on seating distance, with no easy way to confirm attenuation or moiré risk until the screen is already on your wall. A professional AV provider can handle that whole process for you: a site survey to assess seating, projector throw, and speaker placement, sourcing the material that actually fits your room instead of whatever's in stock, then professional installation and calibration once the screen and speakers are in place.

Expect sample testing at your real seating distance before anything is ordered, a clear installation timeline, and support on both the material and the mounting hardware. If your room also needs broader acoustic treatment around the screen, our acoustic panel placement guide is worth a read first. When you're ready to move forward, book a site survey with JupiterAV and get a proper scope before you spend a dollar on materials.
Sources
For deeper technical checks, review Elite Screens' AT product category page for published gain and attenuation fields, and compare projector brightness needs against room lighting in our projector versus TV breakdown.
- What is an acoustically transparent projector screen?
- AcousticPro 1080P3 - Elite Screens
- Acoustic Screen Material Options – Silver Ticket Products