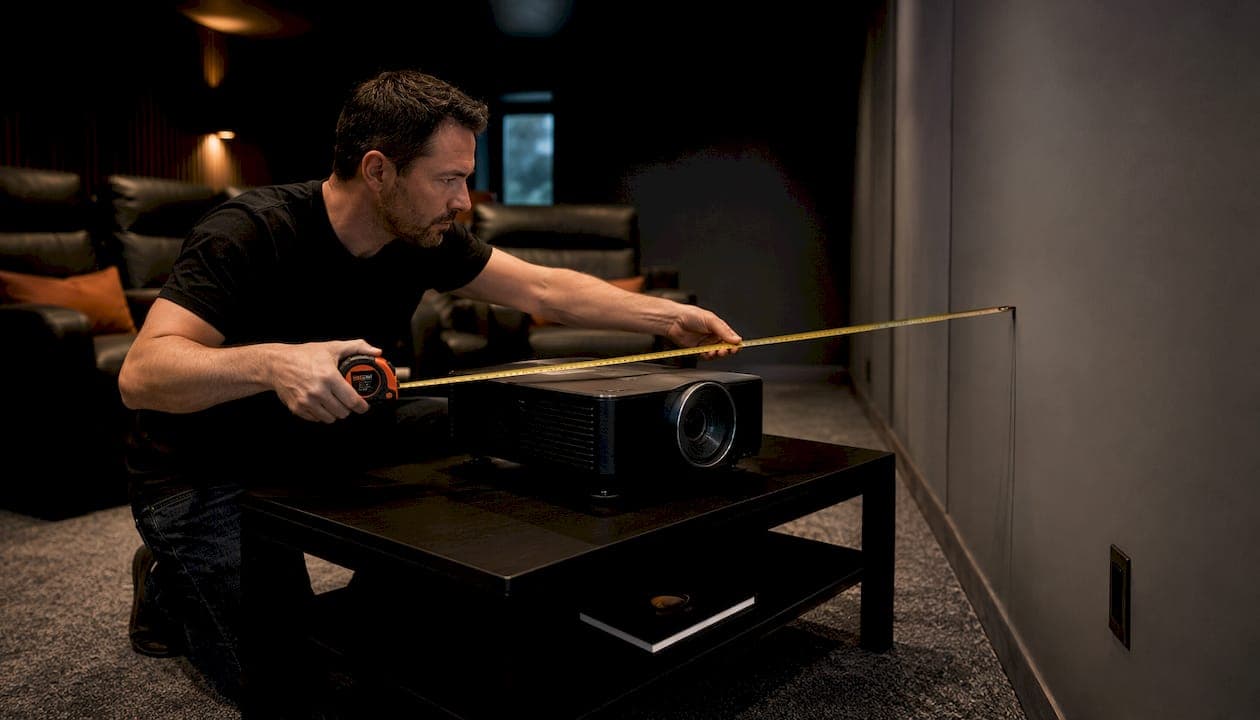
What is projector throw distance and why does it matter?
Projector throw distance is the measured space between the projector's lens and the screen surface. That single number determines how large your image will be at any given position in the room. Get it wrong and you're either squinting at a postage stamp or cropping the edges of your picture.
The concept ties directly to throw ratio, which is simply the lens-to-screen distance divided by the image width. A throw ratio of 1.2 means the projector must sit 1.2 times the image width away from the screen. A 1.2 throw ratio on a 100-inch screen (roughly 87 inches wide) puts the projector at a placement distance proportional to this ratio.
Key factors throw distance affects:
- Image size: further back equals a larger picture
- Image sharpness: placing outside the optimal range softens focus
- Room layout: dictates whether ceiling mounting or a table stand is practical
- Screen choice: some screen surfaces only work well at specific distances and angles
- Projector type: ultra-short, short, standard, or long throw each suit different rooms
Table of Contents
- How to calculate throw distance and image size
- Types of projector throw distances and where each one fits
- Ideal projector placement for Canadian homes and businesses
- How projector technology (DLP, LCD, LCoS) affects throw distance
- Canadian building standards and how they shape projector installation
- JupiterAV handles projector installation in Calgary and Alberta
- Key takeaways
How to calculate throw distance and image size
The formula is straightforward: throw distance = throw ratio × screen width. Most projectors list throw ratio in their specs, and screen width is easy to calculate from the diagonal measurement.
- Find your screen width. For a 16:9 screen, multiply the diagonal by 0.872. A 100-inch screen is approximately 87 inches (7.25 feet) wide.
- Locate the throw ratio. It appears in the projector's spec sheet, often as a range like 1.32–2.15 for zoom-lens models.
- Multiply. Throw ratio × screen width = throw distance. A projector with a 1.4 throw ratio on that 87-inch-wide screen needs about 122 inches, or just over 10 feet.
- Account for zoom range. Because most projectors carry zoom lenses, the throw ratio is a range, giving you a window of acceptable placement positions rather than one fixed spot.
- Use an online calculator. Tools like ProjectorCentral's throw calculator let you enter a specific model and screen size to get precise distances instantly. Sony also offers a projection simulation tool for professional installations.
- Verify against your room. Measure the actual distance from your intended projector position to the screen wall, then confirm it falls within the model's throw range for your target image size.
Types of projector throw distances and where each one fits
| Throw type | Throw ratio | Approx. distance for 120-inch screen | Best environment |
|---|---|---|---|
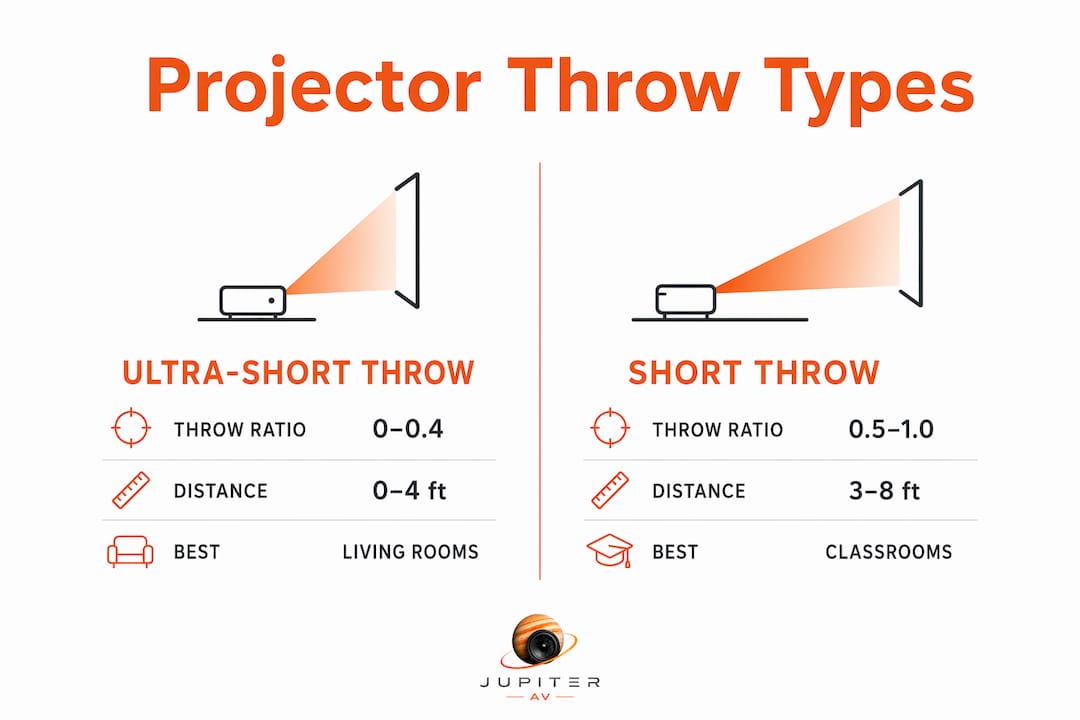
| Ultra-short throw (UST) | — | 0–4 feet | Living rooms, tight spaces |
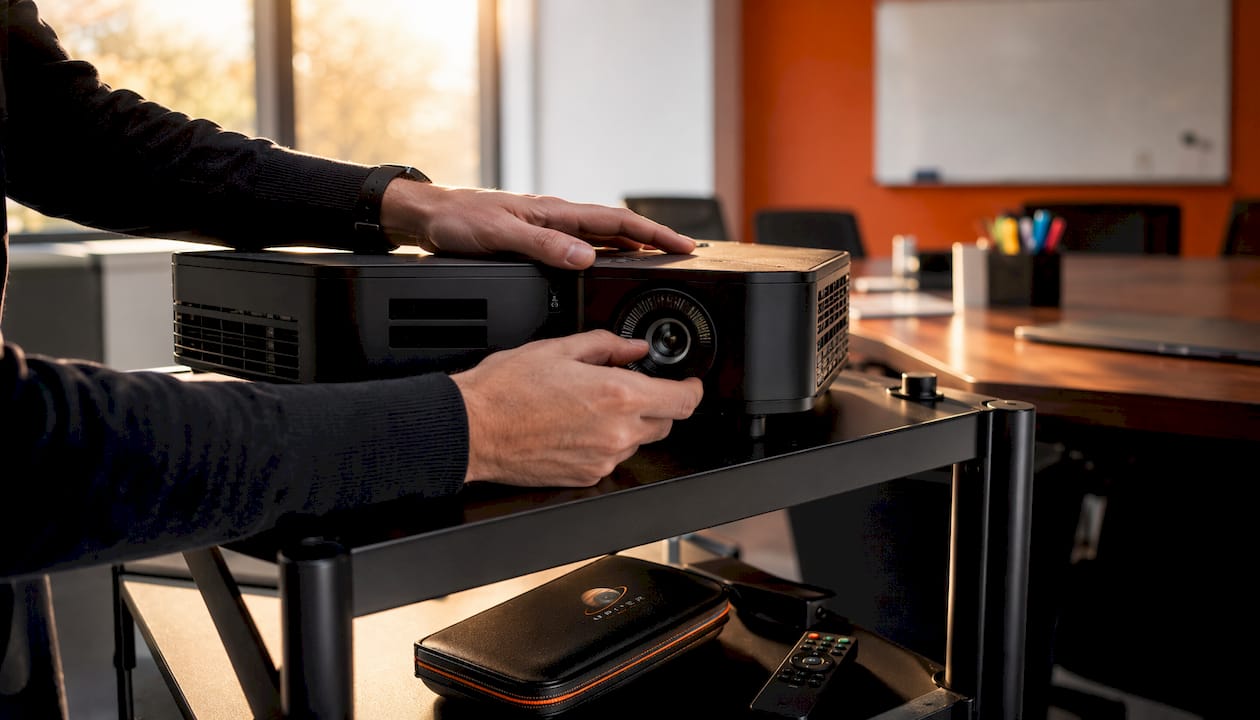
| Short throw | — | 3–8 feet | Small classrooms, boardrooms |
| Standard throw | 1.3–1.7 | 11–15 feet | Dedicated home theatres, mid-size rooms |
| Long throw | — | more than 15 feet | Large venues, auditoriums |
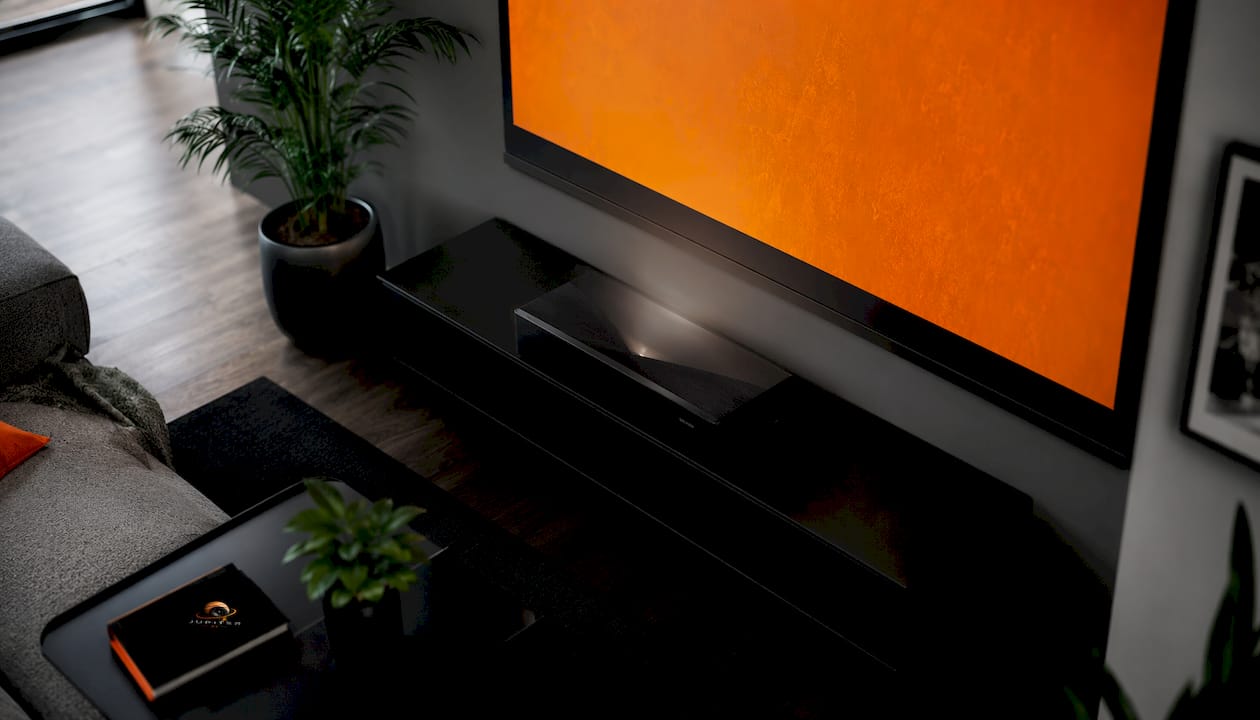
Ultra-short throw projectors sit within 0–4 feet of the screen, making them ideal for Alberta living rooms where a projector across the room isn't practical. One important caveat: because they project at a steep upward angle, UST units must sit on a perfectly level surface to avoid geometric distortion. They also measure throw distance along the floor rather than strictly lens-to-screen, which changes placement calculations slightly.
Short throw projectors cover 3–8 feet and suit boardrooms, smaller classrooms, or bedrooms where a ceiling mount isn't feasible. Standard throw models, which typically require 11–15 feet for a 120-inch screen, are the workhorses of dedicated home theatre rooms. Long throw units belong in gymnasiums, large conference halls, or commercial venues where the projector sits far back from a very large screen. For flexible commercial spaces, portable screen solutions can pair well with short or standard throw projectors.
Ideal projector placement for Canadian homes and businesses
Good placement is about more than hitting the right distance. Several practical factors shape a successful installation:
- Lens height alignment: centre the lens with the middle of the screen whenever possible. Off-axis placement forces keystone correction, which degrades sharpness.
- Ceiling mounts for permanent installs: ceiling mounting keeps the projector stable, out of the way, and locked to the correct throw distance. For rented or flexible spaces, a portable floor stand lets you reposition without drilling.
- Cabling routes: plan cable paths early, running HDMI and power inside walls or along baseboards before drywall goes up. Retrofitting cable runs in a finished Alberta home costs significantly more than planning them during a renovation or new build.
- Ventilation clearance: projectors generate real heat. Ignoring clearance around the unit shortens lamp life and triggers thermal shutdowns. Leave at least 12 inches of open space around the vents.
- Ambient light and screen surface: room lighting affects perceived image quality as much as the projector itself. A CLR (Fresnel) screen rejects overhead light and pairs with UST units; an ALR screen suits standard throw in moderately lit rooms; matte-white screens deliver the most accurate colour in a fully darkened space.
Pro Tip: Always use physical lens shift or optical keystone adjustment before reaching for digital correction. Digital keystone crops pixels and softens the image. If your projector has motorised lens shift, use it. If it doesn't, adjust the mount angle physically.
For guidance on integrating cabling into your AV setup, the home ethernet wiring guide for Alberta homeowners covers low-voltage planning that applies equally to projector runs.
How projector technology (DLP, LCD, LCoS) affects throw distance
The optical engine inside a projector doesn't change the throw ratio formula, but it does influence which throw distances are practical and what image quality you get at those distances.
DLP projectors use a chip with tiny mirrors and tend to produce sharper edges at longer throw distances. They're common in standard and long throw configurations and handle fast motion well, which matters in sports or gaming rooms.
LCD projectors split light through three panels and typically offer brighter output at a given price point. Most standard throw home theatre and classroom projectors use LCD. They can show a "screen door" effect at very short distances, so ultra-short throw LCD models are less common.
LCoS projectors (Sony's SXRD and JVC's D-ILA fall into this category) deliver the highest contrast ratios and are almost exclusively found in standard to long throw configurations. They suit dedicated dark rooms where image depth matters more than brightness.
The practical takeaway: if you're planning a UST setup, you'll almost certainly be choosing a DLP or laser-phosphor unit. For a ceiling-mounted standard throw theatre, all three technologies are viable, with LCoS leading on picture quality.
Canadian building standards and how they shape projector installation
Alberta homes built to the National Building Code typically have 8-foot ceilings on main floors, with 9-foot ceilings increasingly common in newer builds. That ceiling height directly limits how high a ceiling mount can position the projector and whether the throw distance lands correctly for your screen size.
A projector mounted at ceiling height in an 8-foot room sits roughly 7.5 feet off the floor after accounting for the mount bracket. For a standard throw projector aimed at a 100-inch screen, that height works well with proper tilt adjustment. In rooms with 9-foot ceilings, there's more flexibility, but the projector may need a drop rod to bring the lens closer to the screen's centre line.
Canadian electrical code (the Canadian Electrical Code, Part I) governs how power outlets are installed near ceiling mounts. A dedicated outlet above the ceiling or inside a soffit requires a licensed electrician in Alberta. Planning this during a renovation avoids the cost of opening finished ceilings later. Low-voltage HDMI and speaker cables fall outside the CEC's high-voltage rules but still benefit from conduit in commercial installs for serviceability. The TV mounting height guide covers related structural and electrical considerations that apply to projector ceiling mounts as well.
JupiterAV handles projector installation in Calgary and Alberta
Calculating throw distance on paper is one thing. Getting the mount height, cable routing, screen alignment, and ambient light control right in an actual Alberta home or business is where most DIY installs fall short.

JupiterAV designs and installs custom home theatre systems across Calgary and Alberta, handling everything from throw distance calculations and ceiling mount placement to low-voltage wiring and screen selection. Whether you're building a dedicated theatre room, upgrading a boardroom, or adding a projector to a new build, the team sizes the projector to your room, not the other way around. Brands like Epson, BenQ, and Sony are all part of the product mix, matched to your ceiling height, room depth, and lighting conditions. Contact JupiterAV to get a site assessment and a setup that works from day one.
Key takeaways
Throw ratio is the single most important spec to check before buying a projector: it tells you exactly where the unit must sit for your target image size.
| Point | Details |
|---|---|
| Throw ratio formula | Throw distance equals throw ratio multiplied by screen width; a 1.2 ratio on an 87-inch-wide screen requires about 8.7 feet. |
| Projector type by room size | UST suits tight spaces with a 0–4 ft distance; standard throw needs 11–15 feet for a 120-inch screen. |
| Physical adjustment first | Use lens shift or optical keystone before digital correction to preserve pixel sharpness. |
| Canadian ceiling heights matter | Standard 8-foot Alberta ceilings limit mount height; plan drop rods and dedicated power outlets before finishing walls. |
| JupiterAV for Alberta installs | JupiterAV provides full projector installation in Calgary, from throw distance planning to ceiling mounts and cabling. |